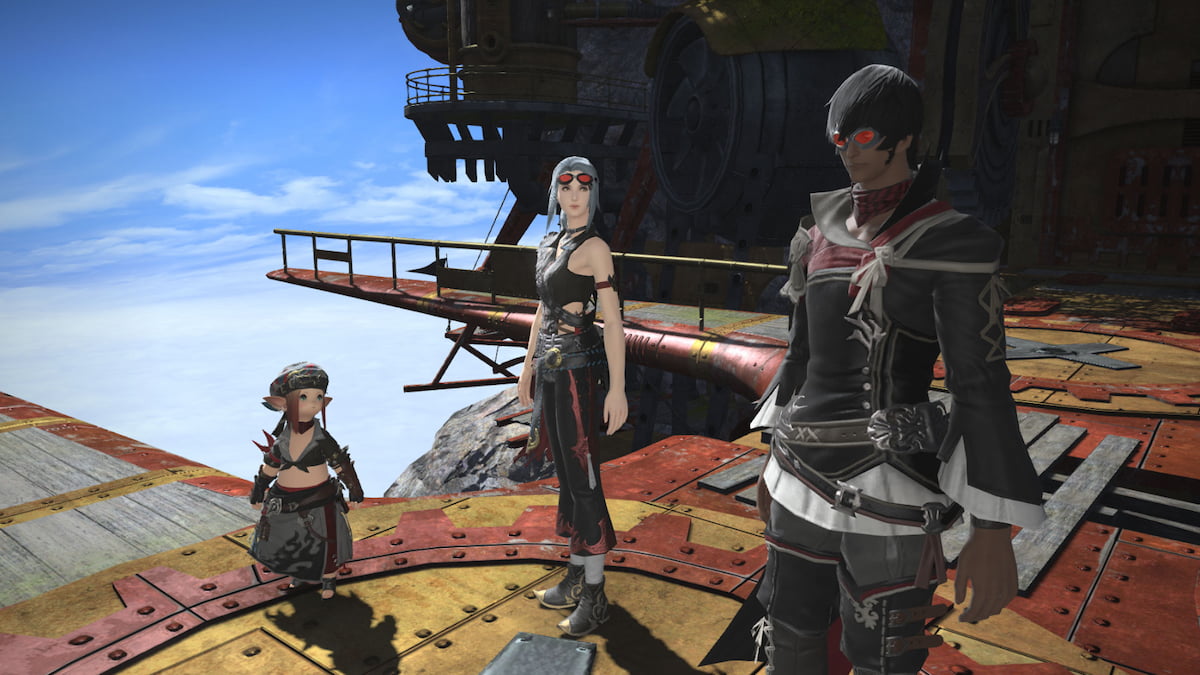
The Dead Ends is one of the final dungeons you need to complete in Final Fantasy XIV’s Endwalker expansion. Here, you’ll brave through the adventure with three other heroes as you attempt to make it to the end. In this guide, we’re going to cover everything you’ll need to know about how to complete The Dead Ends dungeon and complete it in Final Fantasy XIV.
The Dead Ends dungeon guide
The Sixth End
When you initially start the dungeon, you and your party will need to battle against multiple trash mobs that block your path to the first boss. We recommend that your tank draw their attention first and then take them down as a group. You will want to communicate together how many enemies your tank should pull. Your tank can grab too many at once and for a party wipe to happen. It all depends on how many the tank and healer are comfortable with fighting before reaching the first boss, Caustic Grebuloff.
Defeat Caustic Grebuloff
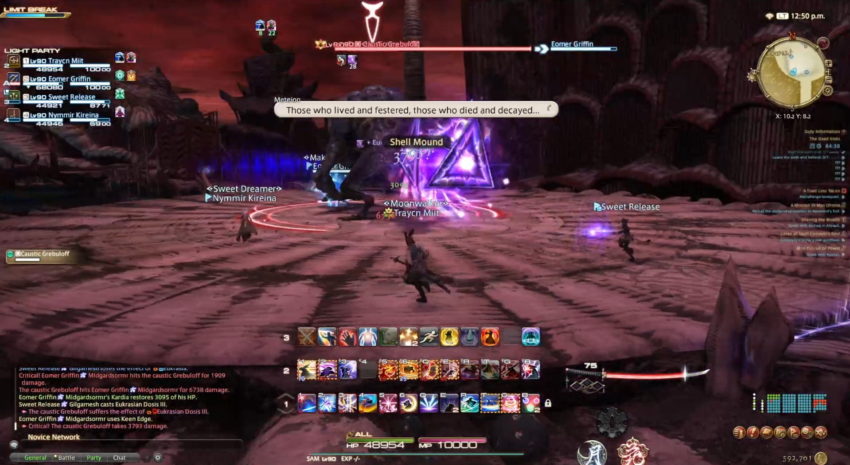
Caustic Grebuloff is the first boss you need to defeat. When the battle begins, you want your party’s tank to grab its attention and then turn it away from the rest, preventing it from attacking you while you deal damage against it. These are all the attacks you want to prepare for when battling this boss.
- Miasmata: Before this attack happens, the wind will blow in a direction. After it’s done charging, multiple AoE attacks will appear as blue gases. These gasses will appear numerous times, moving in the direction of the wind. You want to move away from the wind’s direction to dodge this attack.
- Cough Up: After this attack has charged, an AoE will appear below each character. Before these explode, another AoE will appear below each other, following their movement. This repeats for a total of three times before they explode, dealing damage. If you receive a hit from these attacks, you receive the debuff Hysteria.
- Wave of Nausea: This is a full-room AoE attack, where only the center is safe. However, if you have the Hysteria debuff, your character will move in a set direction, preventing you from avoiding this attack.
- Blighted Water: For this attack, you and your party members will want to stack up on top of each other to endure the attack, standing close together to avoid too much damage.
- Befoulment: An AoE attack centered on your characters, forcing everyone to spread out away from each other.
- Pox Flail: A tank buster move that only the tank and healers need to worry about. Tanks will want to prepare any damage mitigation moves they have, and healers will want to give their tanks any hefty heal before this lands.
It’s important to note that Caustic Grebuloff will double on using Miasmata and Wave of Nausea after the first wave of attacks. You’ll want to watch for this, forcing you and your party members to charge towards the center to avoid it.
After defeating Caustic, you proceed forward to the next stage of The Dead Ends dungeon.
The Eighth End
The Eighth End is the second area of the dungeon. Similar to the last one, your tank will want to go first, grabbing as many minion mobs as your party can comfortably deal with as you progress forward. When you reach the end of this area, you’ll encounter the second boss, Peacekeeper.
Defeat Peacekeeper
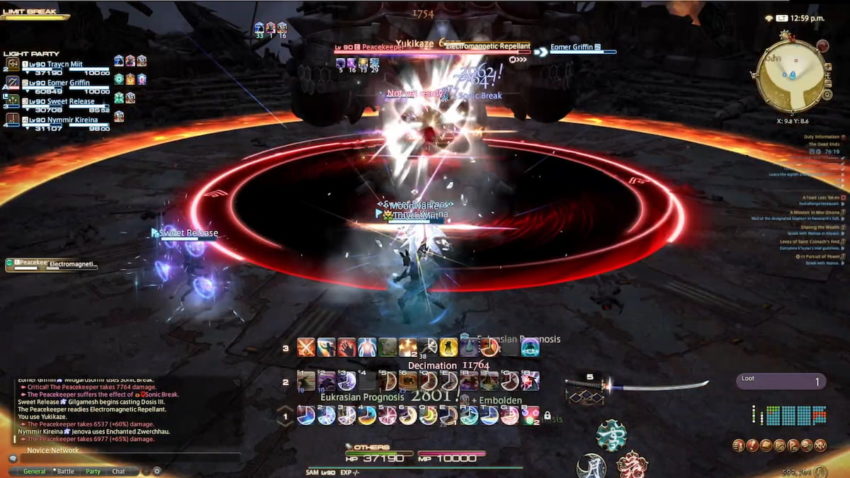
The start of the Peacekeeper is similar to every boss, where your party’s tank needs to pull the boss’ attention away from the party, exposing its back and flanks for the upcoming attacks. These are all of the attacks the Peacekeeper unleashes during the battle.
- Order to Fire: Multiple turrets spawn around Peacekeeper. They remain there for some time before preparing to fire line AoE attacks in front of themselves. You’ll want to move away from the turrets and stand in the middle between them, avoiding these attacks. Following the second wave of attacks, Peacekeeper adds this to other attacks it uses during the encounter.
- No Future: Peacekeeper fires out missiles onto the arena, outlined by target AoE blasts. These will follow a line down or up before refiring this attack into the gaps of the previous blasts. You want to stand in these gaps, wait until the first line appears, and then stand during the last attacks to avoid the second wave.
- Peacefire: The Peacefire attack fires out massive AoE blasts on opposite ends of the arena, slowly moving in a circle to cover the entire arena. You’ll want to hug Peacekeeper, attacking it as your party moves clockwise around the arena, avoiding these attacks. This move is sometimes coupled with Order to Fire.
- Eclipsing Exhaust: This is an outward pushing AoE blast. You will want to move towards the center and stand on top of Peacekeeper at the center of the arena. You will push away after this blast has finished charging.
- Elimination: A tank buster move used by Peacekeeper. An outline will appear around your party’s tank. We recommend making sure they use any damage mitigation abilities to avoid a massive amount of damage and that the healer is at the ready. All party members will want to avoid standing next to the tank for this attack.
Upon defeating Peacekeeper, you will reach The Dead Ends dungeon’s third and final area.
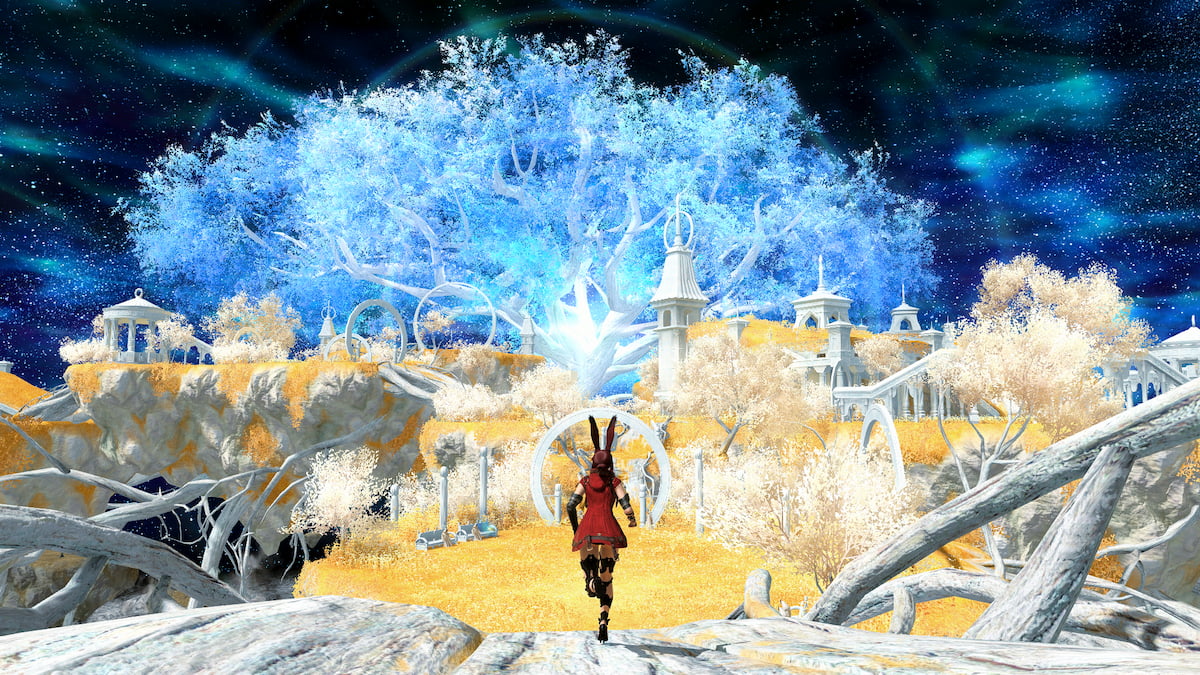
The Seventeenth End
For the third area, your tank will want to grab as many minions as the party has shown they can handle as you proceed to the final boss, Ra-La.
Defeat The Last Mercy: Ra-La
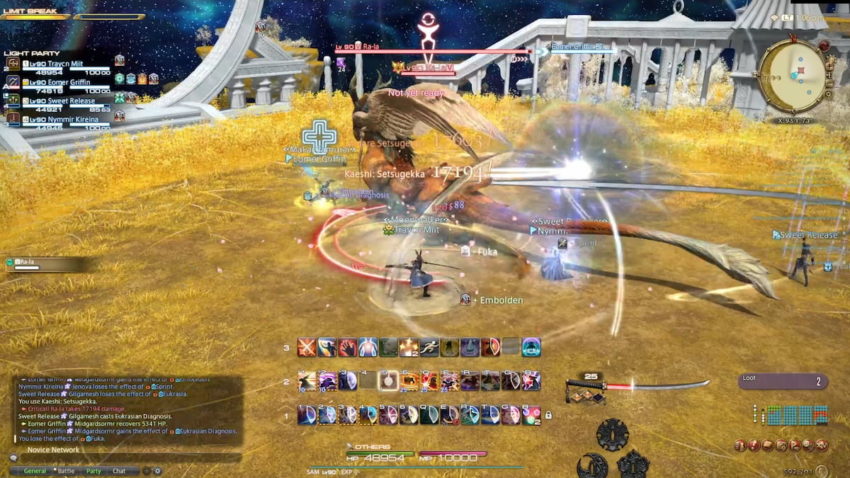
Ra-La is the final battle in The Dead Ends dungeon. After the similar beginning from your tank, these are all of the attacks you need to watch out for while battling Ra-La.
- Pity: A tankbuster move used by Ra-La. Only the tank needs to worry about this attack, preparing their damage mitigation abilities, and for the healer to prepare to repair any present damage they might have already.
- Prance: The Prance ability features Ra-La running to the four points of the arena, creating a large, golden bubble at each one. You want to make your way over to the final circle, standing in it and not overlapping any other circles. Wait until the first circle explodes, and then move towards the second one and out of the last circle to avoid any damage.
- Warm Glow: Warm Glow is a full party attack, damaging everyone in your group. Your healer will need to take care of everyone, and all party members should use any damage mitigation abilities they have to assist them.
- Lifesbreath: Ra-La will jump to one side of the arena and prepare to unleash a line AoE blast. Move away from the center to avoid the attack. This will create multiple butterflies down the center, facing up and down. Stand next to one of the butterflies, and stand behind them to avoid damage.
- Benevolence: This is a party stacking ability. All party members will want to meet up and stand on top of each other to avoid as much damage as possible, preferably standing close to Ra-La to continue damaging it.
- Loving Embrace: Ra-La will unleash a half-room AoE blast from one side of its body. You will be able to tell from what side based on which wing is glowing.
- Still Embrace: All party members will receive an arrow above their head, and an AoE circle will surround them. Everyone will need to move away from each other to avoid extensive damage.
These attacks will rotate throughout the battle against Ra-La. After defeating it, you will complete The Dead Ends dungeon.