The Deceits is the last of the first three Elusive Target Arcade missions added to Hitman 3 with its Year Two update. To complete it, you need to kill five Elusive Targets across five levels without failing any of them. This guide explains how to complete The Deceits with a rank of Silent Assassin.
Elusive Target Arcade warning
All Elusive Target Arcade missions carry a harsh penalty with them for failure. If you die in a mission or the target escapes, then you’ll be locked out of it for 12 hours. We recommend following our routes a few times while restarting each level to get a feel for the choke points and danger zones. Then, when you feel like you can, take the missions on for real and kill each target.
Level 1 – The Prince
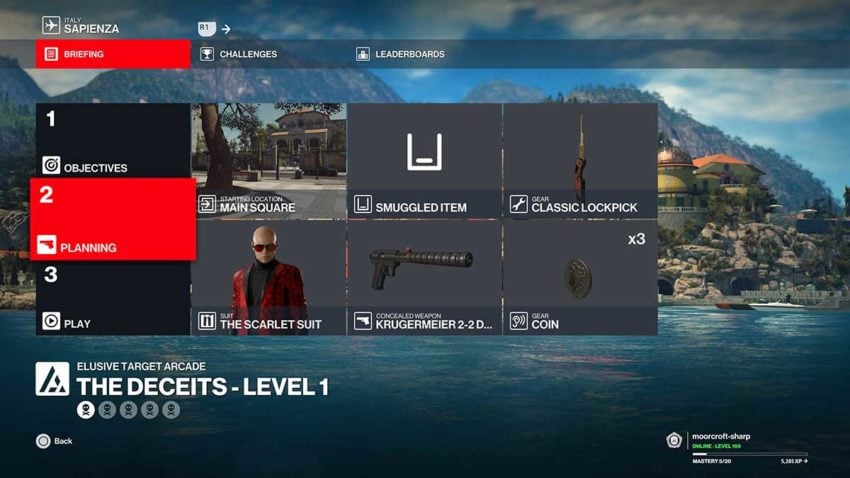
The first target in this mission is a priest with questionable associates in his past. The added complication with this first level of the mission is that you can only subdue one NPC, or you’ll fail. Our loadout uses the base starting location of the town square, but we do recommend that you bring a lockpick with you.
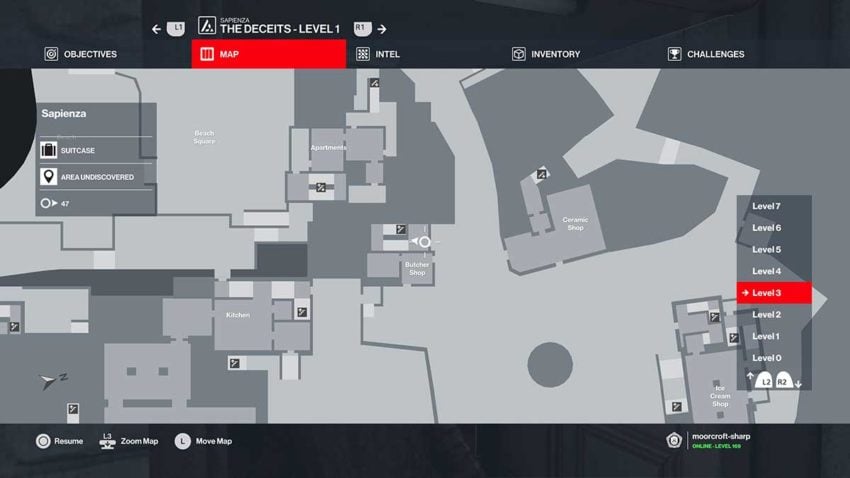
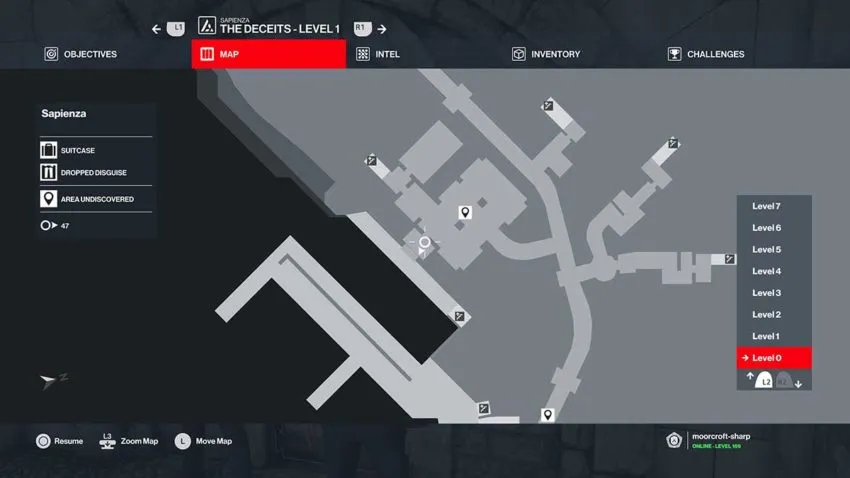
From your starting location, run to your right toward the building where someone is yelling at a man on a balcony. You need to go into this building and then into the apartment on the first floor. This is the ICA safehouse, so you won’t need to use a lockpick to get inside. Once you’re in, pick up the gun on the side and then head through the bathroom and out onto the roof. See a map reference for this building below.
From the roof, run to the edge and slide down the drainpipe. Run down the stairs to the bottom, and you’ll see two bodyguards. Head into the building behind them — marked with a 7 — flip a coin inside the doorway and wait for one of them to come inside. When they do, subdue them, drag their body up one flight of stairs, and steal their disguise.
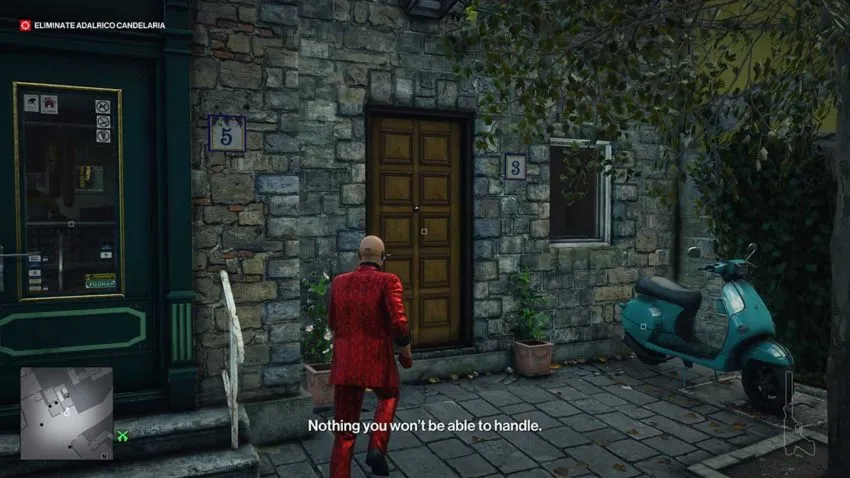
Run out of the building and across the square in front of it. You need to make your way to the path that drops down to the left-hand side of the church. Two bodyguards guard a door there, and you need to get inside. See a map reference for this door below.
You have two options here. You can either wait for the bodyguards to walk away and use the lockpick to get inside, or you can head to the ledge down the path and climb up to the graveyard. From there, you can get downstairs through the church’s interior. Either way, you need to get downstairs and into the room with the security camera footage to await your target. See below for a map reference for this room.
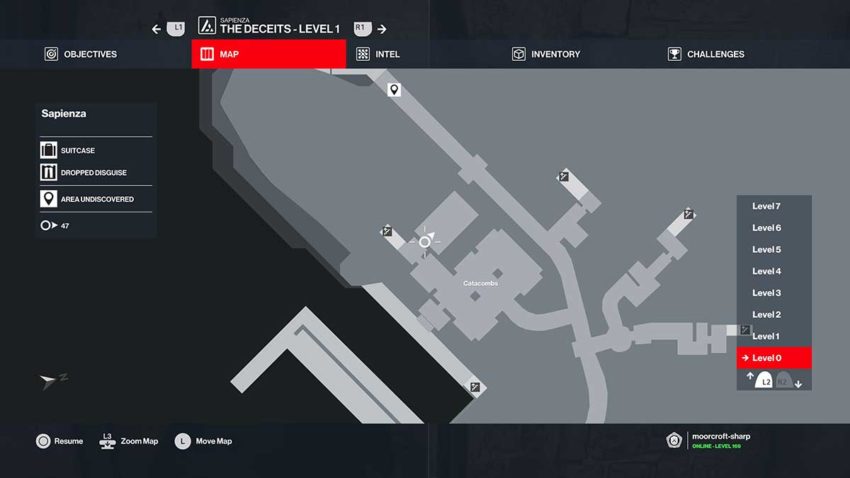
Now you must wait for the target to come downstairs. Use instinct to check when they’re moving. You’ll be able to see because they have a bodyguard with them that can see through your disguise. Even once they’re downstairs, you need to wait a bit longer for the priest in the hat to walk back upstairs. Then, you can head out into the hall in the catacombs and place the gun you picked up earlier on the floor.
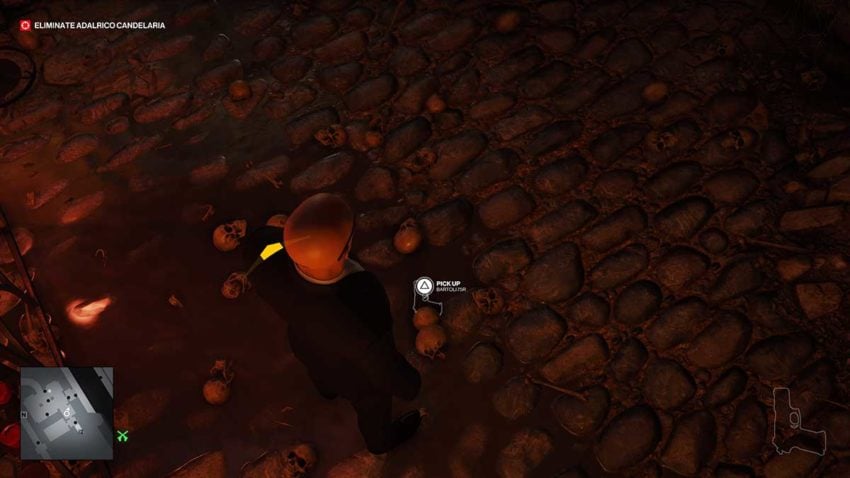
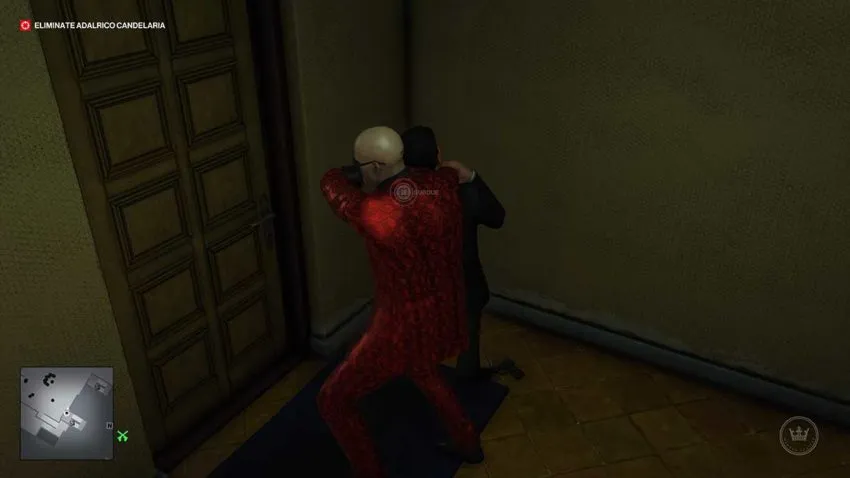
Go back into the security footage room and wait. When the target is about to leave, they’ll have their bodyguard collect this gun first. Then, when the target is walking past the door, flip a coin to distract them and draw them inside. Once they’re in, kill them and drag their body to the back of the room. Make sure you don’t subdue them.
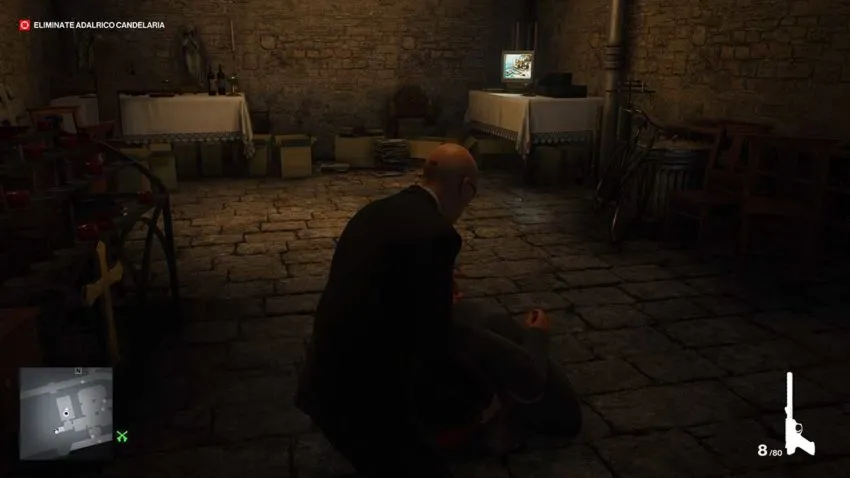
Now you can leave through the main door to the catacombs and take the boat on the pier as an exit. It’s best to use this one since the body could be discovered if you take too long to leave.
Level 2 – The Identity Thief
The second target in this mission has the same complication as the first. There are multiple ways you could kill him that all revolve around electrocution. We recommend bringing along the ICA Remote Micro Taser because it’s the easiest to use.
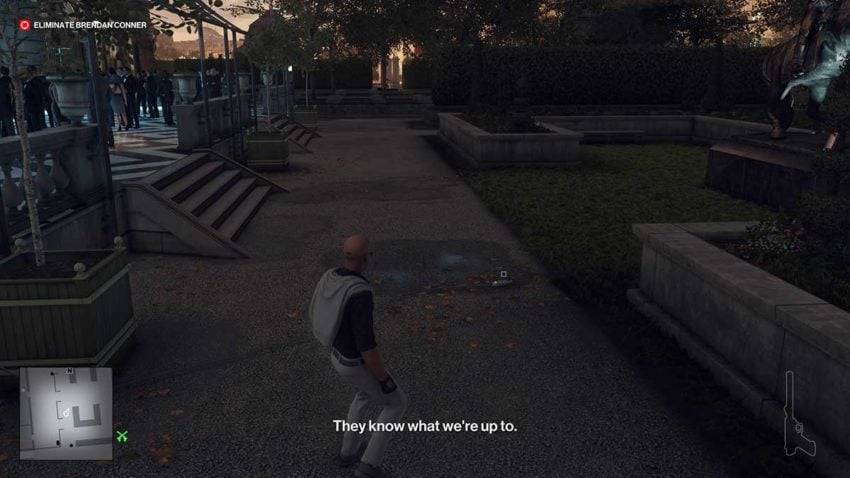
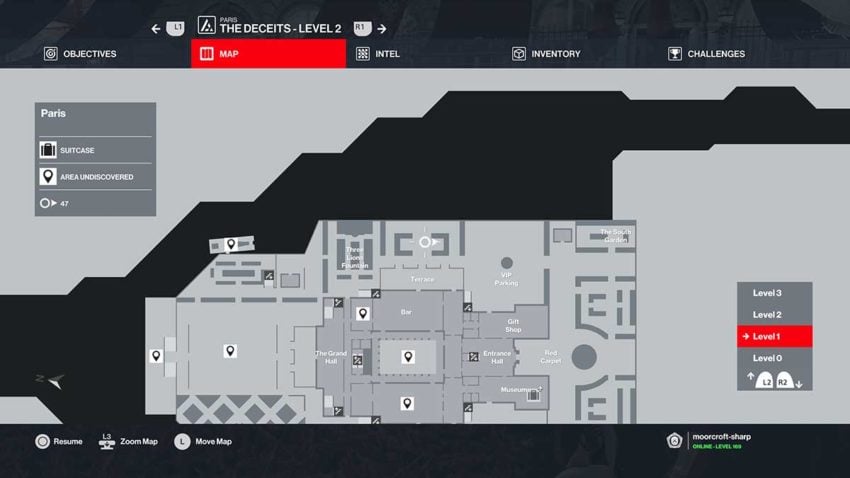
From your starting location, run to the bar and out into the garden. There’s a pool of water with a wire running through it at the bottom of some steps, which is how we’re going to kill the target. See below for a map reference for this location.
You now have two options. You can either shoot the plug sitting in the water to electrify it or drop the ICA Remote Micro Taser in it and activate it later. Either way, you must wait for the target to walk out here and come down the stairs.
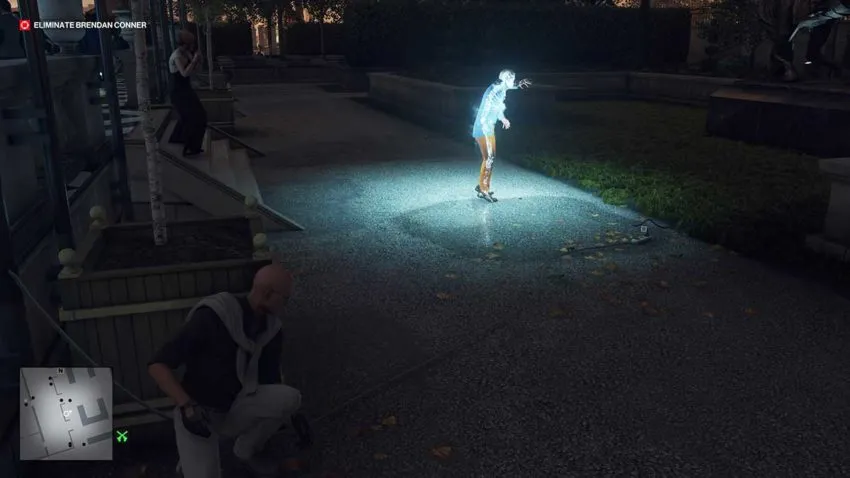
Flip a coin into the puddle to draw him in when he does. If you’re using the ICA Remote Micro Taser, you need to activate it as he steps in the puddle to kill him. Then you can leave using any exit you want.
Level 3 – The Angel of Death
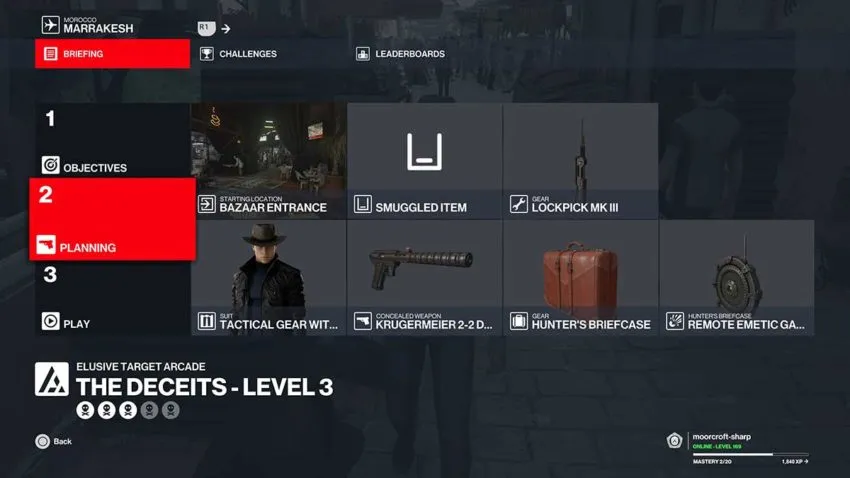
Your third target has the added complication that you must hide all bodies in crates or boxes before you can exit. This makes the target much harder to kill, but we’ve found a straightforward method. You need a briefcase with the Remote Emetic Gas Device inside it to pull this off. You will also need a silenced pistol like the Krugermeier 2-2- Dark. It’s also essential that you bring a lockpick.
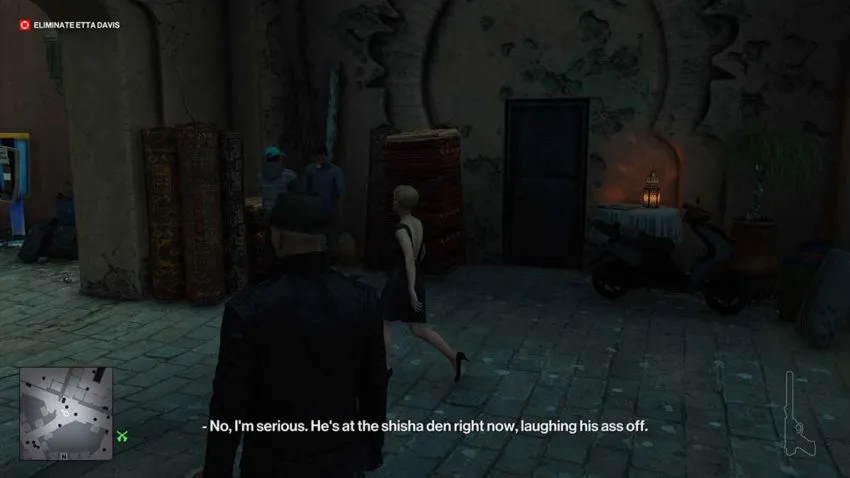
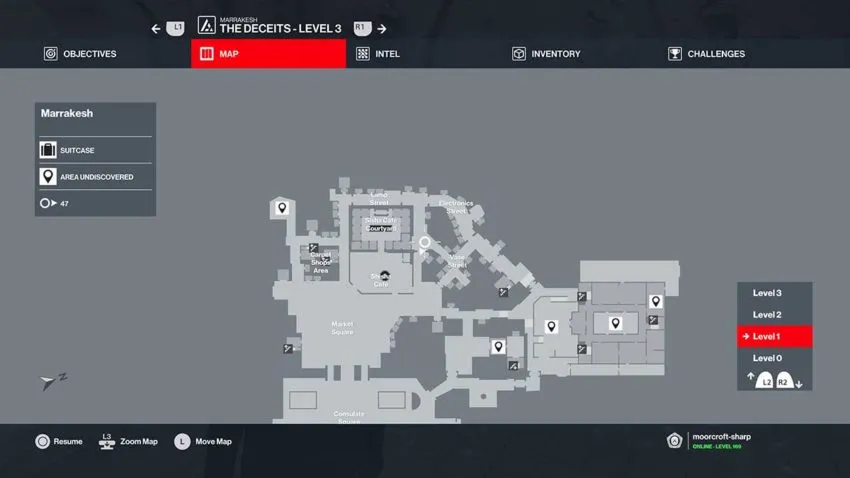
From your starting location, you need to run to the back door of the shisha bar. This is a black door in one of the walkways in the souk. Two men will have a conversation about an interview next to the door. This needs to play out before they’ll move away. Then, when no one is looking, use the lockpick to unlock the door. Next, you can retrieve the Remote Emetic Gas Device inside the locker room and then put it back into your briefcase to arm it. You’ll need this later. See the map reference below for the door to the locker room.
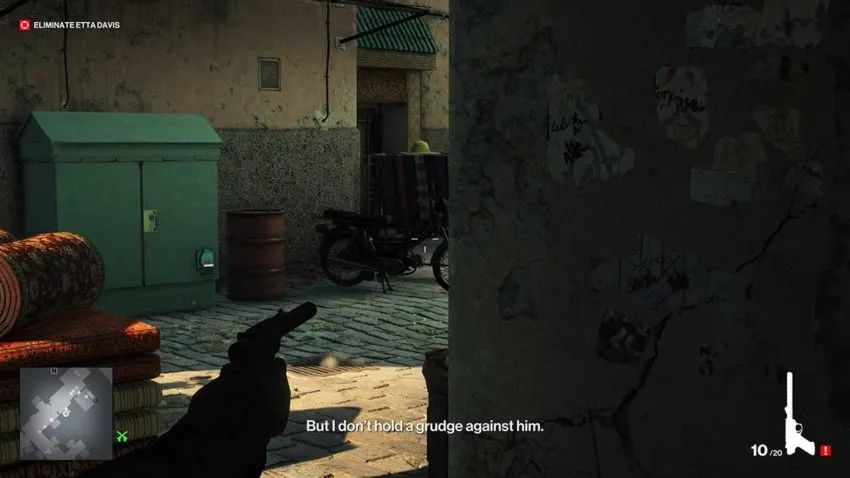
Next, run to the carpet shop entrance. It’s right next to the stairs into the military training camp. Hide in the corner on the right and shoot the gas tank on the bike. Then, once enough fuel has pooled beneath it, shoot the fuel to cause an explosion.
This causes the soldiers to lock down the target. They’re going to rush her to the shisha bar, so run ahead of them and use the back entrance you unlocked earlier to get inside. When the target is safely there, use the Remote Emetic Gas Device in your briefcase to gas her and force her into the bathroom.
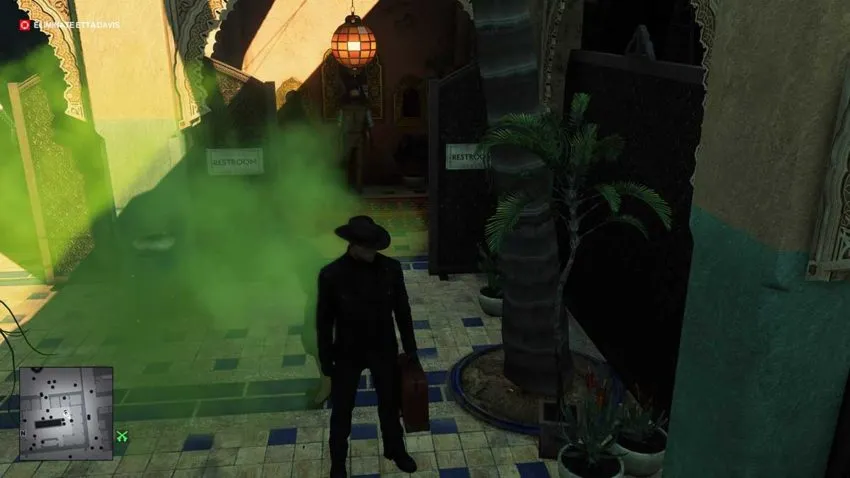
Follow the target into the bathroom and drown her. Then, you can dump her body in the nearby crate. Do this quickly because we found that a soldier came inside quite soon once the target was dead. Now you can leave through any exit you want to use.
Level 4 – The Fugitive
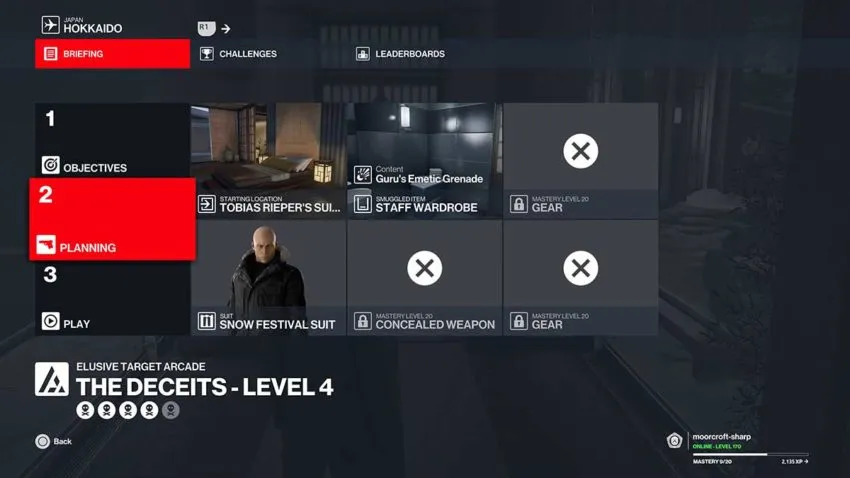
The fourth target in this mission has past complications but can also be one of three different people depending on RNG. You won’t know if you’ve killed them until the NPC is dead. If you’ve accidentally killed a non-target, restart the mission and try again until you kill them. The loadout for this mission requires you to smuggle the Remote Emetic Gas Device in through the staff wardrobe. That’s all you’ll need.
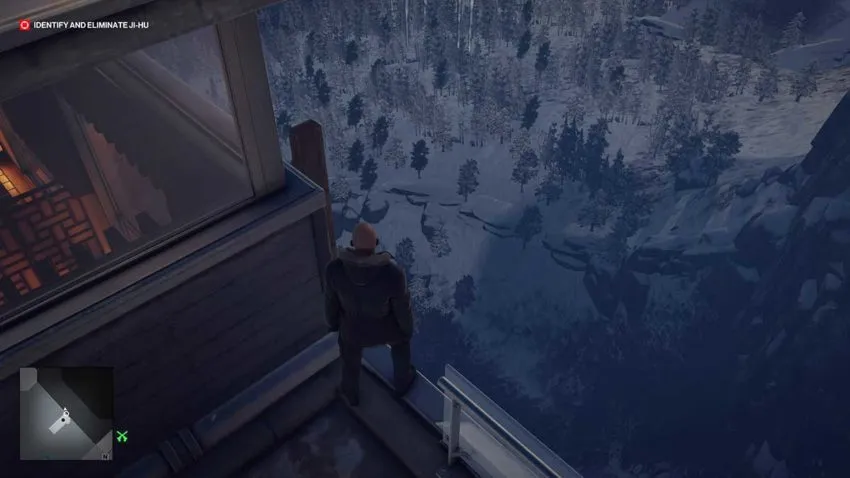
From your starting location, go into the garden of the main facility and run up to the top left-hand corner. There’s a drainpipe that you need to climb onto and slide down. Climb onto the first ledge that you come to and vault onto the walkway. See below for a map reference for this drainpipe.
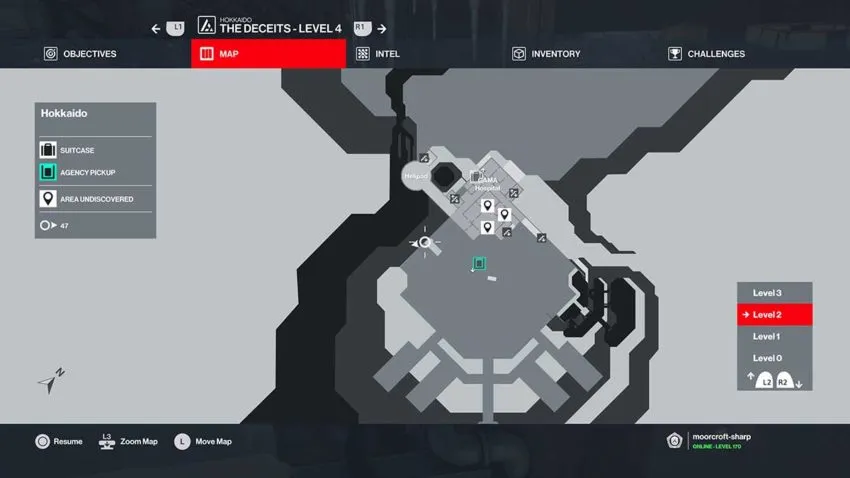
Follow the walkway left and down the stairs. You need to subdue the guard at the bottom, take his disguise, and hide his body inside the door behind you. Then, follow your map marker to collect your smuggled item and return to this walkway. Next, you need to go up the stairs, left, and then into the door to the bar on your right.

Once you’re in the bar, you need to wait for the NPC with the bandages on their face to arrive. Then, they’ll sit down on the couch just in front of the bar. Drop the Remote Emetic Gas Device at their feet and trigger it straight away. This will poison the NPC and cause them to go downstairs to the bathroom.
Follow the NPC into the bathroom stall and drown them. If it’s the target, you’ll get a notification and can hide their body and exit. If not, restart the missions and repeat this route until you kill them.
Level 5 – The Black Hat
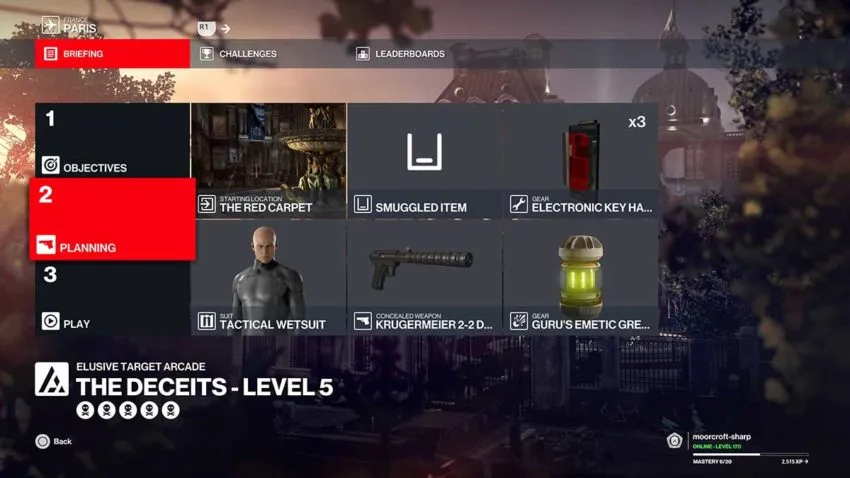
This final target adds a new complication that gives you a two-minute timer to finish the mission if you’re caught on camera. The loadout we’re using is the basic starting location, but you need to bring along the Electronic Key Hacker. We also brought along the Guru’s Emetic Grenade as a safety net, and a silenced pistol is also essential.
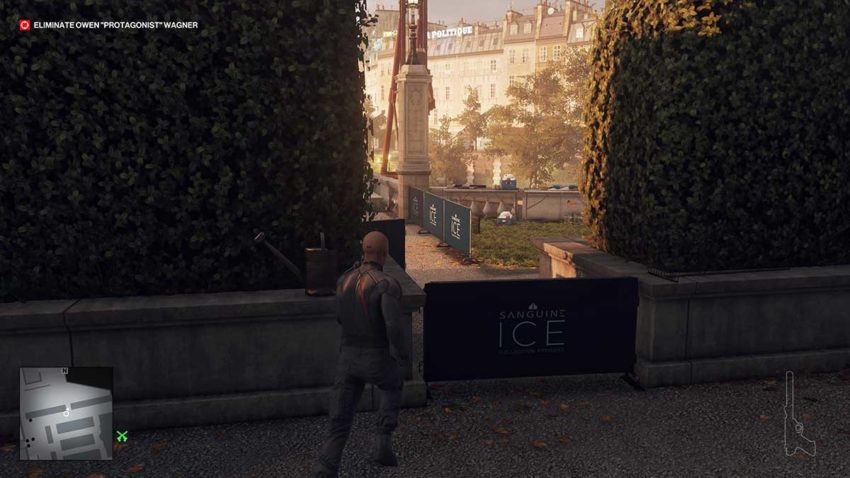
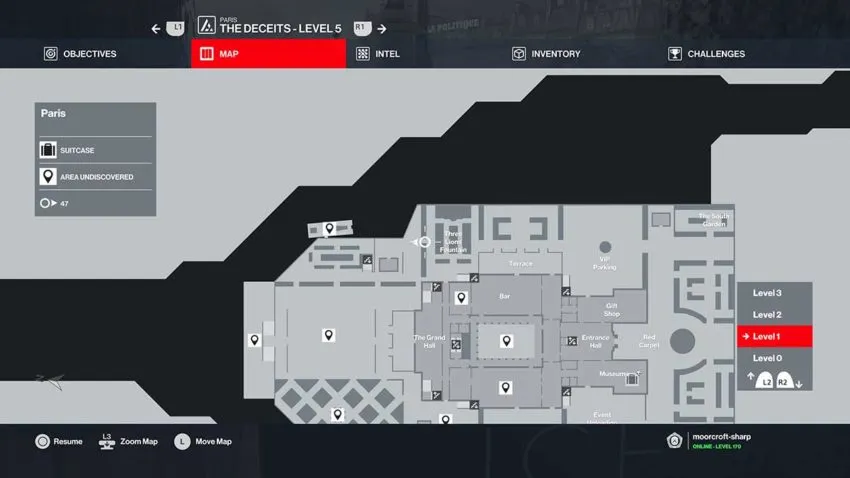
Head to the bar and then left toward the garden from your starting location. You need to vault into the garden, a trespassing zone. See below for a map reference for where to vault in.
Turn left and head to the corner of the mansion. There’s a drainpipe that you need to climb up and then vault onto a balcony full of people. You won’t be caught since that area isn’t a trespassing zone.
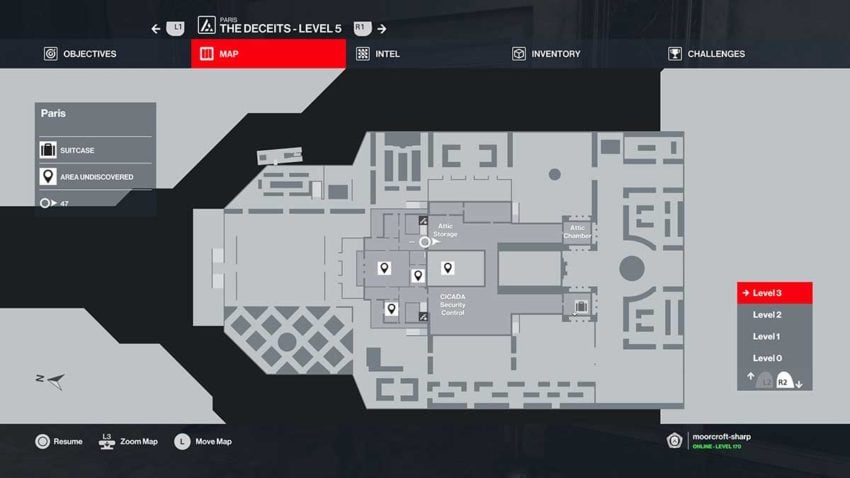
Go through the corridor and get to the attic. This is through a private door, so you’ll be trespassing as soon as you’re inside. Take care to hide behind cover and dodge the guards in the area. See below for a map reference for the attic door.
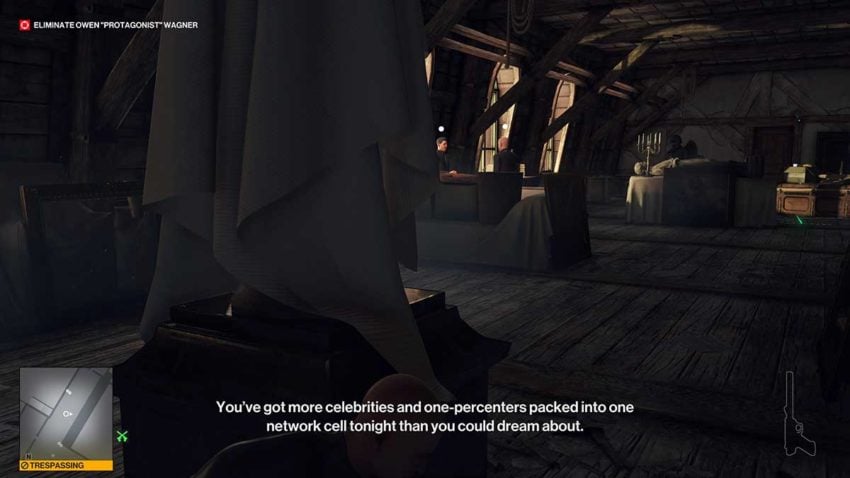
Inside, you need to take the first open door on your left, then your right. This leads to an open area full of guards. Use instinct to track the guard through the wall to your right. When he turns and walks away, move through the door to that area. Once you’re through the door, turn left and go through the curtains. There’s a statue here you can hide behind.
Wait for the guard on the right in this room to leave. He’ll walk past the statue, so use it as cover to avoid him. The guard on the left will eventually walk away and face out of the window. In the meantime, you can shoot out the camera above the door in the distance. Then, when the second guard looks away, hack the electronic lock on the door and go inside.
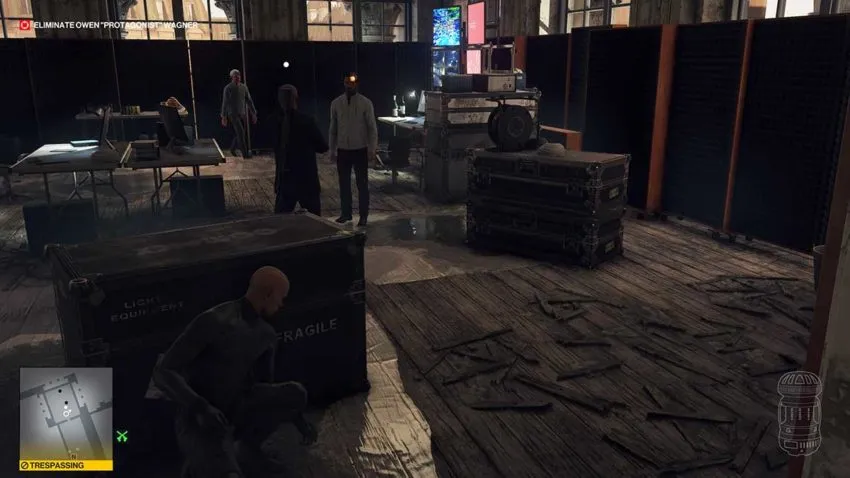
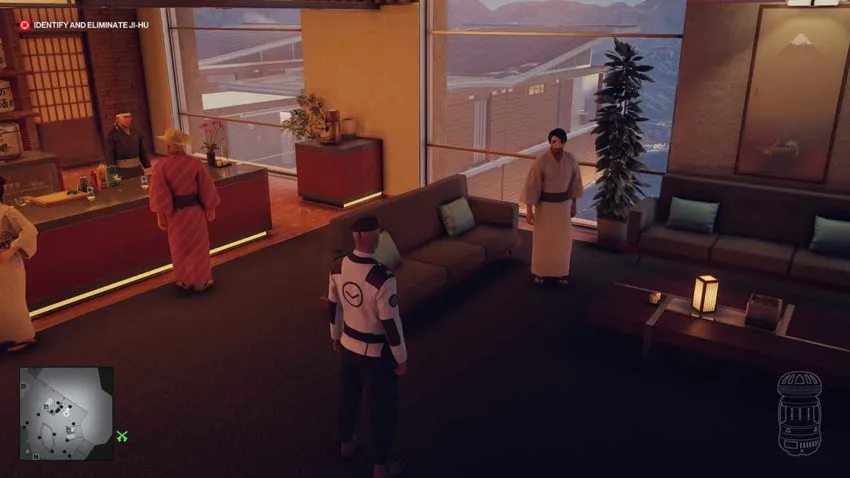
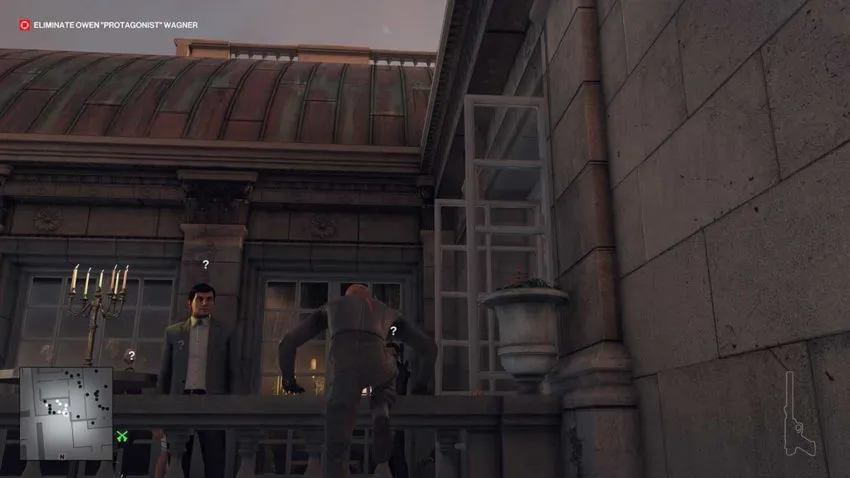
This is the room where your target is located. He’s the one in the white shirt. There’s also a guard in here to make things slightly more uncomfortable. Wait a while, and the target will eventually ask to go to the bathroom. The guard won’t let him leave, so he’ll go to the corner to pee. You can kill him and put his body in a crate when he does. If you wait for the second NPC to turn around, you should have time to do this, but the bodyguard makes things difficult. If you poison the bodyguard with the Emetic Grenade, he’ll leave, and you can kill your target in peace. However, it’s also possible to bring the fiber wire along to speed up the kill. Once you’re finished, you can return the way you came and pick any exit you fancy using to leave the mission.