The Gauchito Antiquity is one of two Deluxe Escalations added to Hitman 3 with the game’s first major patch. Unlike The Proloff Parable, however, this Escalation will push your skills to the limit. In this guide, we’ll walk you through how to complete The Gauchito Antiquity with a rank of Silent Assassin.
Level 1
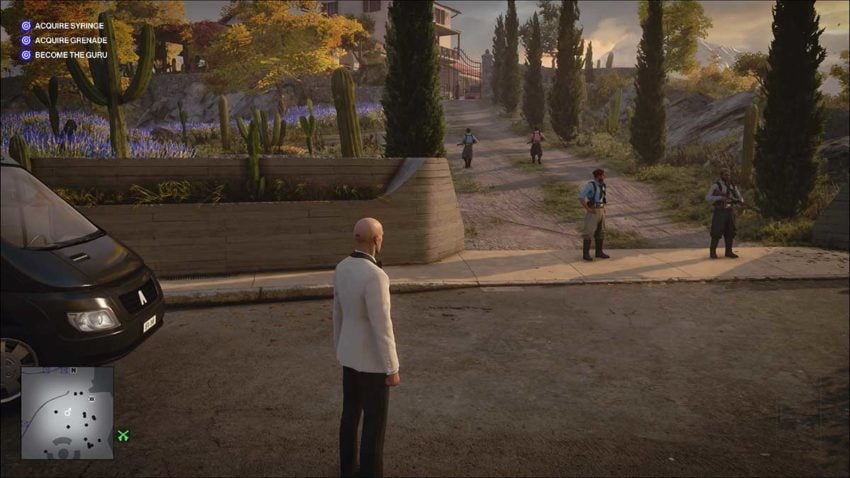
The first level of this Escalation tasks you with picking up all of the new items it adds. These are the syringe, the grenade, and The Guru disguise. As with every Escalation, we can’t choose our starting location here.
The syringe
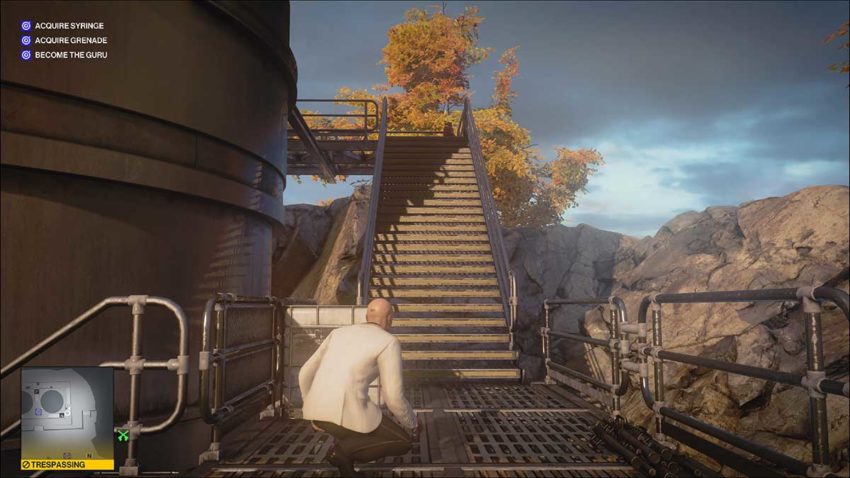
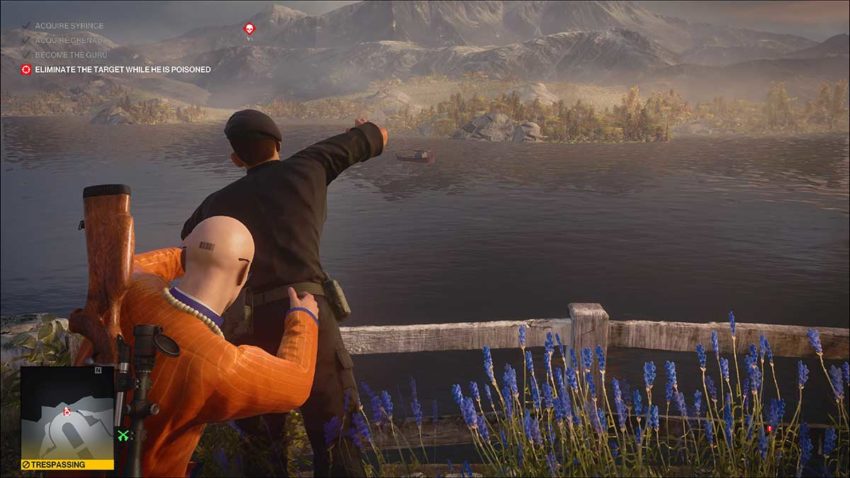
All three items will appear on your map when you spawn in the Parking Lot starting location. The best one to get first is the syringe. This is located in the large metal structure on the map’s left, through the Lower Gardens.
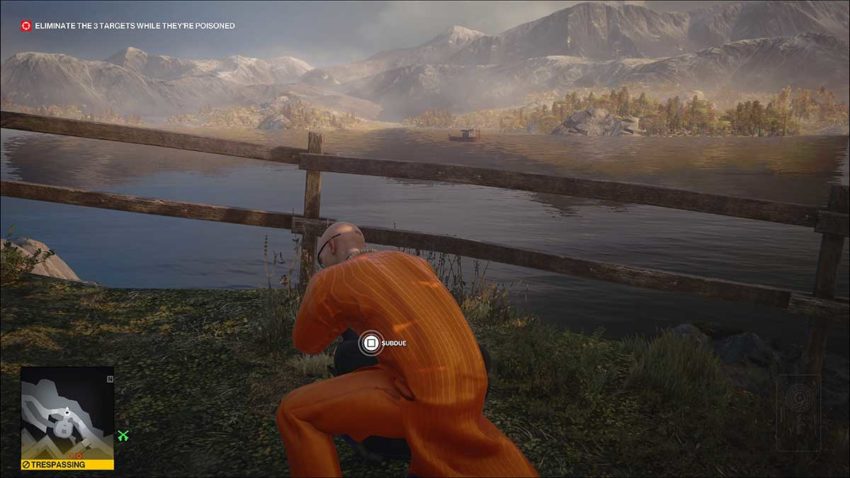
To get there, you’re going to need to sneak past the guards at the end of the Parking Lot.
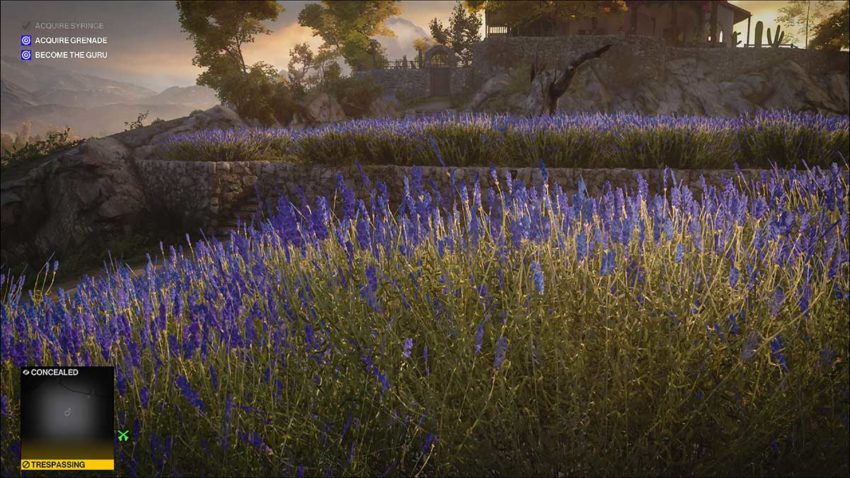
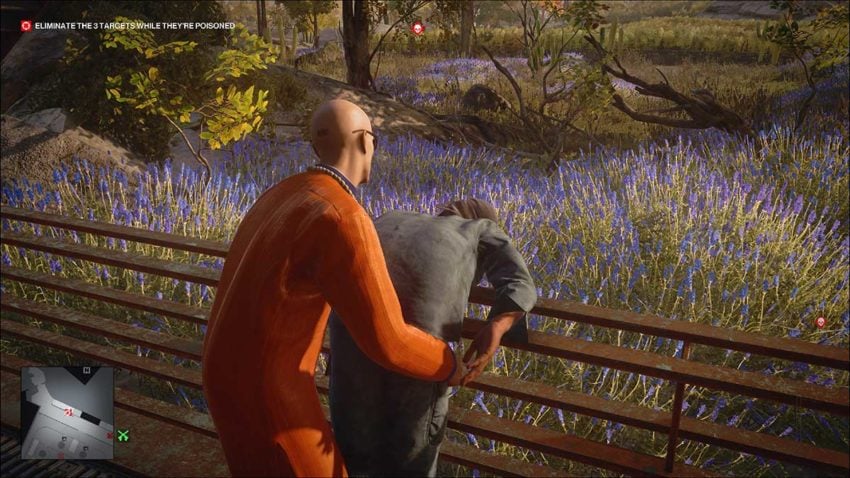
The only way to do this is to crouch and run to the left of these guards. Use the tree as cover as soon as you’re around the cover to prevent them from spotting you. Keep moving until you’re in the lavender, and from there you’ll be covered.
This can take a few attempts to get right, which is why we’re tackling it first.
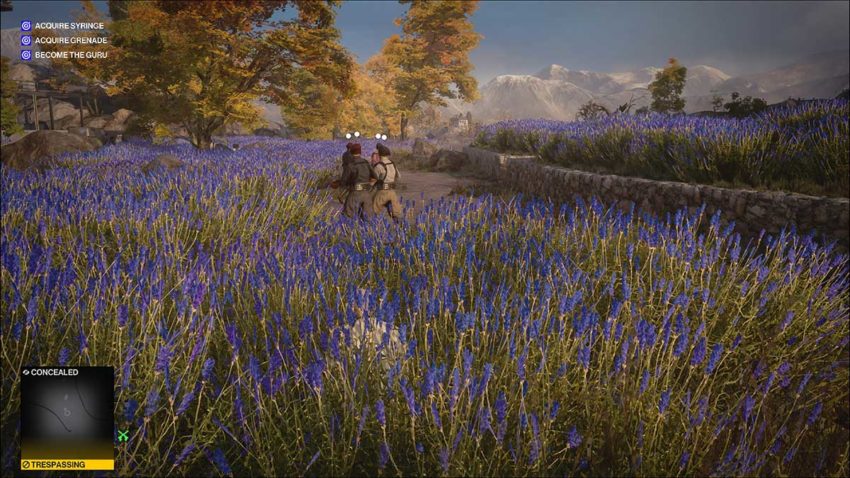
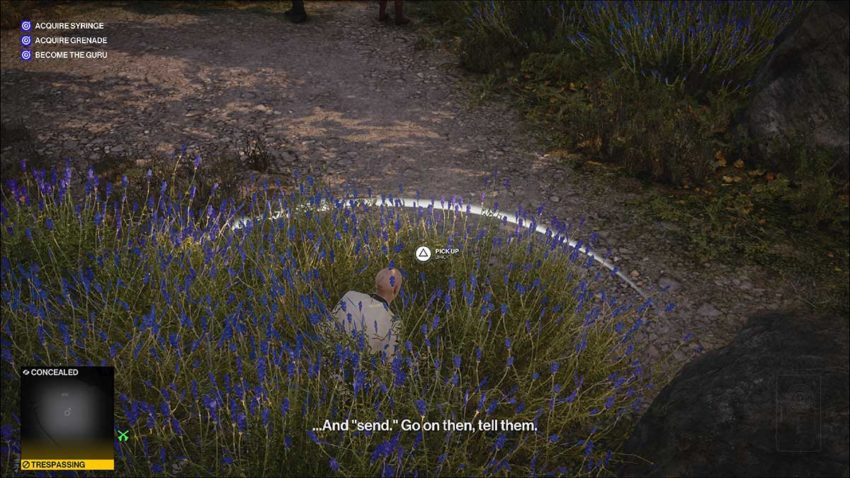
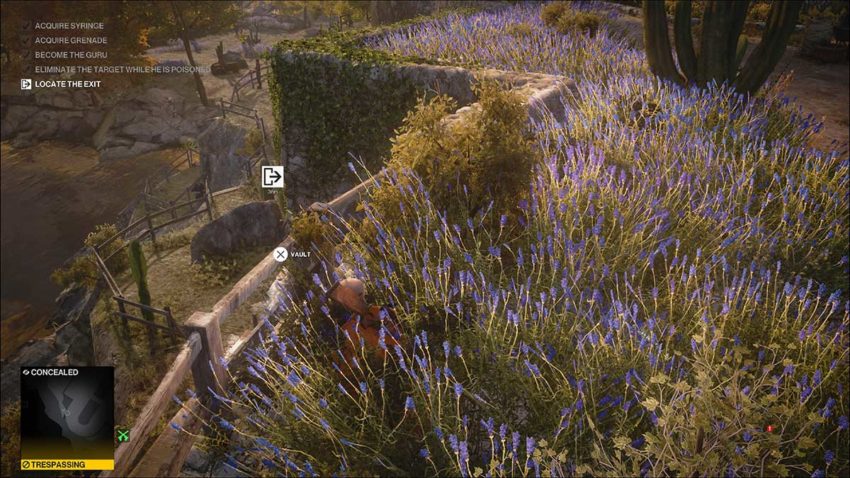
You can avoid guards by sneaking quickly through the sections of lavender here. Move forwards from the position in the image above. You need to be approaching the metal structure’s right-hand side.
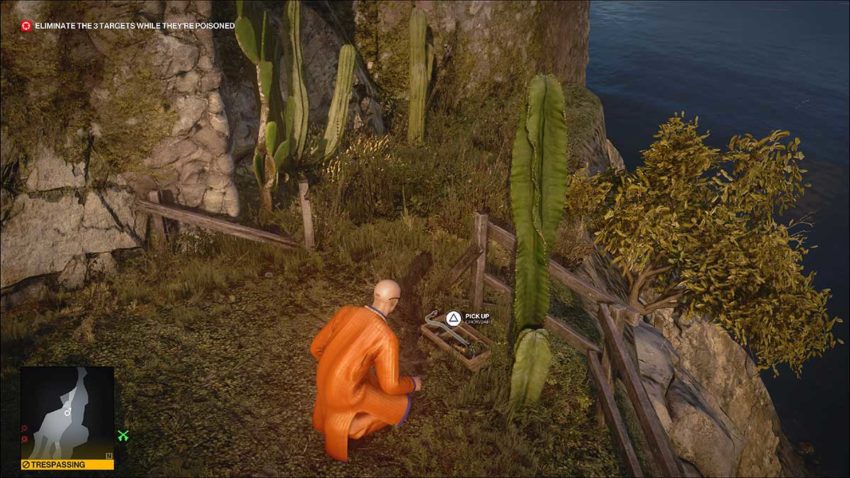
If you feel like you need a tool to help you with this section, there’s a brick in the upper section of lavender to your right.
Below is a map reference for this brick.
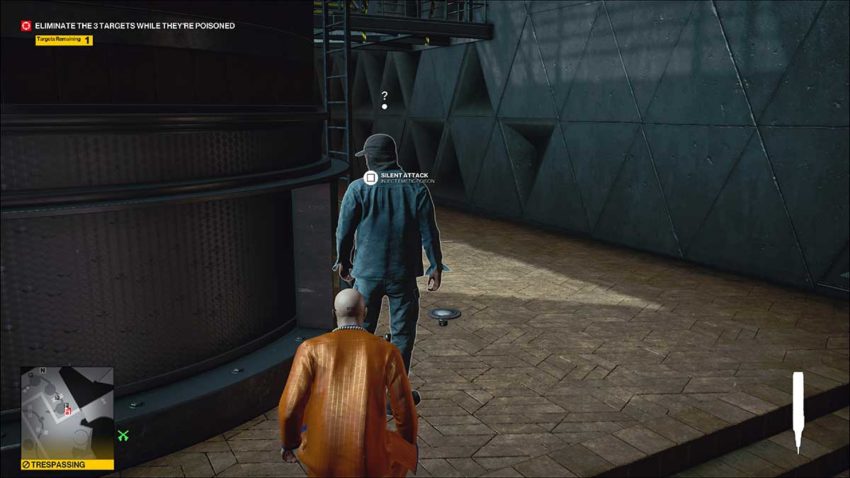
As you move towards the structure, you’ll see a guard blocking the path ahead. You need to wait until he looks away from your position, then you can subdue him. Use the brick or Agent 47’s bare hands, then hide the body as best you can on the other side of the dumpster.
Once you’ve dealt with this guard, you need to wait. There’s another guard on the walkway above. You need to wait until he patrols to his left. This path will see him come down the stairs closest to your position. Once he’s down, he’ll have a chat with the other NPCs between the two silos. More importantly, the stairs will be open for you to climb up.
At the top of the stairs, climb up the next staircase immediately to the left. Use instinct to check that the patrolling guard up there isn’t anywhere near your position first, though.
The guard on this upper walkway should start walking towards your position after a while. Use the boxes up here as low cover. When he gets close enough, subdue him.
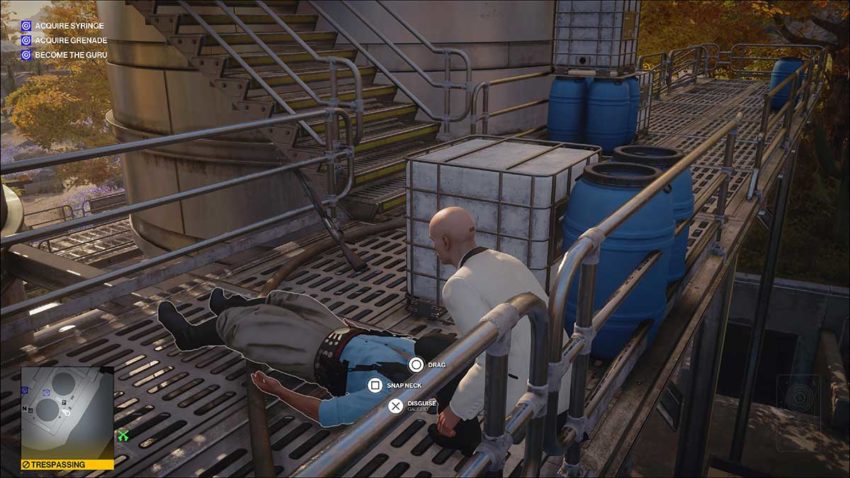
Drag the guard’s body to the opposite end of this walkway. His body was never found in our experience, so he shouldn’t be in your playthrough either.
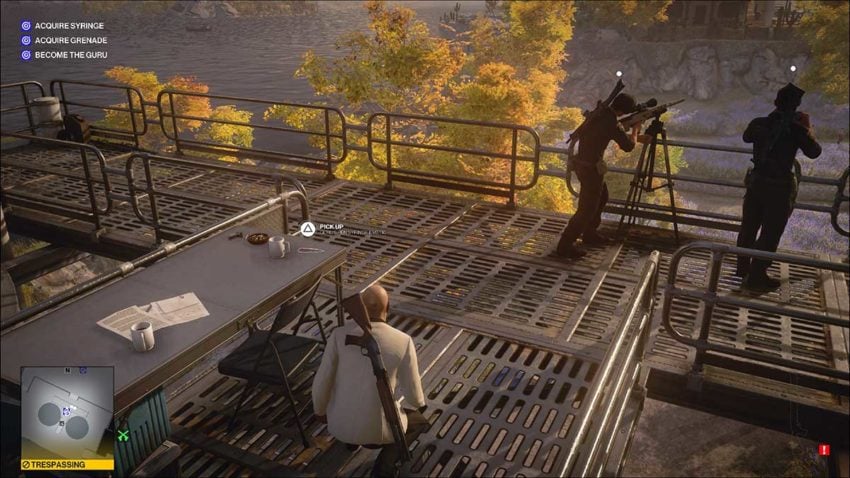
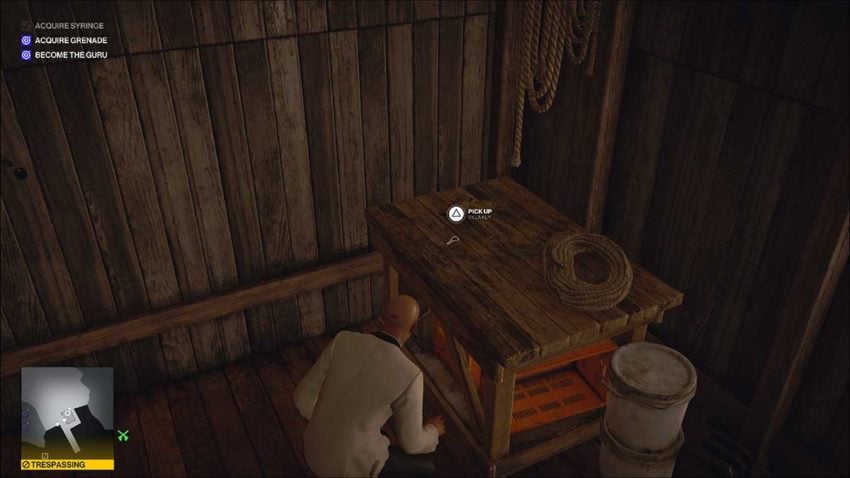
The syringe is up that next flight of stairs. It’s sitting on the table near the pair of guards around the sniper rifle. These guards never turn around, so you can pick up this item without fear of being spotted.
With the syringe in hand, all you need to do is return to the lavender field. Head back the way you came, but be careful of the guard who may be patrolling the lowest walkway. Once he’s moved down to the ground floor, you should have no trouble getting back out into the fields.
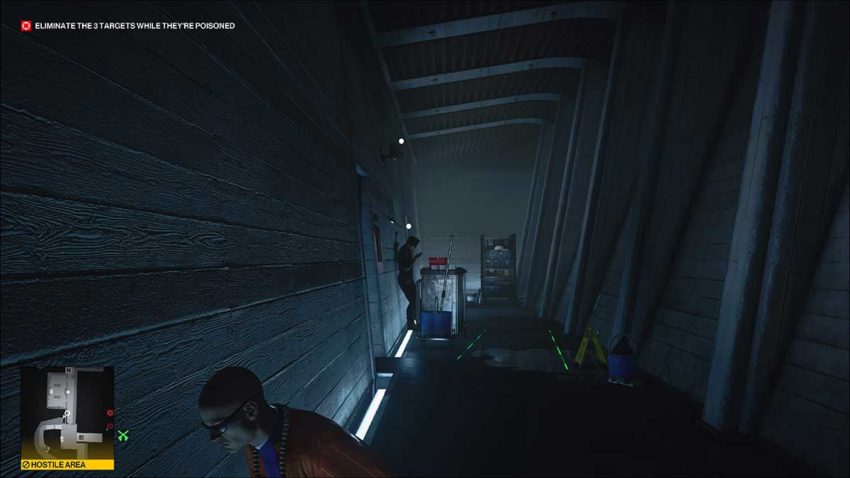
The grenade
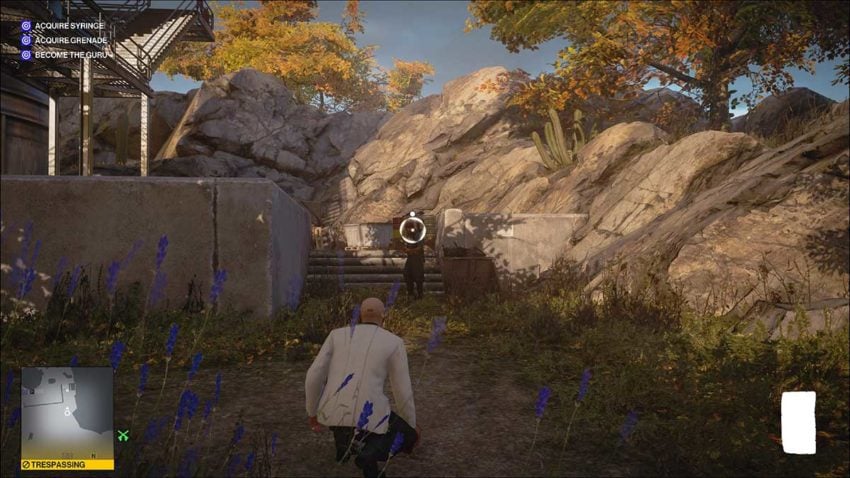
The next item we’ll be picking up is the grenade. To get there, we’ll need some tools first. Move left as you leave the metal structure. You should see a small wooden boathouse in the distance. That’s where you need to go.
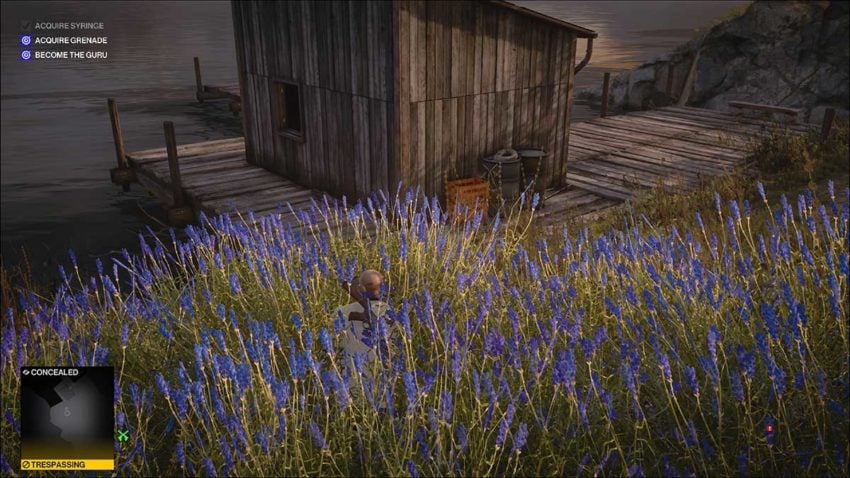
A guard moves around the boathouse but will then patrol back to his friend for a chat. Once you’re sure no one will spot you, get inside the boathouse through the open window at the back.
Inside, there are useful items everywhere. The one you’ll need to pick up is the villa key. This is going to get you into the Villa’s grounds. You could also grab a screwdriver and crowbar for good measure. But these shouldn’t be necessary.
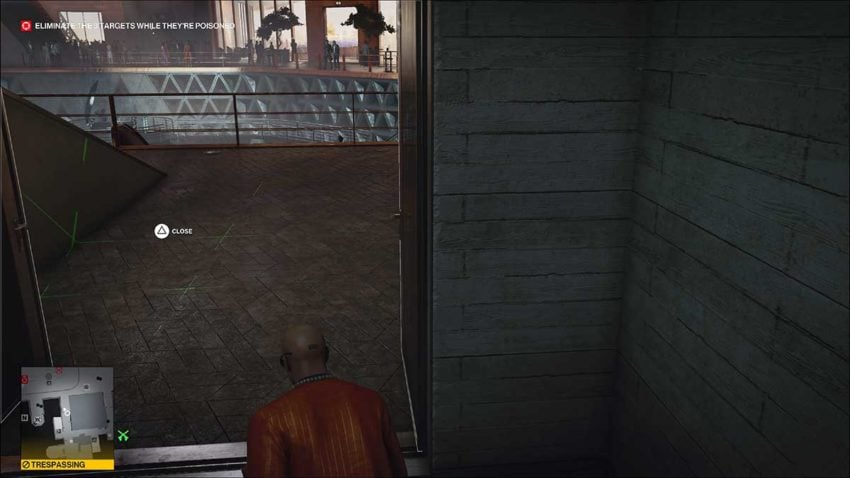
Use instinct to make sure that there’s no guard nearby when you hop back out of the window. Move back into the lavender field and look towards the Villa. You need to get to the back gate entrance, which you can see in the distant wall of the image below.
Once again, watch out for patrolling guards and move your way up to the door through the lavender. Once you’re at the door, the villa key will open it. Below is a map reference for the door.
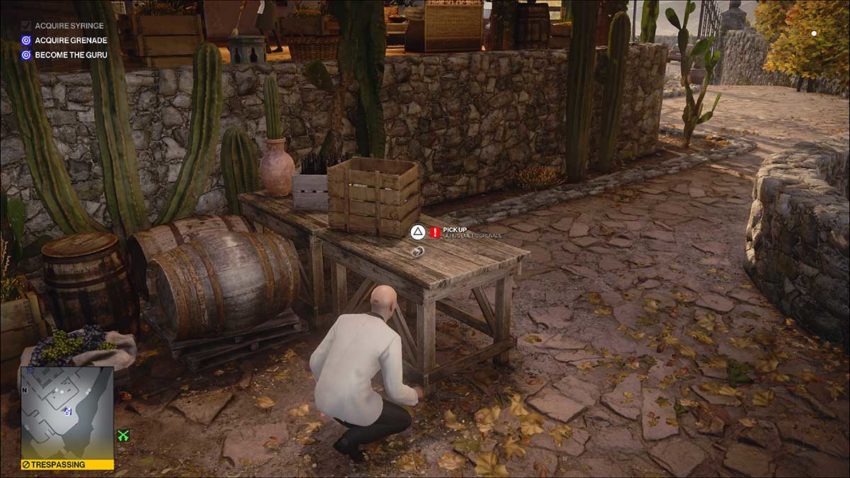
Once the door is open, you need to head forward and up the steps to your right. Watch out for the guards who are leaning on the wall to the left. At the top of the steps, turn right and hide in the small patch of lavender around the tree.
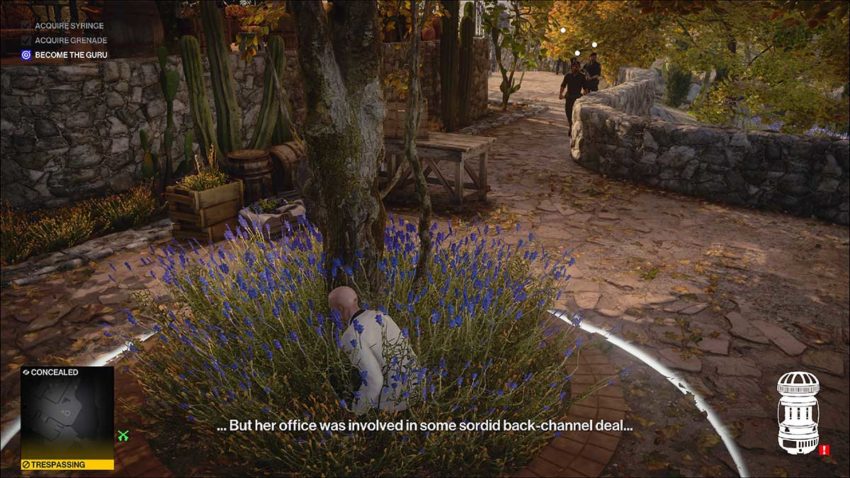
Use this spot to avoid the guards if they’re moving around this area. Once they’re out of the way, pick the grenade up from the small wooden table nearby.
The Guru disguise
With grenade in hand, head away from this side of the Villa, past the top of the steps you climbed, and towards the drainpipe in the corner.
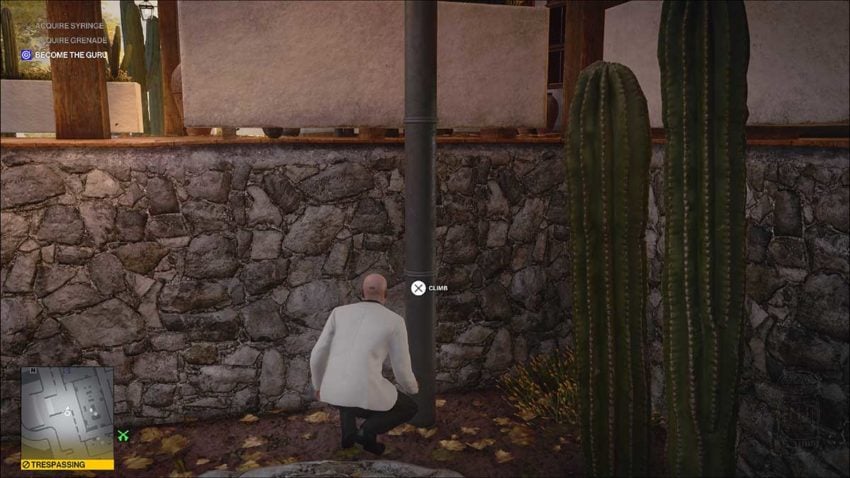
Below is a map reference for the drainpipe.
Climb the drainpipe and get onto the roof. There’s a chance a couple of NPCs in the bedroom up here could spot you. If they’re up here, move across the rooftop to hide from them and wait for them to go downstairs. Once the coast is clear, climb the second drainpipe on this roof. It’s just next to the first one you climbed up.
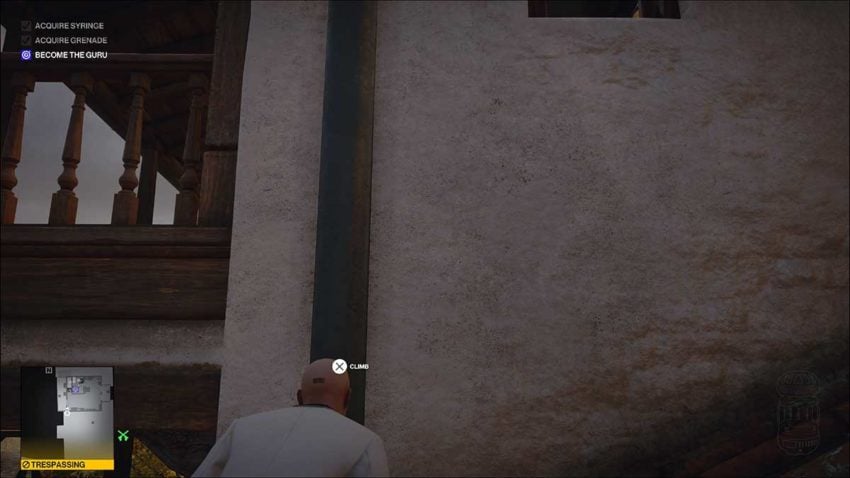
At the top, vault through the open window to find a room full of weapons and other useful items. Among them is The Guru disguise.
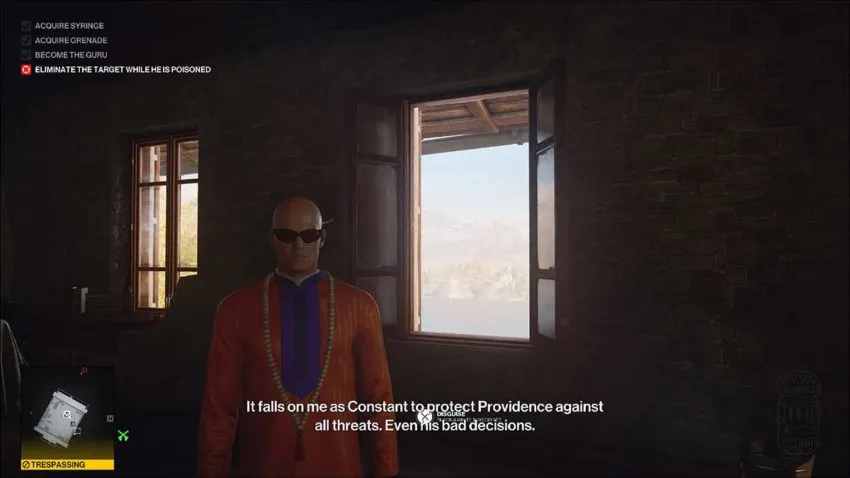
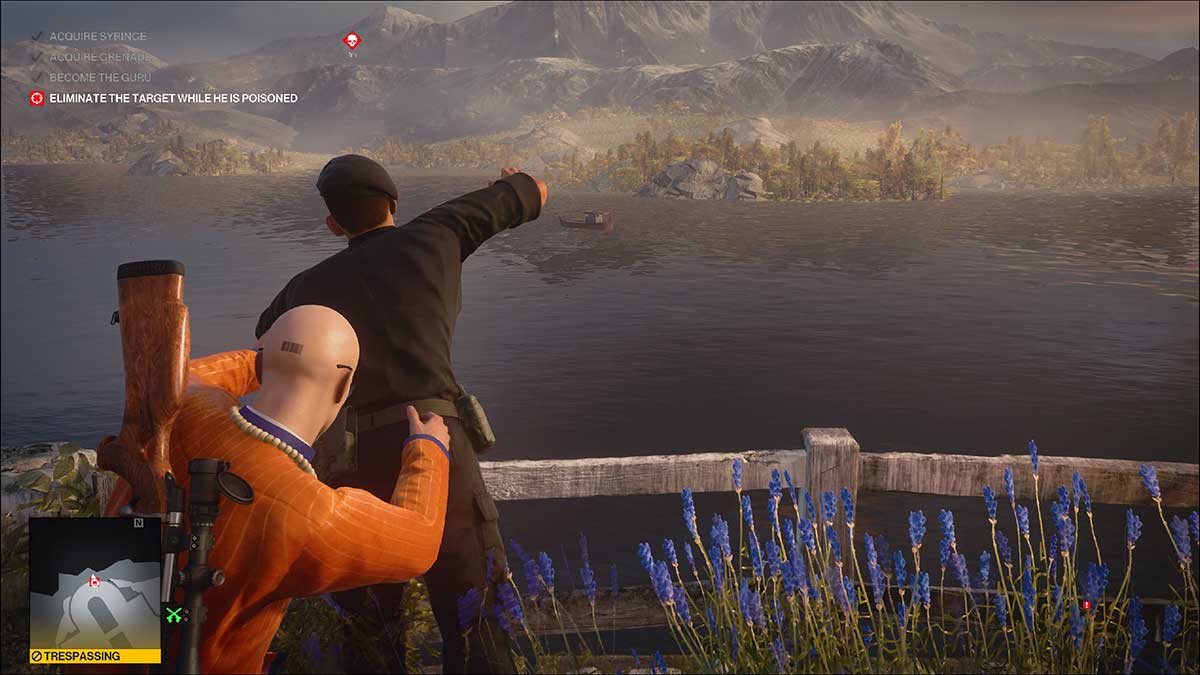
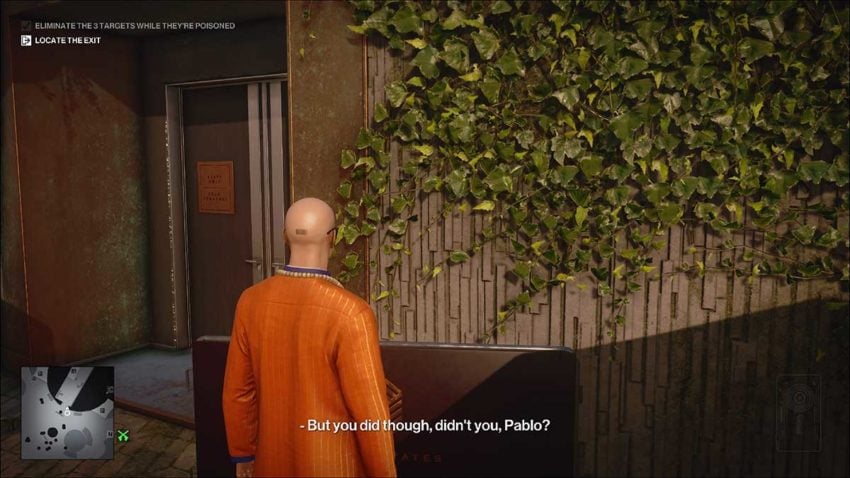
Kill your target while he is poisoned
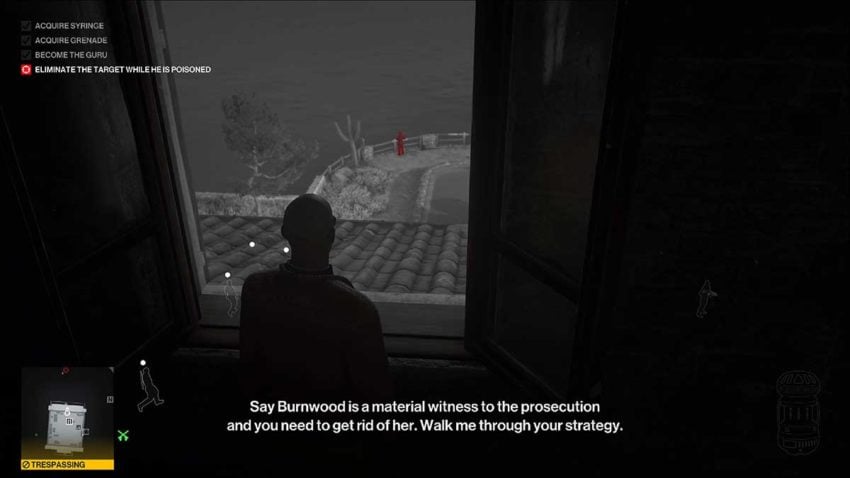
With all the objectives complete, you’ll now be given a target. You have to kill them while they’re poisoned, but that’s not going to be a problem. If you look back out the window, you can see your target.
Get to the ground floor by sliding down both drainpipes. Once you’re down, sneak into the lavender opposite the first drainpipe so that you can begin approaching your target.
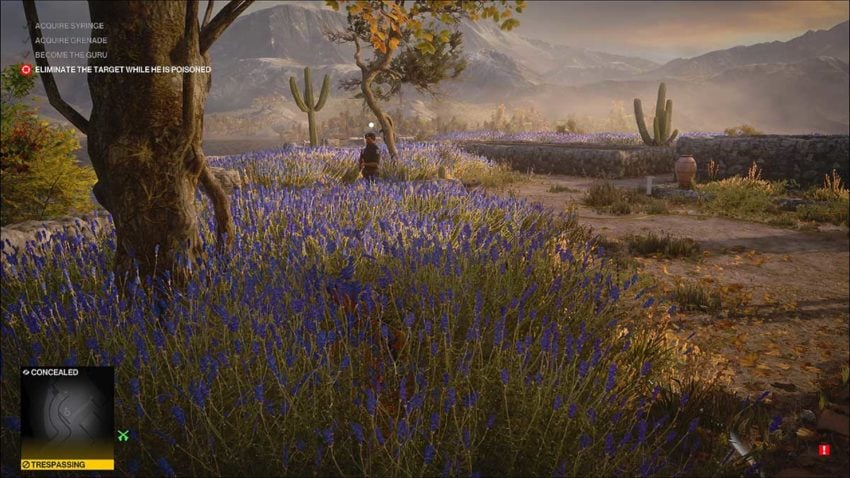
Move through the lavender until you’re close. Then, use the grenade to poison the guard. It’ll explode a few seconds after being thrown, so all you need to do is make sure it’s close enough to him that he’ll breathe in the noxious fumes.
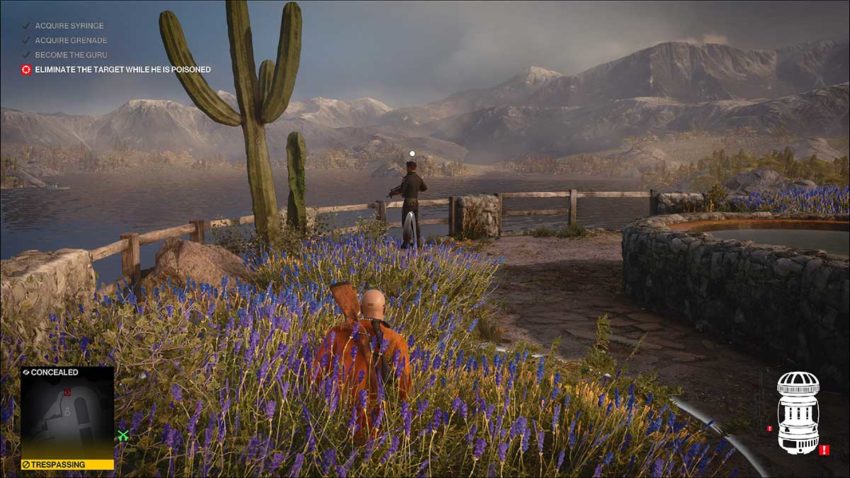
The guard will move to the right and lean over the fence to throw up. When he does, check that the guard behind you isn’t looking, then push him over.
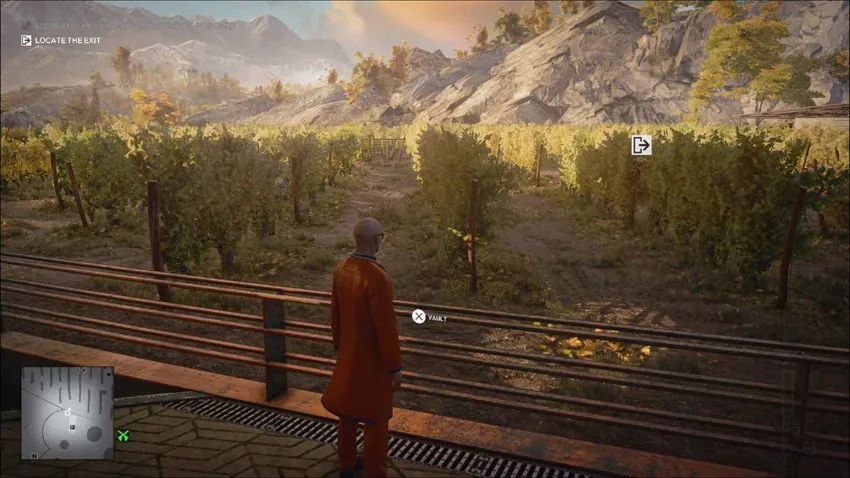
Exit
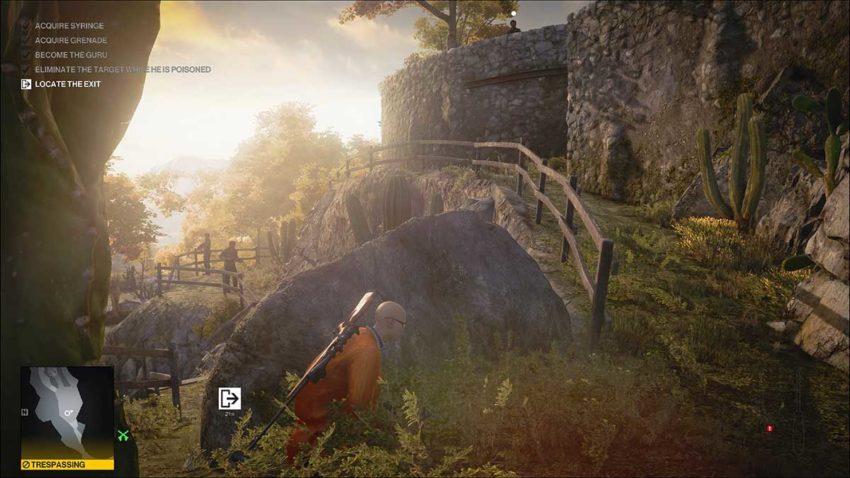
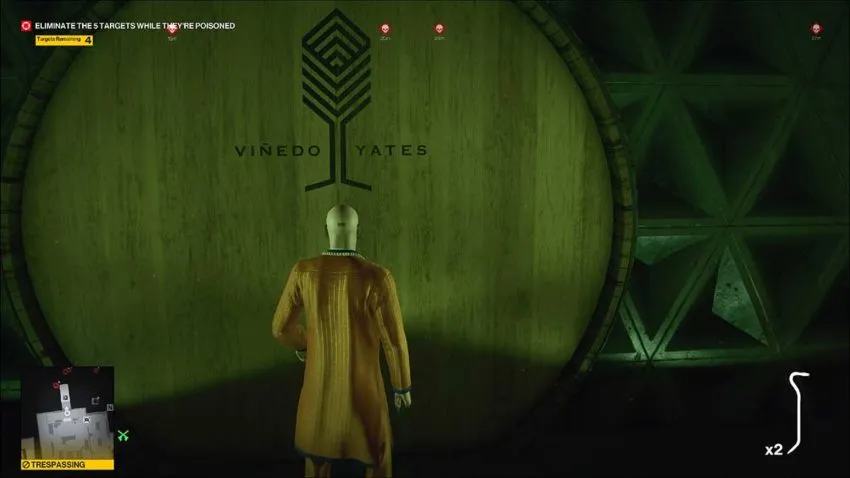
The exit for this Escalation is fixed. It’s the shrine, which is a short walk away from your current position. To get there, move to the right of where you’ll have pushed the guard over the edge. There’s a section of the wall that you can vault over.
Once you’ve vaulted and dropped, move to the large rock you can see in the image above.
There are two guards you need to worry about when trying to reach the exit. The first is the one looking over the wall above. He can spot any move you make, so you can’t sneak out from behind the rock until he moves off. The second is the left guard of the pair in front of the cactus. He will patrol down to the entrance to the shrine and back again.
Wait until the guard above has moved off, and the patrolling guard below has turned the corner on his way back up so that his back is to you. That’s when you need to sneak out and go left down to the shrine. Stick to the right of the path as you go, and you won’t be spotted.
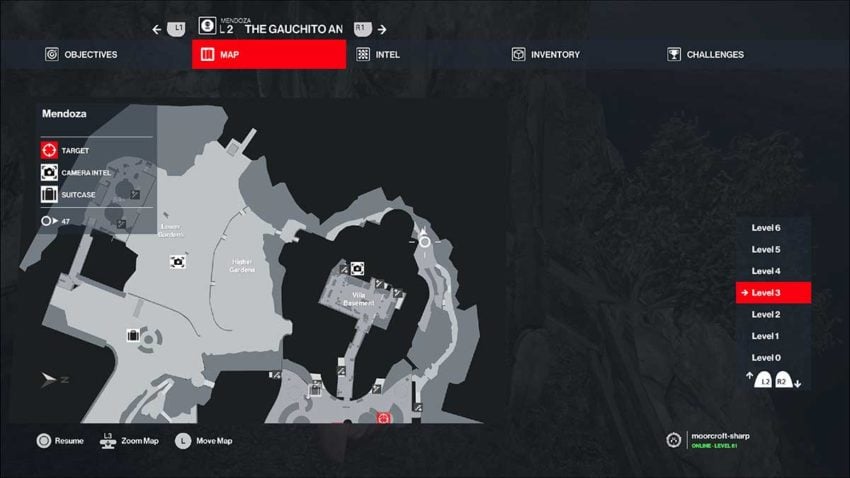
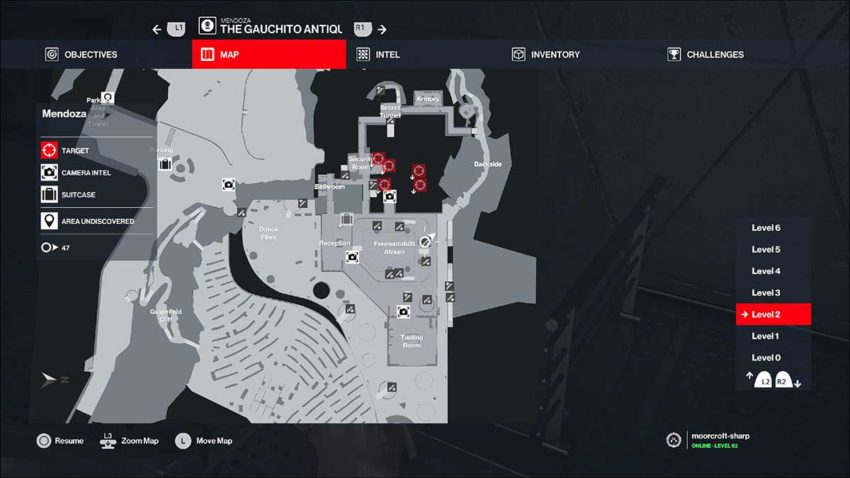
Level 2

The second level of The Gauchito Antiquity is much more about killing than the first. You now have three targets that must be killed while they’re poisoned. You’ll start with a limited loadout, including all three items you picked up in level 1. If you change your disguise at all, you’ll fail the mission.
Get into the party
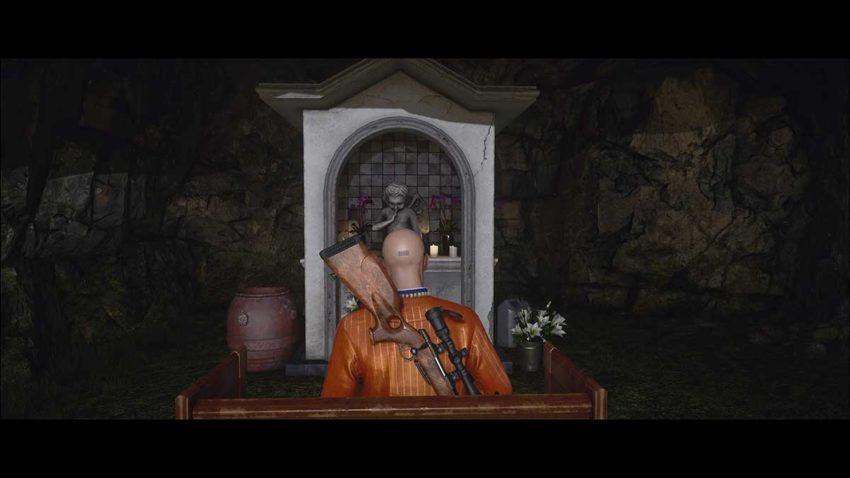
The starting location for this level is the shrine that was used as an exit in level 1. You need to get into the main manufacturing facility on the other side of Mendoza.
Head to the entrance to the shrine and wait. A guard will come down and lean against the fence. Once he’s settled there, subdue him and hide his body behind the shrine itself. If you do this too early, the guard above can spot you.
To get inside the facility, you need a crowbar. Head left out of the shrine’s entrance and follow the path until it ends. There’s a crowbar in a box waiting for you.
Below is a map reference for this crowbar.
Now head back to the shrine. Follow the path right from the entrance, and you’ll come to a door in the right-hand wall. Use the crowbar to break in here and follow the corridor.
You’ll come to a point where there’s a guard leaning against a wall and a camera above him. Avoid them both and dive into the locker room on the right.
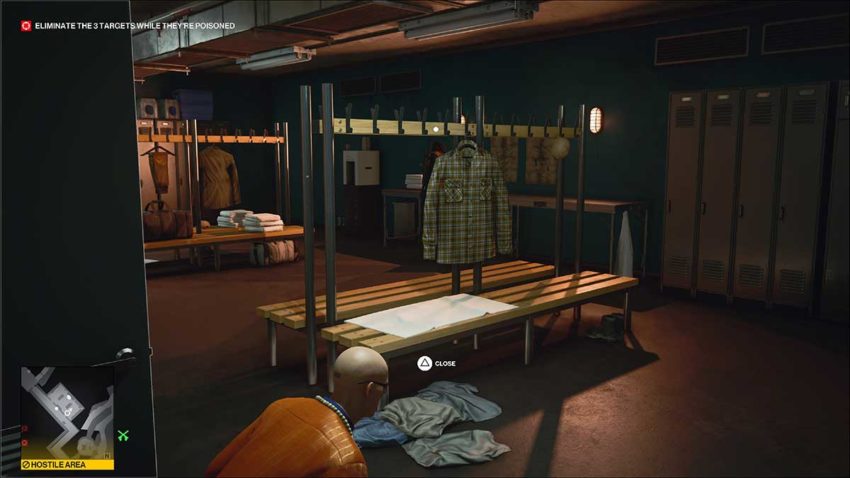
Throughout the entire mission, the guards here will not move from their position. This means that you can sneak through without being detected. To get back into the corridor, leave through the door on the other side of the locker room. Just make sure that the camera’s field of view won’t spot you as you exit.
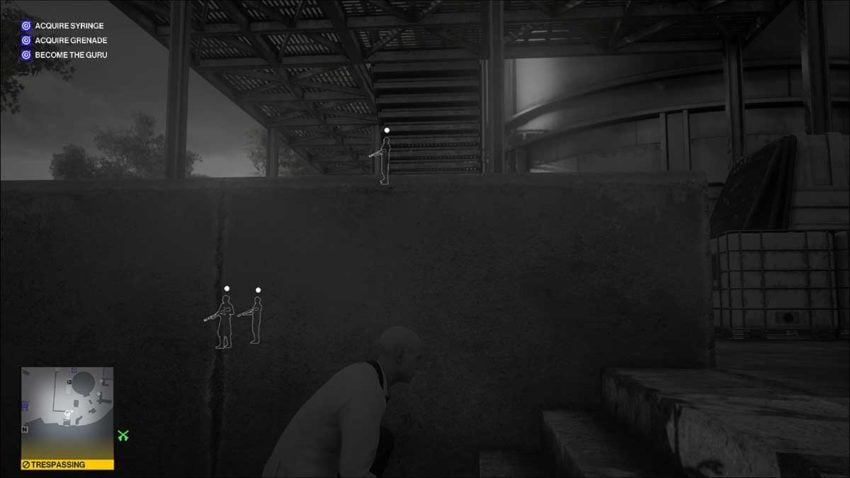
The next area you’ll come to has two guards leaning against a railing on your right. They will also never move from here. Follow the wire on the floor past them and down the next corridor.
The door at the end of this corridor is to the security room. There are three security guards in here with a very predictable movement pattern.

The two guards on the left and right will each turn their backs on the middle of the room for a few seconds as part of each patrol. The middle guard will be sipping from a drink at this time. When he gets up to have a drink, stand in the open doorway in his field of view until he almost spots you.
Wait for the yellow detection indicator to be almost full before moving to the side of the doorway. This will distract the guard and draw him over to your position. Lean against the door and subdue him. You can hide his body in the container in this outer corridor.
The guard on the left will notice the gun that is dropped on the floor. Wait for him to pick it up and walk over to the right-hand side of the security room. When he does, sneak through the room and head for the door with the green exit sign above it. It’s a straight path all the way through.
Open the door, but don’t go through until the camera’s field of view is all the way to the left. This will provide you with a gap on the right to sneak out of.
Once you’re through the door, you no longer need to be sneaky. The Guru is allowed to be in this area.
Kill the first two targets
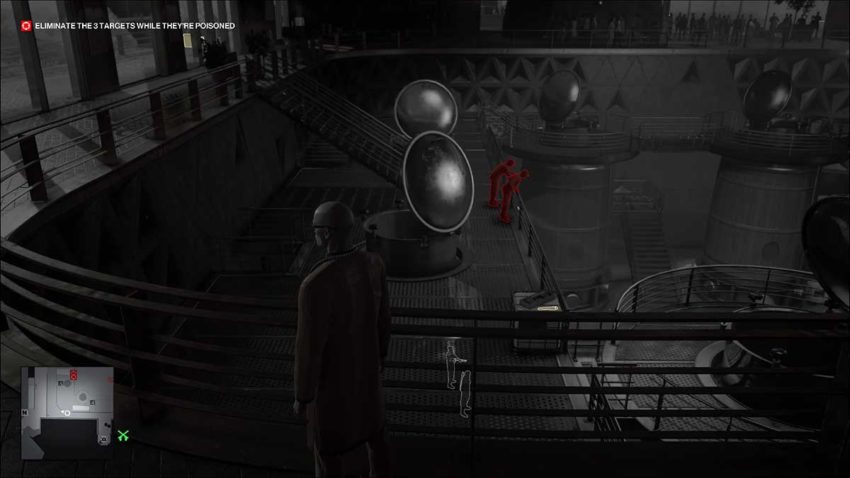
You’ll be able to see your first two targets on the walkway above the manufacturing facility below. They’re at the opposite end of the room.
Head to the top of the stairs behind these targets, take out your grenade, and wait. When the target on the left stands up from leaning on the balcony, throw the grenade and hide. The pair will look at the grenade for a split second before it goes off. This will poison them both.
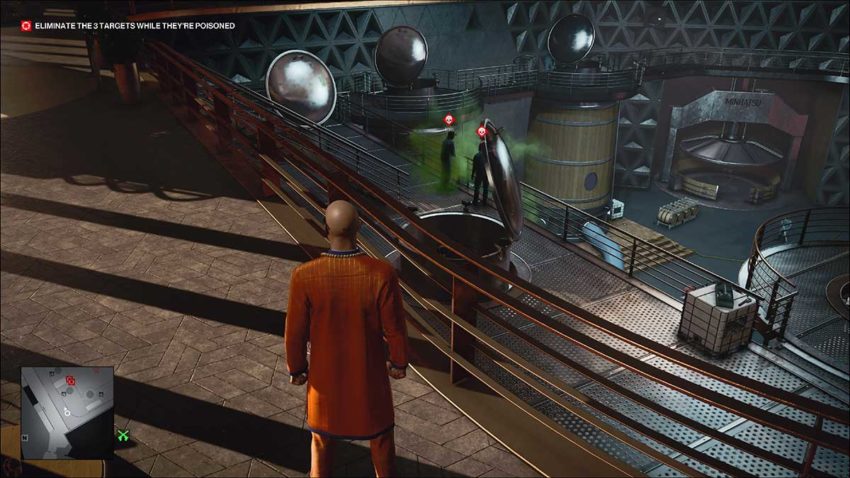
Both targets will now come up the stairs and head outside to throw up. One will go to the bin on the left, and one to the bin on the right.
Follow the target on the left first. Subdue him with your crowbar, snap his neck, and hide his body by dumping it over the railing. No one can see it there.
Quickly head over to the target on the right and do the same. There’s an NPC over here who is also throwing up. If you’re quick, he won’t notice anything you do.
It’s important to follow these instructions to the letter. Two NPCs will notice your actions if you do any of this a moment too soon.
Kill the final target
The final target is down in the facility itself. Head back inside, go down the stairs, and turn left. You need to go down the next staircase in the corner here, which will take you down and to the right.
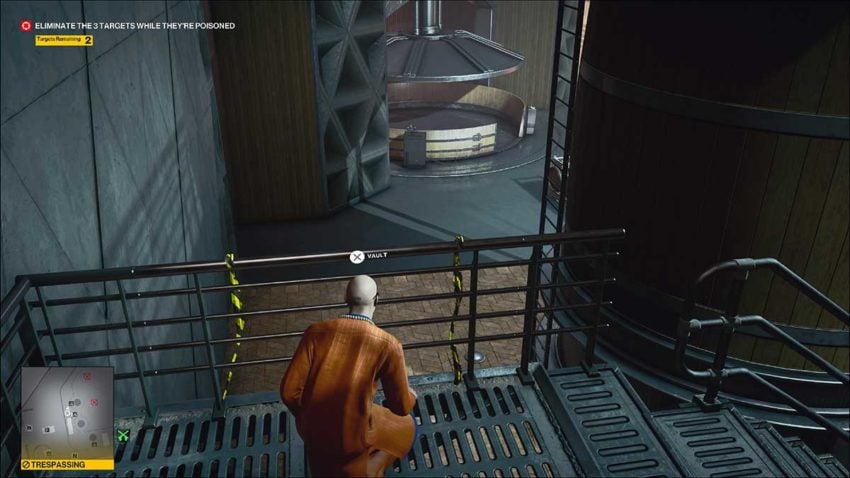
On the first landing you should see some yellow tape on the railing. Vault over here.
Once you’re down, move to the barrels for cover. You also need to pick up the soda can.
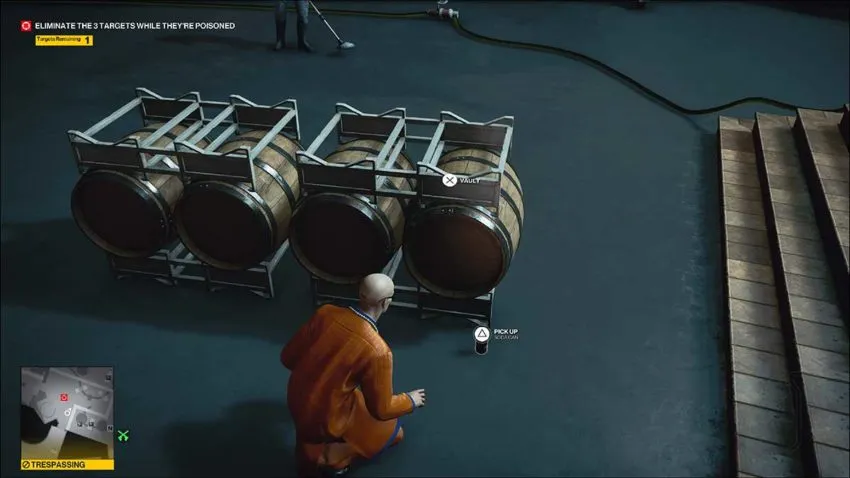
Throw the can behind your current position. It should still be close enough that the guards in the doorway to your right won’t hear the distraction. If they do, they’ll see you.
The target will walk over to the distraction now. Use the barrels as cover to avoid being spotted by him. When he stops, sneak up behind him and jab him with the syringe. This won’t cause him to notice you, but it will poison him.
Once the poison indicator is displayed above the target’s head, subdue him and snap his neck. You can drag his body further behind the large machinery and pipes here to make sure that no one will find it.
Exit
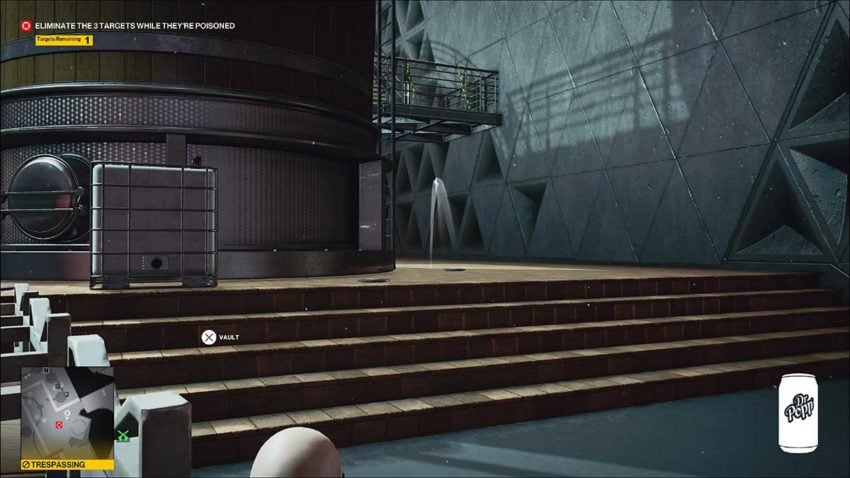
Unfortunately, our path to the exit is blocked by guards, security cameras, and a keycard. Instead, you need to return to the barrels to begin your escape.
Our exit route is through the opening in the image above. You need to sneak through there and head towards the shelving and storage boxes on the other side of that room.
There’s a guard on the railing to the right who might start to notice you, but if you’re quick, then he won’t fully spot you. The worker on the left will be completely oblivious to your presence.
As you move past the conveyor belt, stick close to it to avoid any of the workers spotting you. The Chief Winemaker may notice you from the left, but he won’t fully spot you if you keep moving.
You’re heading for the vent in the shelves in the image above. Use your camera to open it once you reach it and vault outside. Once you’ve left this area, you’ll no longer be trespassing.
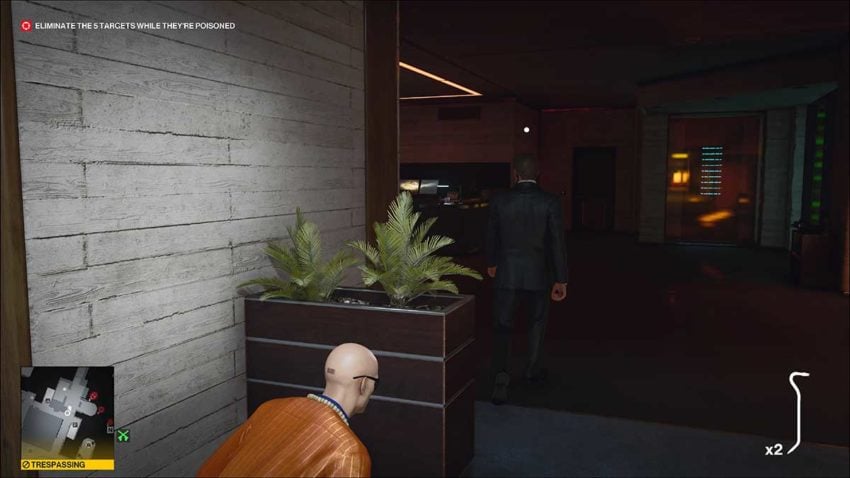
Now you need to head up to the top level of the party. Use the stairs to get up there. You then need to find the bar in front of a set of double doors.
Below is a map reference for this location.
This next part needs to be fast. You need to go through these doors and then get out of sight. You’ll be spotted if not. The route goes down the stairs on the left-hand side of this room, so sneak down there and use the perspective as cover. The NPC on the right shouldn’t notice you.
The stairs lead to a corridor. Turn left and follow it, and you’ll be just outside the security room. Wait for the guards to turn their backs and then sneak through. Now all you have to do is return using the same path you took at the start of this mission. The exit is the shrine.
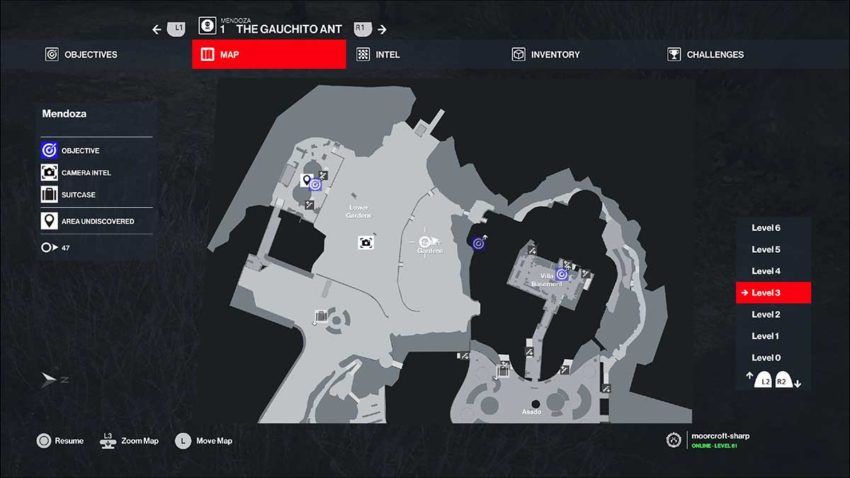
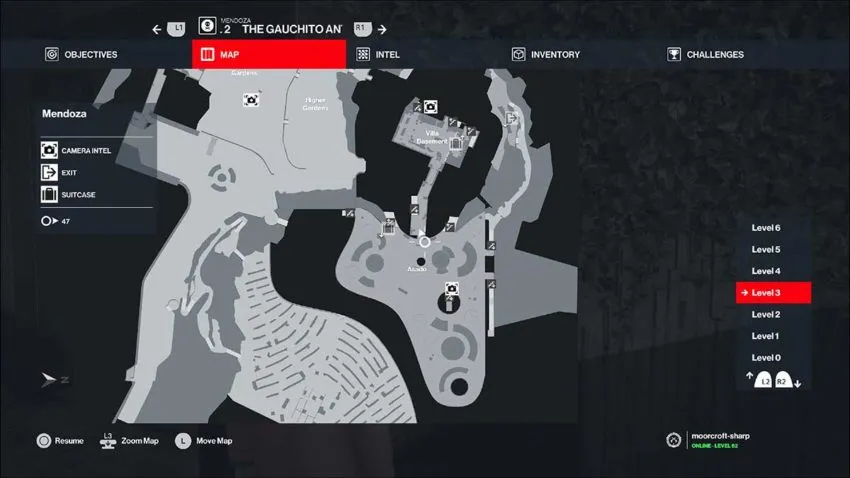
Level 3

The third and final level of The Gauchito Antiquity gives you five new targets to kill. Your loadout will be the same as it was in level 2, and you’ll still fail the mission if you change your disguise.
Get to the party, again
The opening part of this level is almost the same as it was in level 2. Follow the same path you took to get to the party. The only difference is when you reach the open room with a wire on the floor and two guards leaning against the railing to your right.
Throw an object to the left-hand side of this area to distract one of the guards. There’s a second crowbar in the locker room you’ll have passed through earlier, which is perfect.
When the guard is distracted, use the crowbar to take him and his colleague down. You can hide both bodies in the container around the corner. Just follow the wire.
This does mean that you’ll need to drag the security guard’s body down the corridor and around the corner out of sight. This will prevent the second security guard from noticing it when he comes to pick up the weapon.
Once you’re into the party, things take a totally different path.
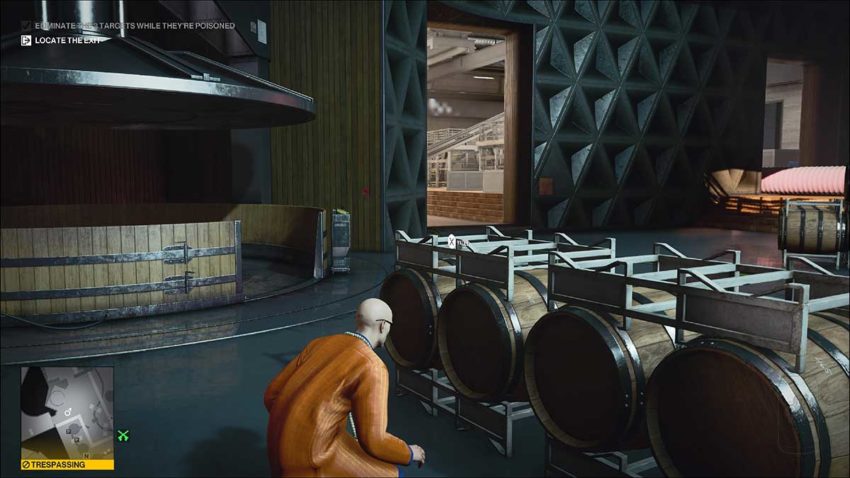
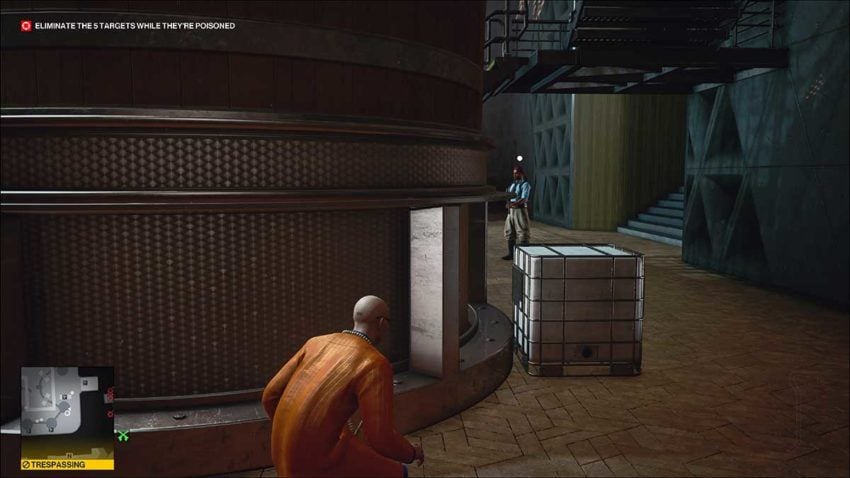
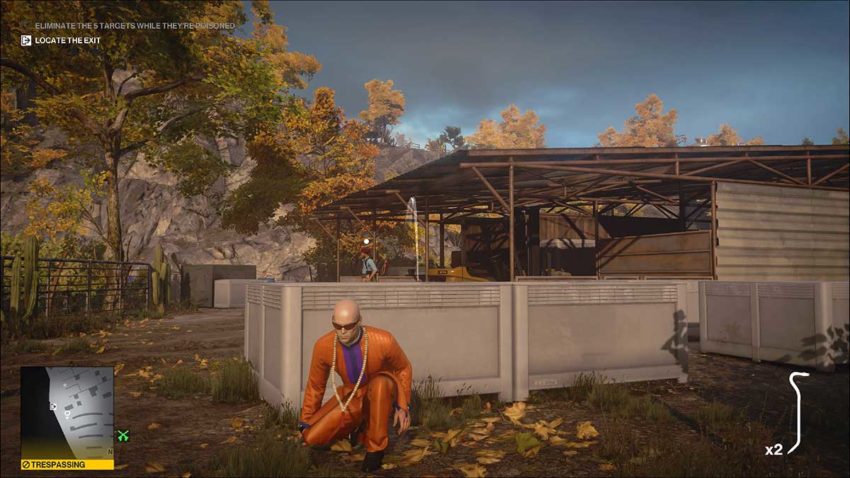
Enter the barrel room
The five targets you need to kill are inside the barrel room. This might seem like a daunting challenge, but we’re not going to use any of the poisonous items in our inventory for this run.
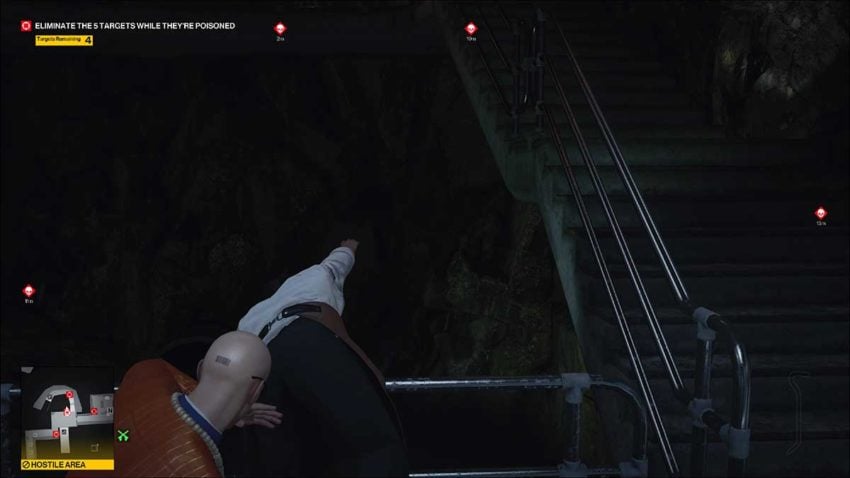
Head down to the same staircase into the manufacturing facility below. The two workers should still be leaning against the railing here. Sneak down behind them and turn right and back on yourself. There’s a ladder here that we’re going to use to get down into the facility unnoticed.
Below is a map reference for this ladder.
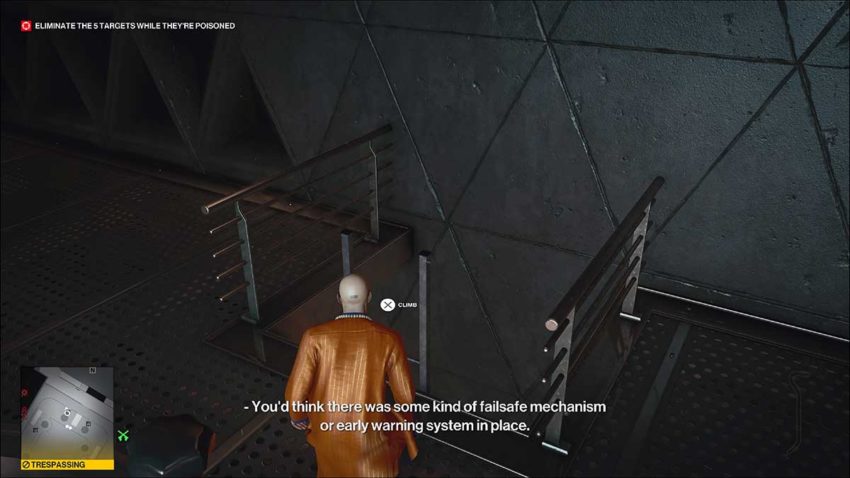
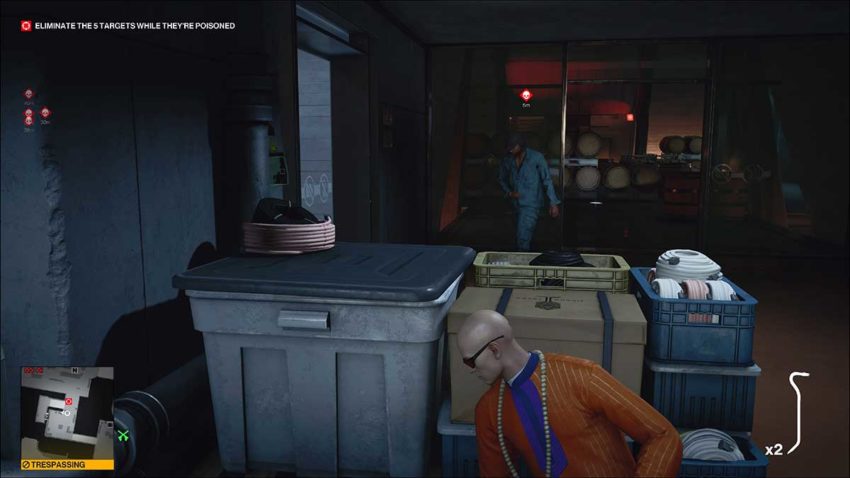
At the bottom of the ladder, head right and wait behind the machinery. A guard is patrolling the area we need to pass through. Wait until he isn’t looking, then sneak out and up the stairs.
Poison everyone
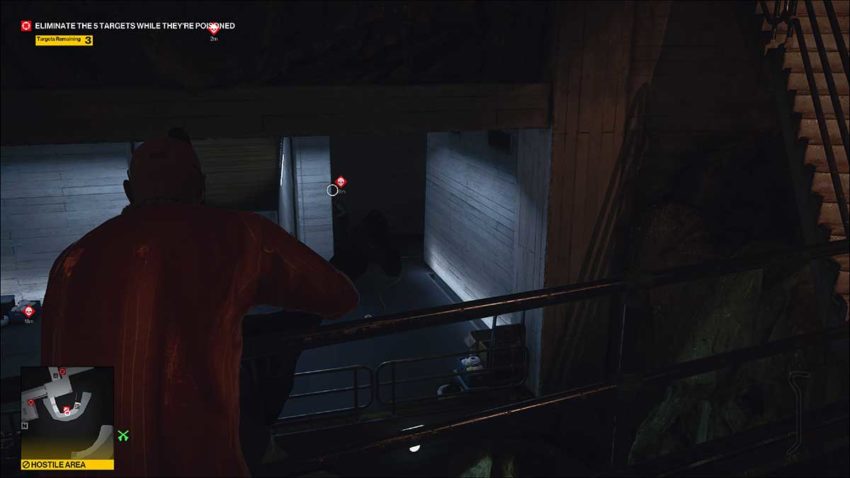
Don’t stop at the top of the stairs. Instead, use the wall of barrels on the left as cover. You need to get inside the first room on the left-hand side of the barrel room. There are two NPC inside, a guard and a worker. Sneak in and use the low cover to hide from them.
The guard will come over to where you’re hiding and lean on the cover. Subdue him when he does. Then move over and subdue the worker. You can hide both of their bodies in the opening in the floor.
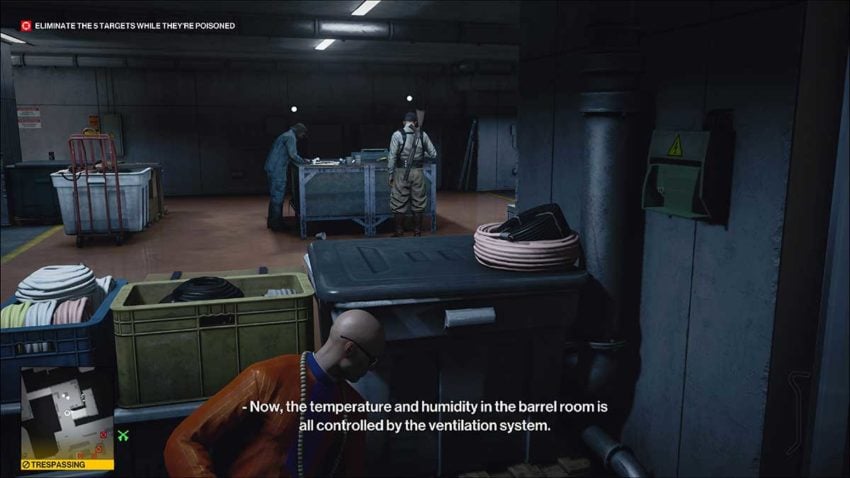
Now you need to grab the rat poison on the table in this room. Then head over to the machinery and poison the ventilation system.
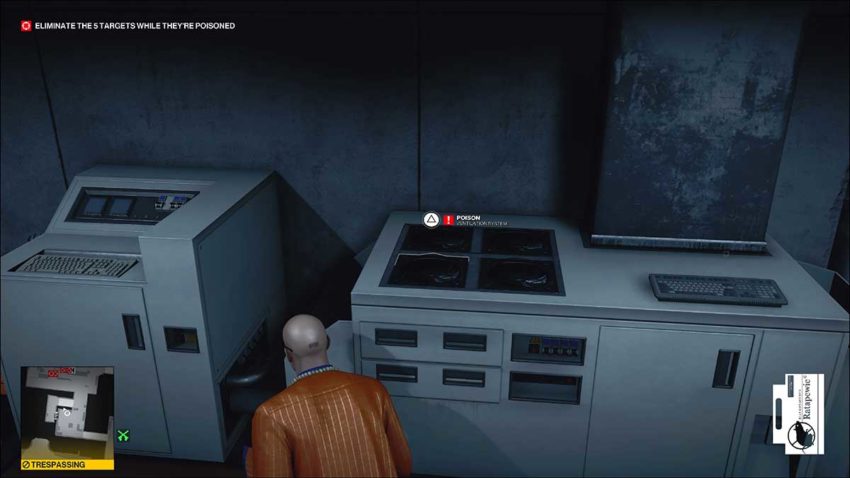
The button prompt to the right of the one in the image above will turn on the ventilation system. This won’t poison everyone in the room just yet, though. To do that, head up the stairs through the doorway next to the entrance to this room.
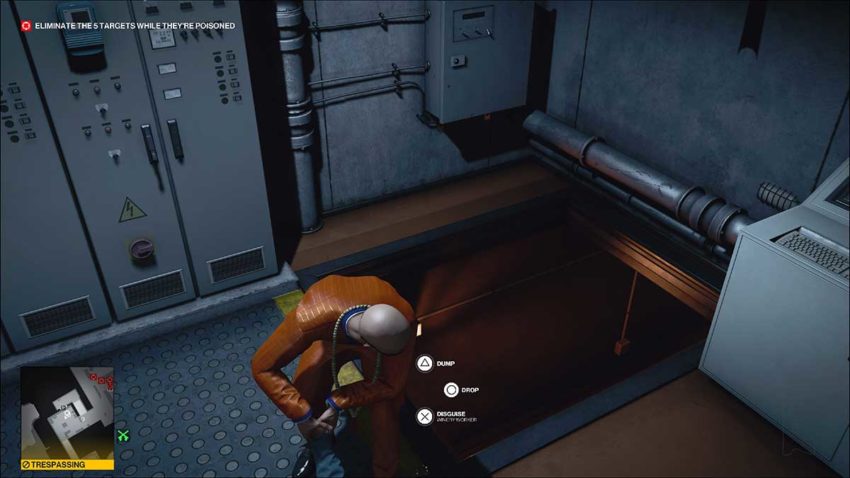
At the top, you’ll find the security room. Wait until the guards aren’t looking your way, then use the crowbar to subdue them both. Drag both bodies into the corridor where you left their colleague earlier.
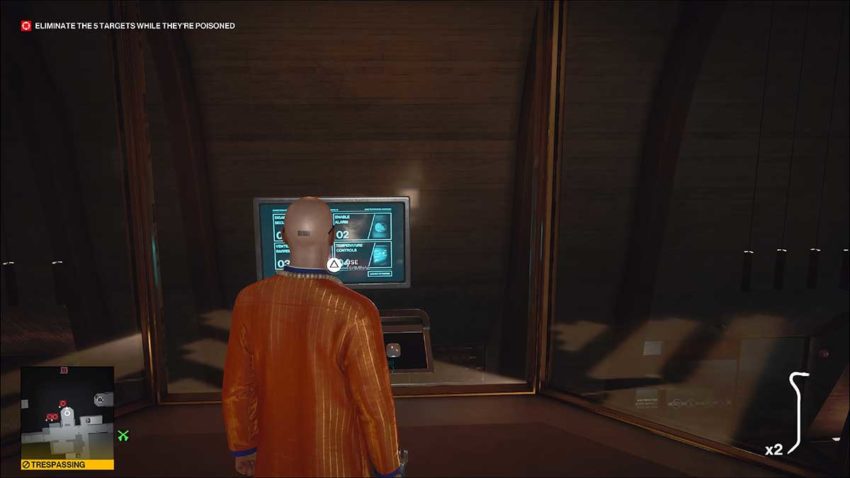
You now need to use the terminal to the right in the image above. There are two things that you need to do. The first is to open all the doors. This will ensure that the poison affects everyone. The second action you need to take is to ventilate the barrel room. This will spread your poison to all five targets at once.
Kill the targets
Now all five targets will be looking for somewhere to vomit. Head downstairs into the room where you poisoned the ventilation system. The first target will come through here and head up the stairs. Subdue him and snap his neck. There’s no need to hide the body.
Now head back into the barrel room and leave through the secret door. This is accessed at the end of the room through the giant barrel. Be fast because Agent 47 will take damage while in here. There should be enough time to make it, though.
At the top of the stairs, your second target will be throwing up over the railing. Push them over to kill them.
Head up the stairs in the right of the image above and push your third target over the railing as well. You can see your fourth target throwing up into a bin ahead of you.
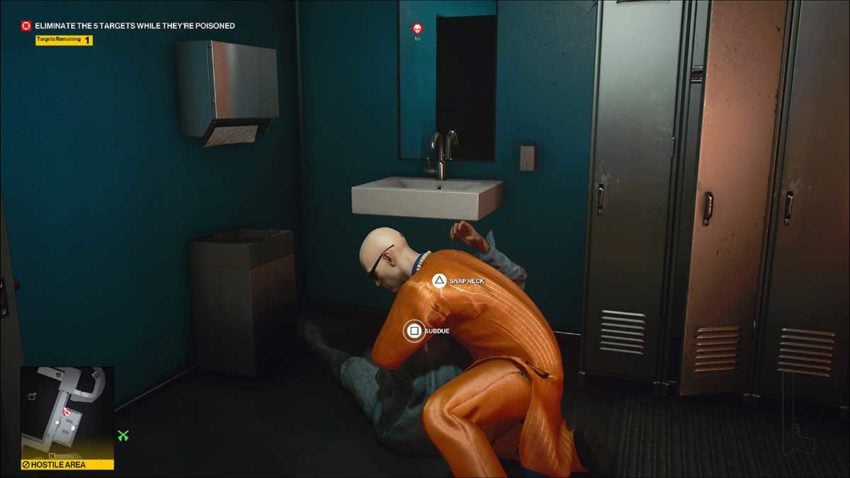
Subdue the fourth target and snap their neck. Once again, there’s no need to hide the body. At this point, your fifth target will be in the locker room that you had to sneak through at the start of the mission.
The guards in that room are so dedicated to staring at the back wall that you can sneak in here, subdue and kill the target, and leave the body there for the rest of the mission. There’s no need to hide this one either.
Exit
The exit is in the vineyard for this level of the Escalation. Head out of the locker room and go back through the barrel room. You need to follow the path you took to get down here, which means sneaking past the guard on the stairs again and going up the ladder.
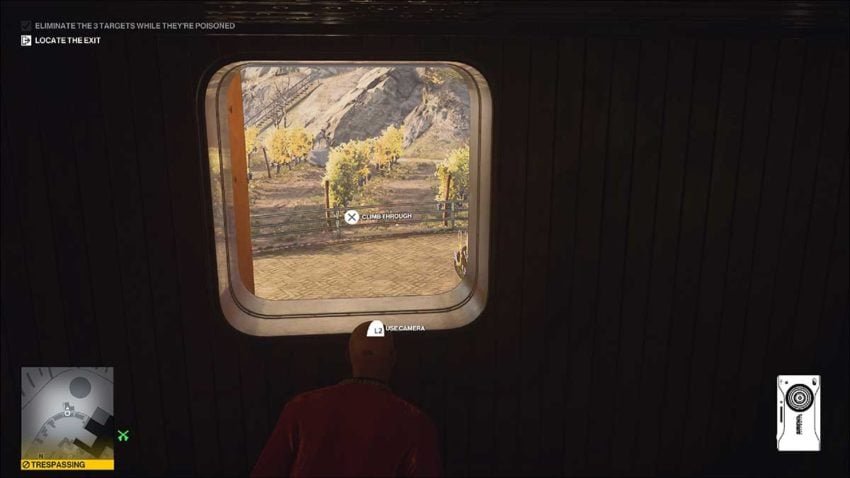
Once you’re at the top, use the staircases around this area to get down to the vineyard. You need to be as far to the left of the area as you can get without trespassing.
Vault into the vineyard and move all the way to the opposite side. The path is patrolled by guards, so use the rows of grapevine as cover to avoid being spotted. When you get close to the exit, you’ll see a final guard to avoid. Throw something behind him to distract him.
Now you can exit without him spotting you.


