As part of the first post-launch DLC for Rainbow Six Extraction, Spillover marks the first in a series of Crisis Events. Whereas the other new additions, the Operator Zofia and the Auto Turret React gear, will stay in place, Spillover is a limited-time event running until the 11th March. It’s a swarm or horde-like defensive mode, pitting you against an increasingly tough army of Archaean forces, so you’ll need to play it tough AND smart if you’re to get out alive.
What you need to do in the Spillover Crisis Event
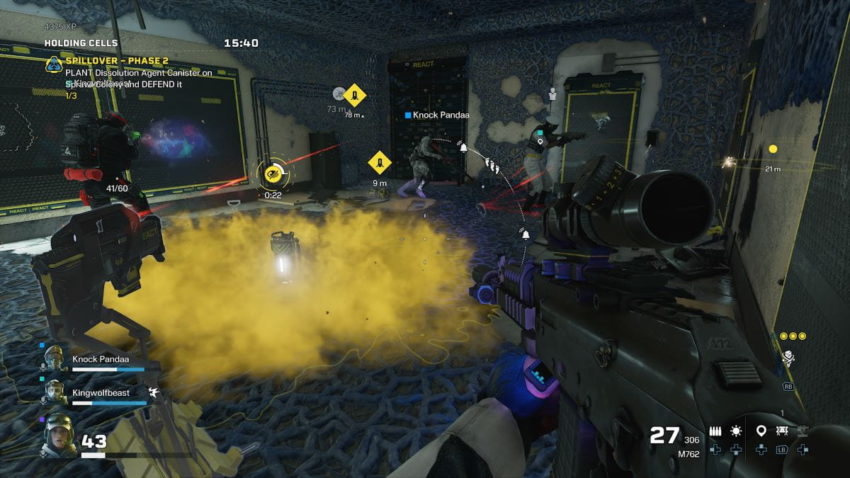
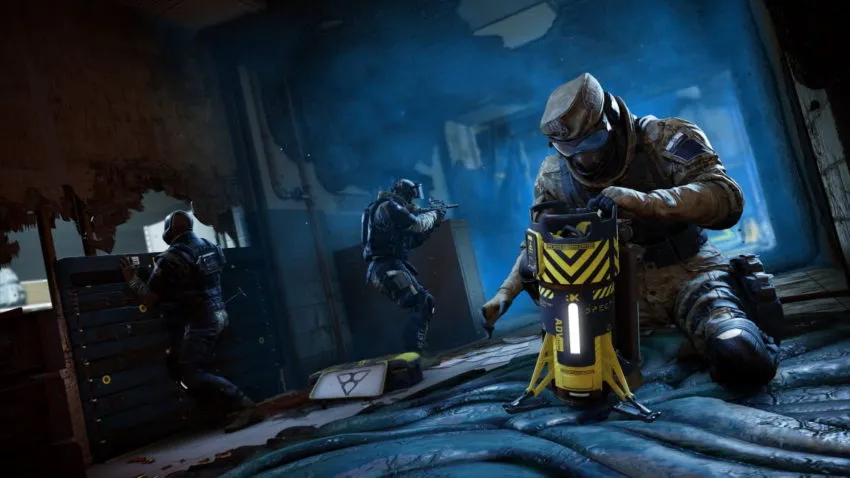
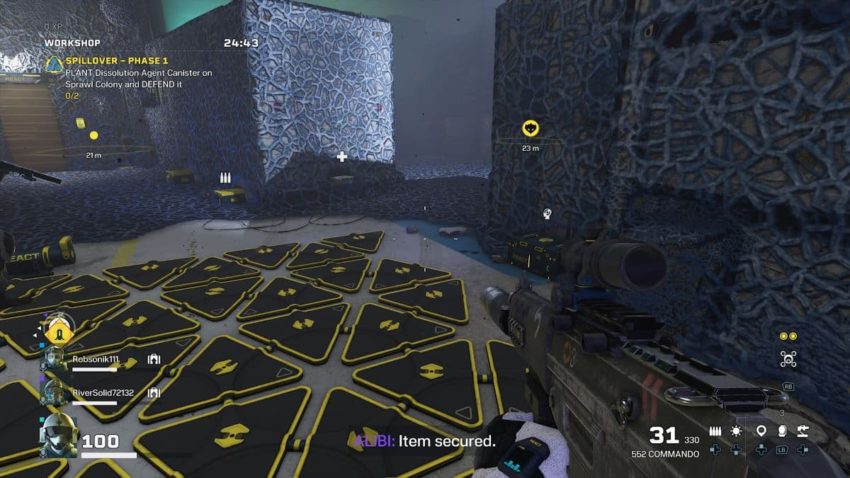
Spillover varies from your standard missions in that it all takes place within a single subzone, each with nine ‘colonies’ you’ll need to take out within a 25-minute window. You do this by placing a Dissolution Agent canister in each one. These are available from the extraction pod, and if one gets destroyed by those pesky Archaeans you’ll need to head back for a new one, so it’s usually worth your squad taking more than one on your travels.
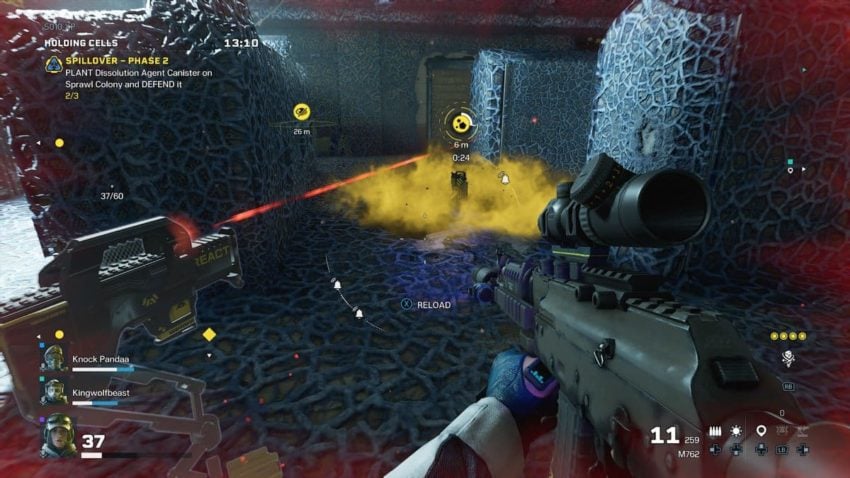
Once placed in the colony, it will trigger an enemy assault which you’ll need to fend off for 90 seconds in order to enable the corrosive chemical to work its magic, before you move on to the next one. Successfully destroying all nine colonies will bag the maximum rewards but, as always, be prepared to evacuate early if things aren’t going your way. You can claim the first XP reward after clearing two colonies, and a second after the next three, leaving the remaining four as quite the challenge in order to top off the haul ― along with a few skins and accessories on offer for completing the additional Studies challenges.
You can tackle the colonies in any order, with each having a certain type of enemy mutation attracted to them (3x Elite, 3x Blinding Spores, and 3x Cloaked). However, it’s the surrounding Archaeans that can prove the biggest problem, as they’ll increase in number and difficulty with each successful defense, with Rooters, Tormentors, Smashers, and an Apex joining the party as you progress.
Choosing your tactics for the Spillover Crisis Event
As well as canisters, your start/extraction point is also the only place where you’ll find supply crates, but with considerably more capacity than in your standard missions. This does mean there’s a temptation to stock up early on, although we’d heed a little restraint as you don’t want to be running low on ammo later on. Similarly, using React crates just to add a few explosives or a Med Kit when you’re already healthy can become a regrettable waste later in the event.
There can be a tactical element to where you head to, such as picking the most distant or the hard-to-defend areas early on before the tough guys show up. You might even consider how the barriers and defenses you deploy for one colony can help to corral enemies in a way that helps you with the next area. The bolder or more aggressive players may even look to trigger more than one colony at a time, although that’s really only practical in the early stages if you want to save valuable time later on.
Unsurprisingly, the action often comes down to a good defensive strategy. Make good use of barricades and barriers, but be aware that resources are finite so don’t waste too much on the first two or three colonies (including explosives) if you plan on making it to the end. Try to make sure you’ve got the main access points covered between your squad and get ready to move quickly to plug any gaps or replace downed defenses.
Choosing the best Operators for the Spillover Crisis Event
Of course, your preferred weapon loadout can still go a long way here, but in Spillover there’s an obvious leaning towards those with strong, and crucially reusable, defensive options. Ability refills are rare, so the likes of Hibana, Fuze, and Gridlock can be wasted early on, while the healing powers of Doc or Rook’s armor will be far more limited, perhaps making Finka a better support option.
This also brings the likes of a Level 10 Ela into play, with her recharging supply of proximity mines. The same applies to Alibi’s decoys, while newcomer Zofia also has recharging impact and stun grenades at her maximum level. Jaeger’s turrets or Tachanka’s mounted LMG can also be a big help, especially if you’re in a squad that respects your need to use the last Ability crate for a reload,
Whoever you choose, working tightly together as a team is always going to be a key ingredient to success, as lone wolves won’t last for long when the action hots up. Those new Auto Turrets definitely make for a tempting gear option, and there are several very useful explosive options, such as claymores or arc mines, to help defend an area. With a few smarts and a little bit of luck, you might just make it to the end. If not, well, as always, there’s no shame in extracting early to bank your XP and simply make it out alive.