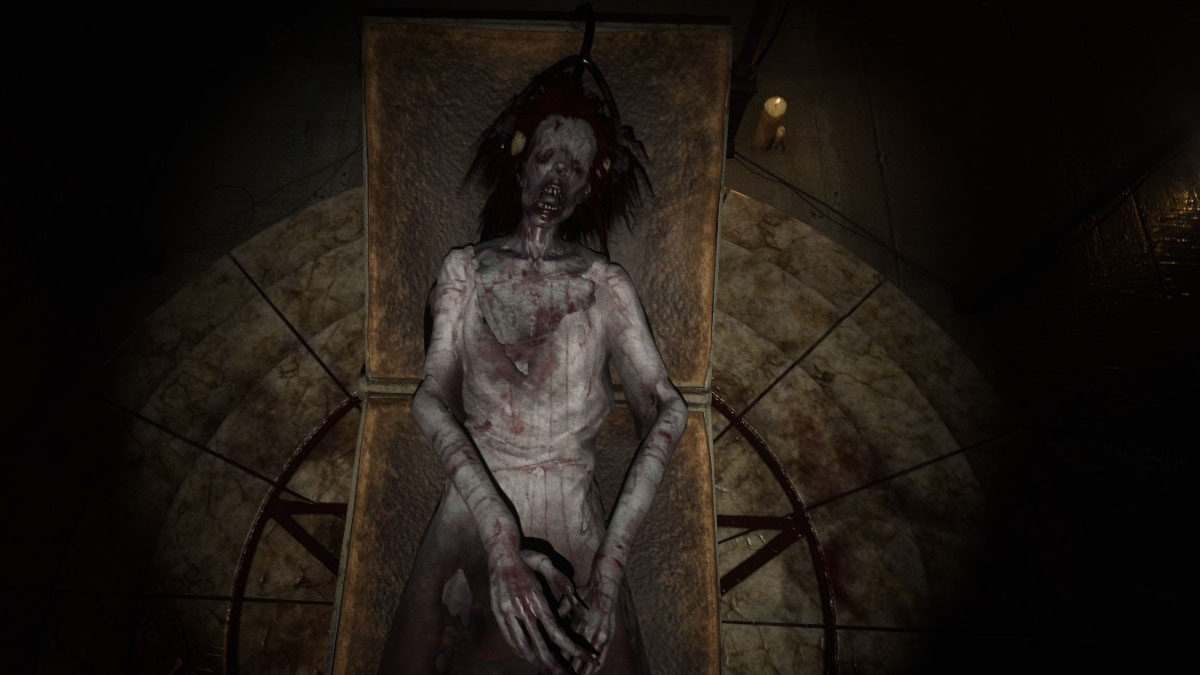
Asylum is one of the largest maps in Devour at the time of this writing and has relatively complex mechanics that makes it a difficult map to solo. Still, Molly deserves her peace just as much as Anna, so let’s not dwell on the upcoming complexity too much.
The Asylum has two unique mechanics that players will need to come to terms with. The first are rats: in lore throughout the Asylum map, psychiatrists note that Molly does enjoy a good rat mutilation, so it should come as no surprise that these will be central to completing this map.
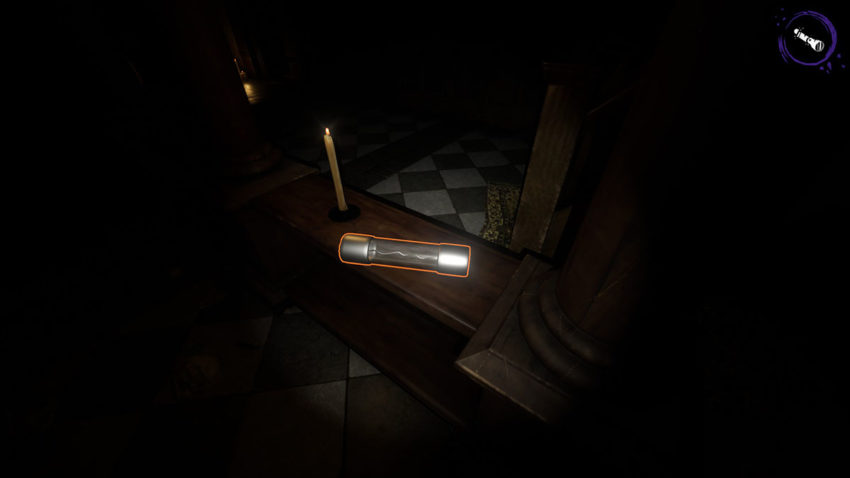
The second mechanic is the fuse box and the fuses it needs. Players will need to pull a breaker within the ritual room in order to start the exorcism in earnest, as well as every time they are attempting to sacrifice a rat. In total, players will need to find ten rats and eleven fuses.
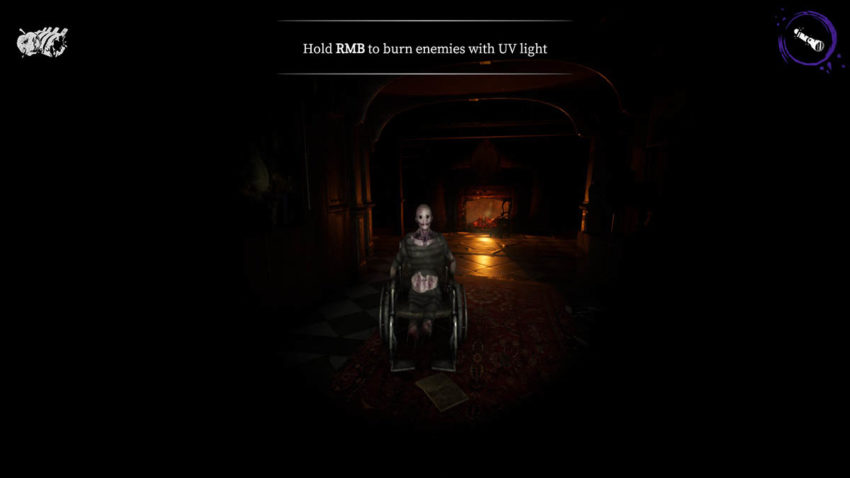
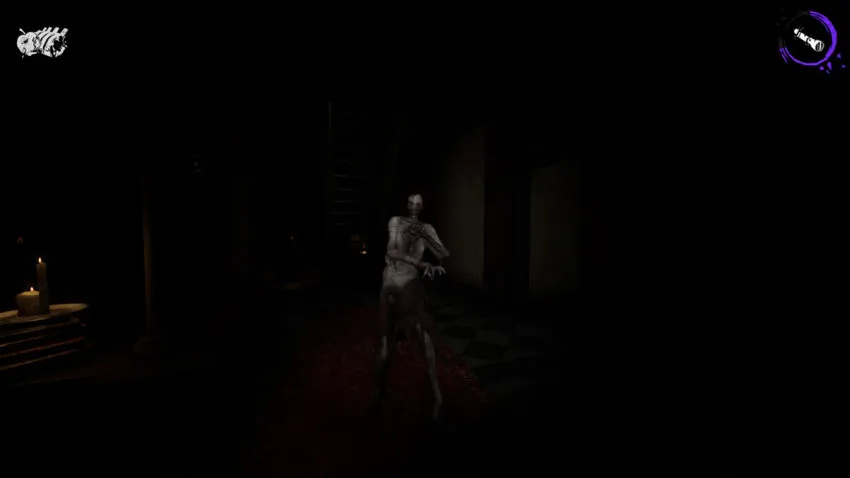
The Asylum also introduces a new enemy: wheelchair-bound ghouls that will wheel after players and attempt to kill them. When joined with Molly hunting, these two aspects can become deadly. Players should note that these wheelchairs can wheel themselves up flights of stairs, meaning staircases aren’t as safe as one would think.
The Beginning
When starting The Asylum, players spawn in an elevator in one of the psych wards. Leave the elevator and follow the hall until it branches right. Check the second door on the right for a close look at the wheelchair ghouls that you’ll be blasting down with your flashlight, and grab the key next to it. The wheels are moving, but nobody’s home just yet, so don’t fret.
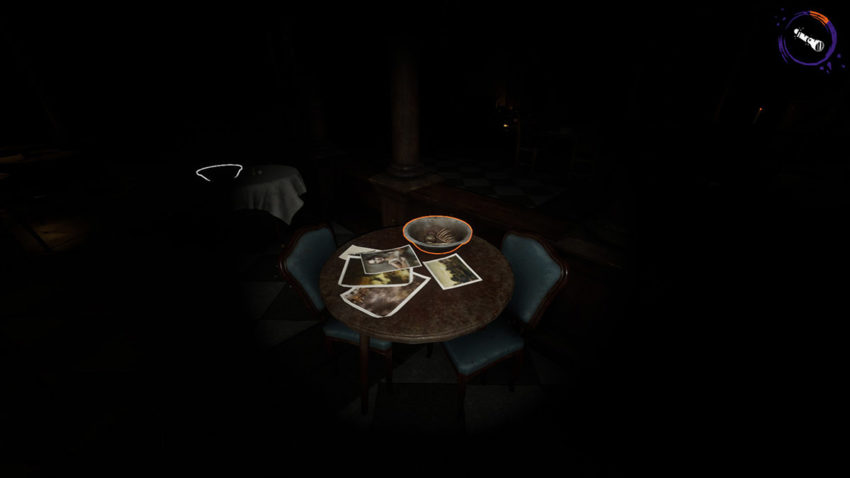
Leave the first ward by taking the stairs upwards: players will find a fireplace on the right. The door to the ritual room is to the right, just before the fireplace. Head down, knocking over the trash can to spawn rats and get a good look a the ritual room before doing anything. Hitting the switch behind the table where Molly is resting begins the actual map, but players are safe before doing so.
Use this time to aggregate fuses, platters, batteries, and if playing with others, med packs. Players should be able to find about eight fuses before beginning the map, but more won’t spawn until the map begins progression. Once you’ve finished aggregating the materials, place the first fuse in the box and hit the switch.
If with a team of four, players can all grab a rat before the first fuse is pulled that starts the purification. This allows teams to grab rats, pull the breaker, and then sacrifice the rats one at a time to push the ritual to stage four in the opening moments. More rats are spawned by knocking over garbage cans littered throughout the Asylum: there are four trash cans in total within the level.
Sorry Ms. Jackson
Two things will happen at this point: Molly Jackson will leave the table, and wheelchair demons will begin rolling about the Asylum map. The wheelchair ghouls are relatively easy to eliminate with a quick burst of your UV flashlight (right-click). Players will need to grab a platter, place it near a rat hole, and wait for a rat to come out and start nibbling at the plate.
Grab a rat, and bring it down to the medical bed in the basement. Place it on the bed using ‘E’, load another fuse, and hit the switch. This will advance the ritual by one stage, further angering Molly while bringing players one step closer to ending the possession. Calming Molly in the Asylum can be helpful in earlier levels, but later stages of the ritual will do little to mitigate her speed and aggression.
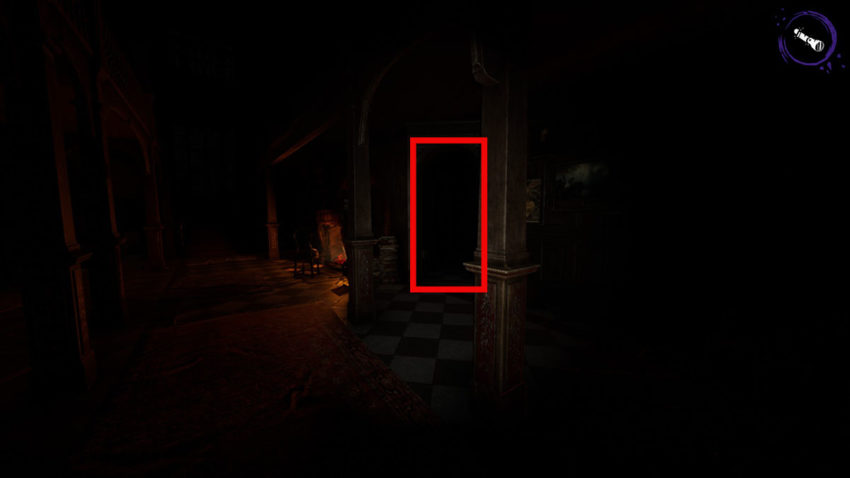
Keys are needed to move about the Asylum freely, but the placement of said keys are randomized (except the first one you grab near spawn). Platters, batteries, med packs, and fuses can all respawn after usage, meaning backtracking throughout the labyrinthian complex can be necessary if the cultists are struggling to find enough fuses.
The Final Countdown
Players should get used to rotating around the map while grabbing platters and rats with relative ease. The greatest concern at this stage is managing to aggravate Molly Jackson into a hunt, or being flanked by a wheelchair. At the seventh stage in the ritual, windows begin shattering to note that the difficulty is ramping up while offering a few jump scares.
Once players enter the eighth stage, Molly Jackson becomes far more difficult to calm. It takes three staggers to calm her, with a cooldown in between, and she becomes faster than the player at this point. A solid strategy is to keep the rat holes closest to the ritual room unused until these later stages to offer a fast turnaround for objectives.
In the ninth stage, Molly maintains her hunt, regardless of whether or not she has already downed a player during the stage. Further, pacifying Molly at the ninth ritual stage will only offer a few fleeting seconds of peace before she begins rampaging again.
Once you sacrifice the tenth rat, the Asylum goes back to just being creepy, instead of creepy and filled with ghoulish creatures.