Gemini is one of the last few main quests in Horizon Forbidden West. Aloy and her friends must take GAIA to the Gemini Cauldron, while a distraction is caused around them, and merge her with Hephaestus. This guide explains how to complete the quest so you’re never halted in your progress.
Step 1: Defend Beta and Varl

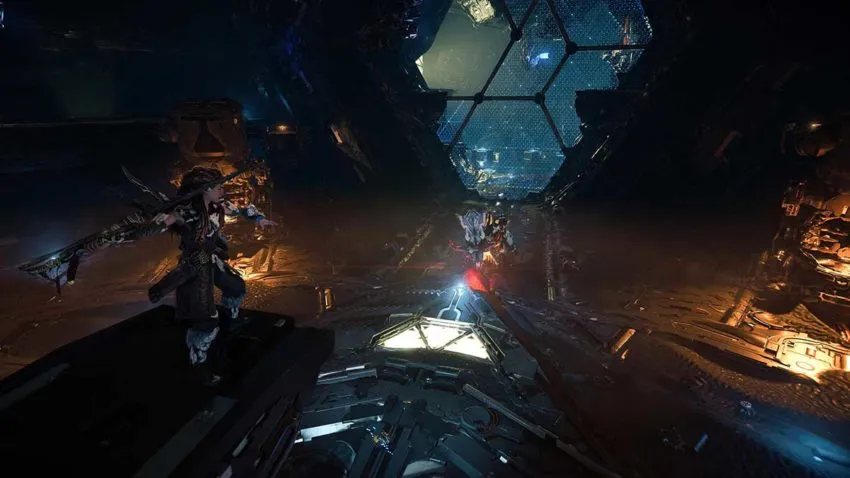
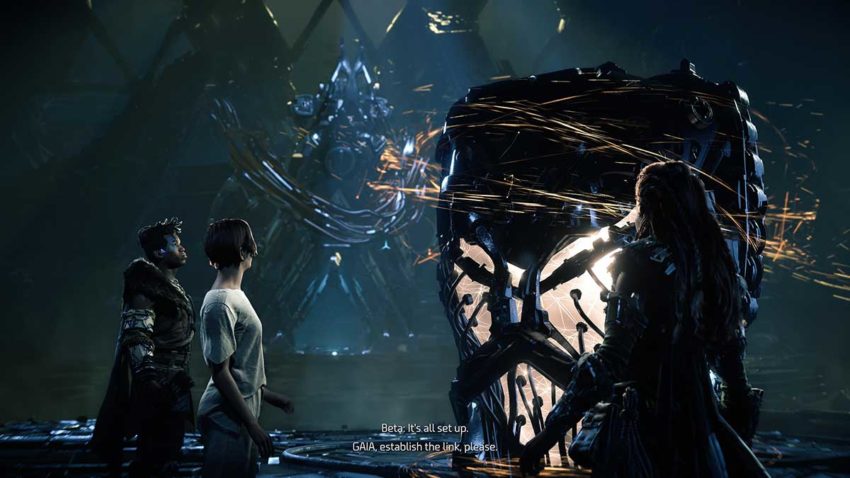
Once you’ve spoken to everyone and started the quest, you’ll be immediately transported to Cauldron Gemini. After Beta sets up the process for GAIA to begin trapping and transferring her final subordinate AI, it disappears and summons machines to attack. You need to kill two powerful machines in quite a small arena, so use your best weapons.
Both of the machines that attack you are weak to acid damage, so use any weapon that deals it and take out the smaller machine first. The Behemoth is the most challenging enemy because of its size and the power of its attacks. We found that using a Spike Thrower after setting off an acid attack was the best way to bring it down to size. Try to keep your distance, and pick up the arrows that Varl hands to you. There’s no need to craft new ones if you can pick them up.
Step 2: Chase after Hephaestus
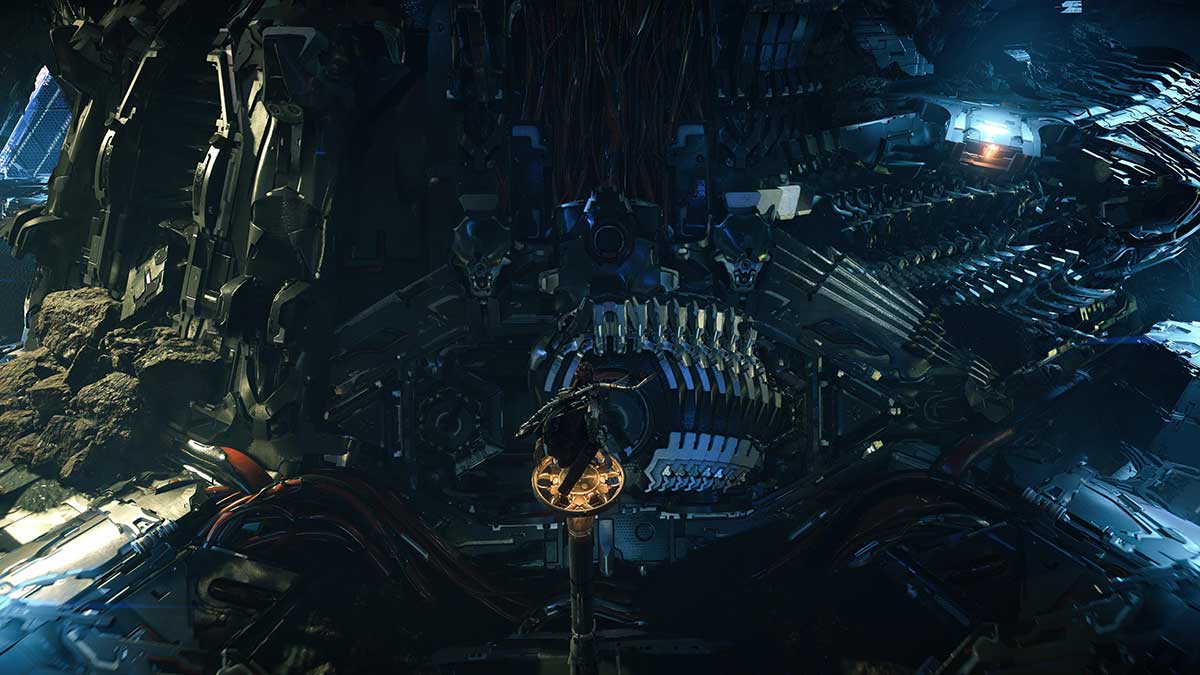
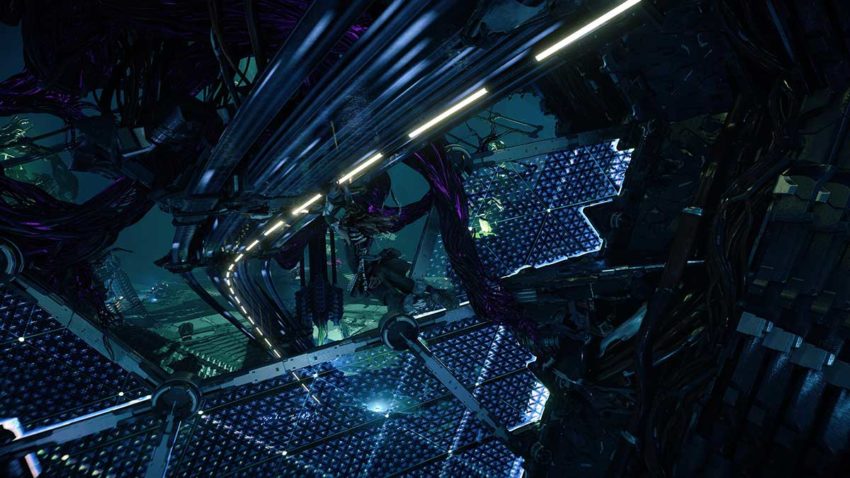
Next, you need to head into the passage that Hephaestus escaped through and drive it out. You’ll need to glide over a gap and then use your Pullcaster to open a battery before entering a large construction chamber. You don’t need to worry about this until later, so head through the large opening for now.
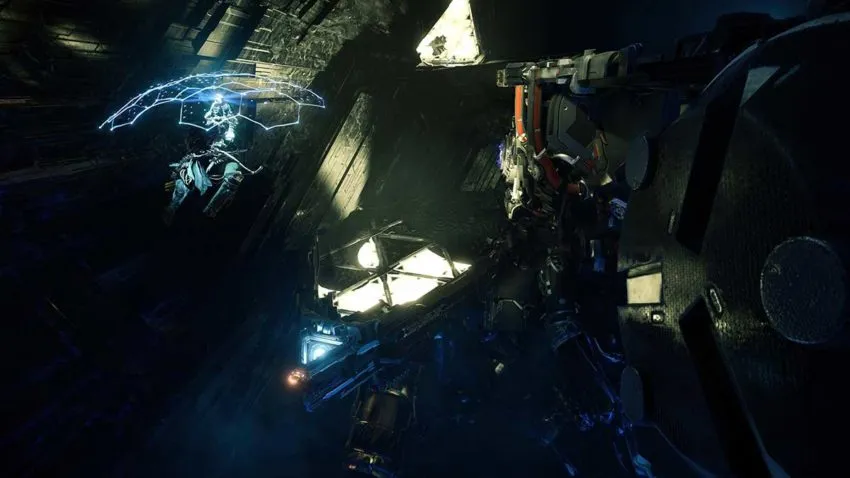
There are two paths you can take in this area. We recommend climbing up to the rail and then jumping onto the hovering cargo machines first, though. They will transport Aloy into the next room where there’s a terminal you can clear.
Step 3: Defeat the machines and remove Hephaestus
The machines inside this chamber include Leaplashers and a Grimhorn. Take out the Leaplashers first because they can jump to wherever you are. The Grimhorn is stuck on the lower level, so you can take it out with any weapon from relative safety once the Leaplashers have been dealt with. Finally, override the terminal to remove Hephaestus.
Step 4: Clear the second chamber
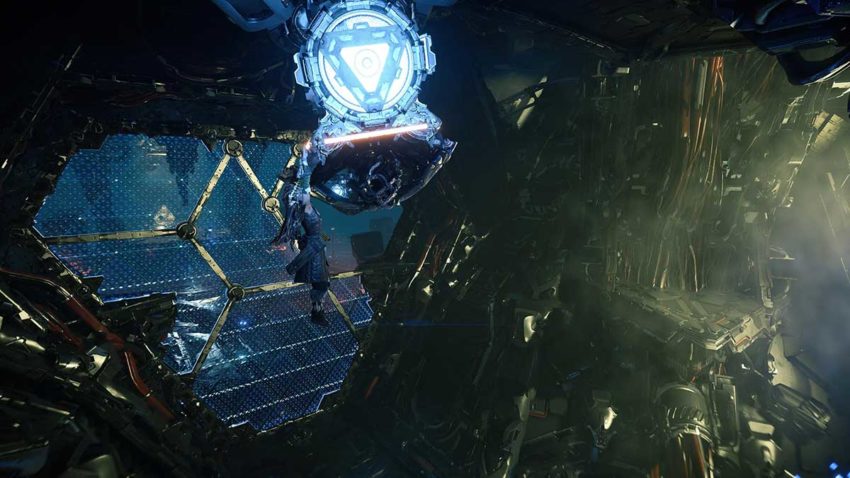
To reach the second chamber, you’ll need to go back through the main corridor. However, the floor has been electrified in places now, so you’ll need to get up high to avoid taking damage and dying. This time, move to the opposite side of the corridor and jump onto the rail so that Aloy uses it as a zip line to get into the second chamber.
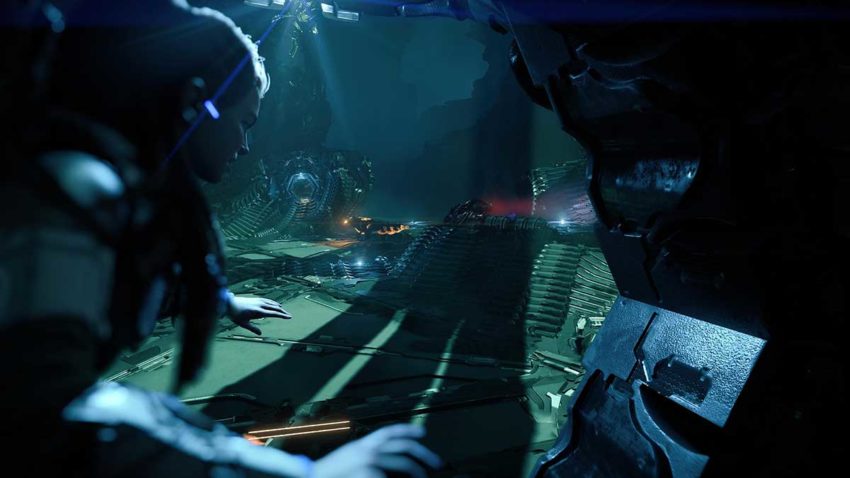
In this chamber, there are a lot of smaller machines such as Red Eye Watchers to take out. They’re not too much of a problem individually, but they can overwhelm you quickly as a collective. Try to take your time and kill each machine quietly using the stealth vents hidden around the chamber. When you’ve killed all the machines, override the terminal once more.
Step 5: Kill the Slaughterspine
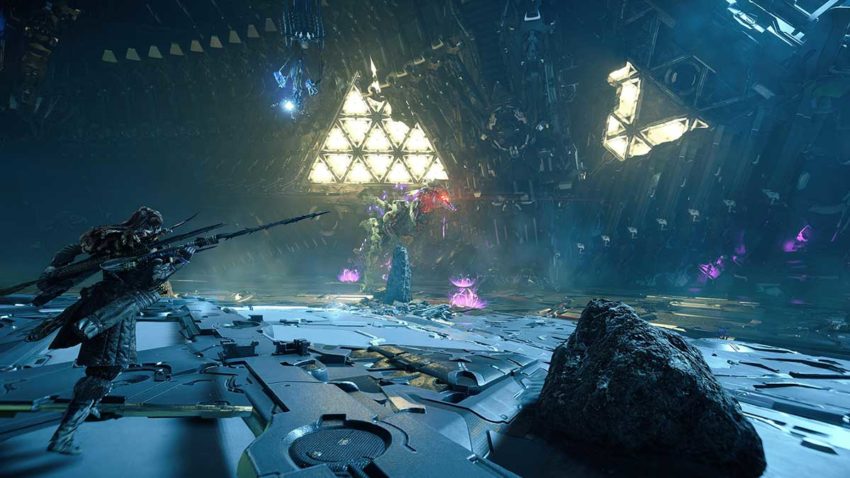
After heading back to the construction chamber, you see a colossal machine emerge, the biggest in the game. This is a Slaughterspine, and it’s an incredibly tough foe to battle. Scan it before you do anything else so you can see that it’s weak to frost damage. Then, use any frost weapon you have to build that element up and freeze it for a short period of time. When it’s frozen, deal damage to every exposed part that you can. When it begins to charge its plasma attack, shoot the purple modules that stick out of its side to stop it and cause additional damage. Anything that deals tear damage will significantly speed up the fight because you can shear off many parts early on.
Step 6: Watch until the end
At this point in the game, every mission contains crucial story details. You need to watch everything that unfolds before Aloy and her friends so that you understand their motivations for the rest of the game. This is when the final hours of the game really kick into top gear, and you’ll regret it if you rush through them.