The biggest challenge in any Call of Duty Zombies map is always the main Easter egg. With obscure puzzles, hidden lore, and countless encounters with various undead creatures, it’s no wonder why the Zombies community makes solving the Easter egg an event. Call of Duty: Black Ops Cold War continues this complex puzzle solving with their first map, Die Maschine. If you want to boast that you also have completed the Easter egg, it’s going to take you becoming a master of the map. When you feel ready, check out our step-by-step guide to complete Die Maschine’s main Easter egg quest.
How to complete the Die Maschine main Easter egg quest
Turn on power and activate Pack-a-Punch
At the very beginning of the game, you want to gather as many points as possible. To make sure you are getting the most, attempt as many headshots or melee kills as possible. Avoid any nuke powerups unless you are in-between rounds. Instead of buying perks and weapons, focus on buying doors to get to power. You should have power turned on and be getting the Pack-a-Punch put together by rounds five to six. Check out our guide for How to unlock the Pack-a-Punch machine in Die Maschine if you need guidance.
For a free Juggernog, you can do the Coffin Dancing Easter egg and get some other resources and a weapon. It could be a nice boost so early in the game.
Build the Aetherscope
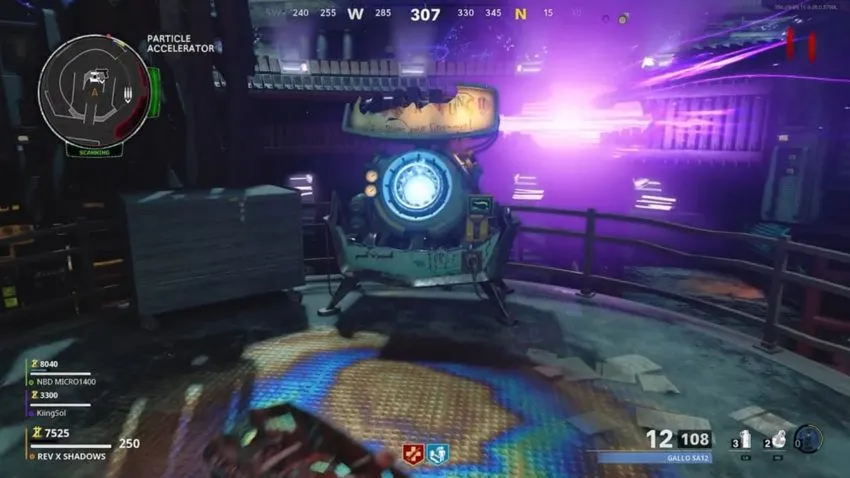
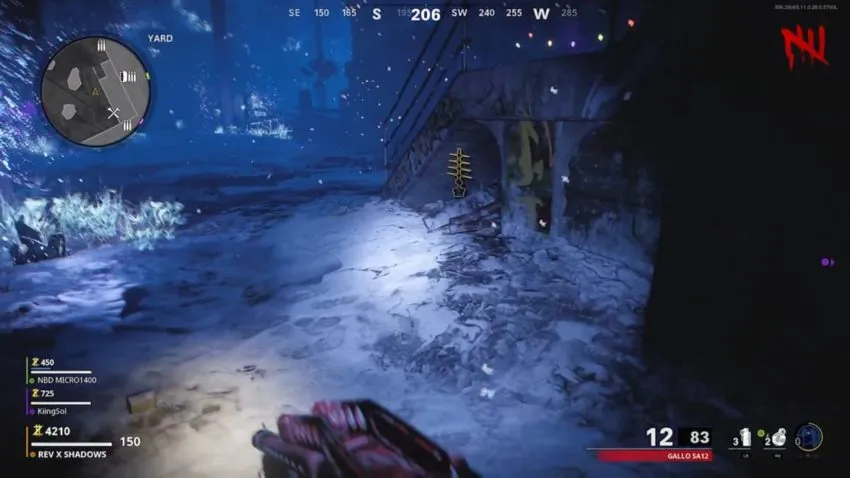
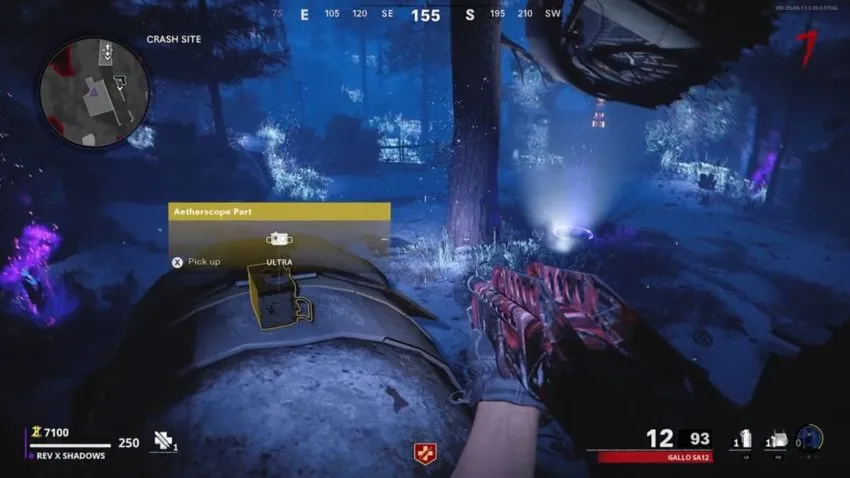
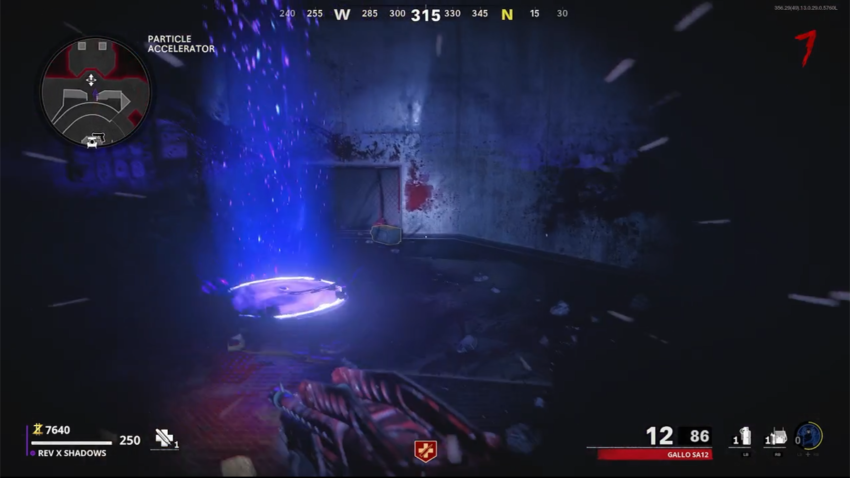
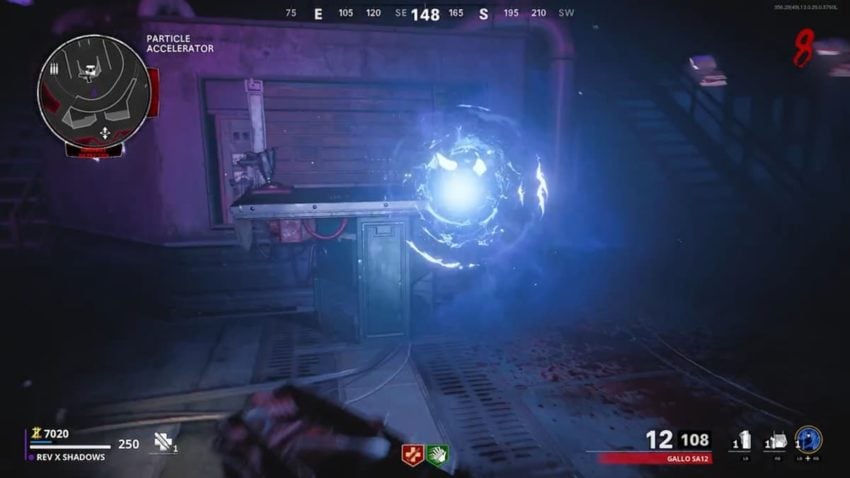
After the Pack-a-Punch is activated, you will notice an anomaly portal next to the power button. You need to enter the Dark Aether through this portal and find three parts spawning in random order. Luckily, the parts are always in the same locations. Upon grabbing them, be ready for a fight, as multiple Plaguehounds will spawn the moment you grab them. The next part automatically spawns after grabbing each one. Take them out and move onto the next one and try to grab all three before you are kicked back to the normal dimension. The three parts are located at:
Yard: next to the stairway
Crash Site: on top of the plane
Particle Accelerator: next to the shortcut to Living Room
When you have all three parts, go to the crafting bench in Particle Accelerator below the Pack-a-Punch machine. Remember to pick up the Aetherscope after you craft it.
Note: if you get kicked out of the Dark Aether before you finish this or any steps after, all you need to do is advance to the next round to get the anomalies to spawn again, and you can pick up where you left off.
Find the computer password
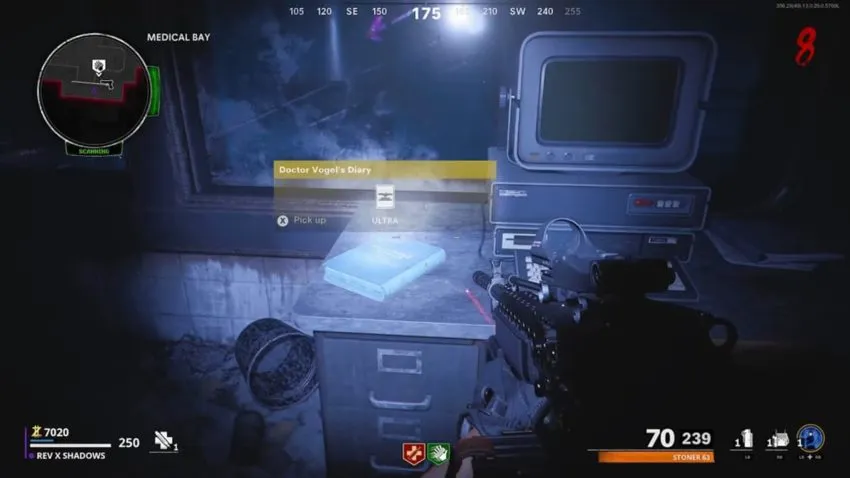
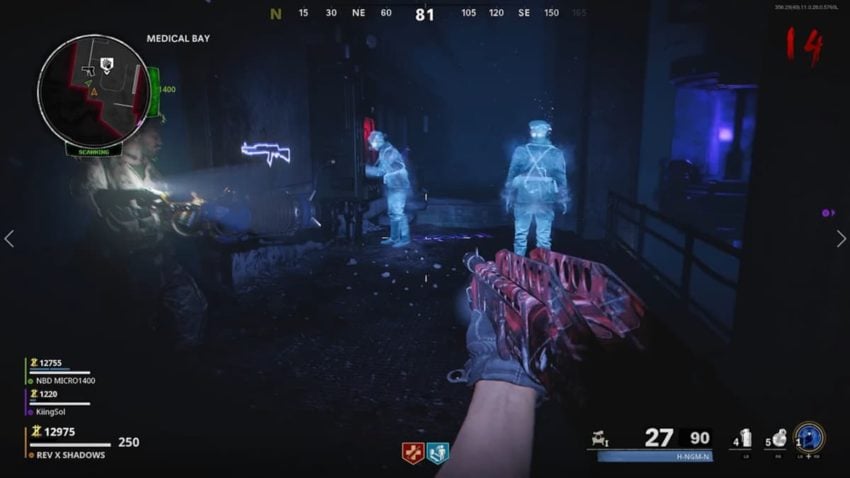
When you pick up the Aetherscope, your mini-map will change with a new scanner, and the anomaly will appear in Medical Bay. Use it to go into the Dark Aether and enter the side room to the left. In here is a computer that you need a password for, but you don’t have it. In the Dark Aether, there is a diary sitting right next to it. Pick it up. You will need to deliver that diary to three ghosts that will reveal some background on the facility’s experiments.
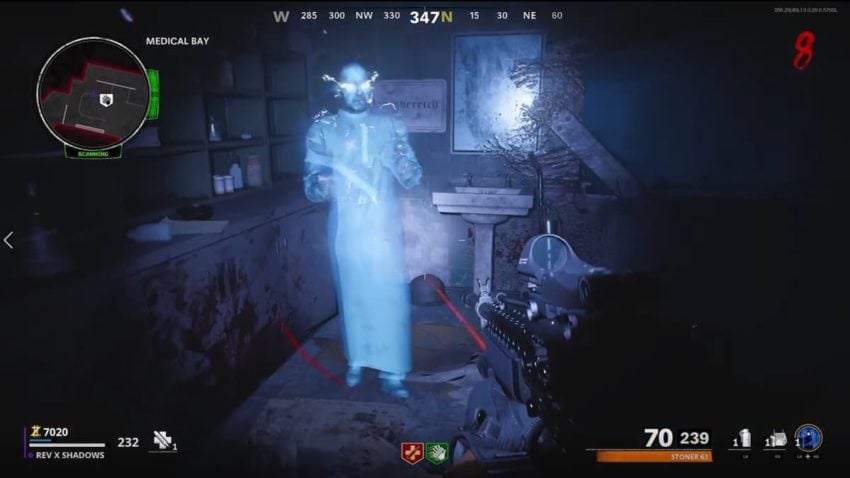
The three ghosts appear as blue spheres at first. Interact with them to turn them into a doctor. Interact again, and you will hand him the diary. While he talks, all zombies will run from you, but if you damage them at all or walk away, they will return to attacking you. If you want, you can walk away from the spirit after you hand him the diary and move to the others. Also, a different Megaton Zombie called Mayak will attack you while you are in the Dark Aether. The three ghosts you need to give the diary to are at:
Medical Bay: below the room with the computer behind Speed Cola
Control Room: to the right side behind the reward terminals

Particle Accelerator: in front of the crafting table you built the Aetherscope on
Since Black Ops Cold War’s release, more spirit orbs have been added to add more backstory to Die Maschine. Interacting with these orbs will not progress you in the Easter egg at all.
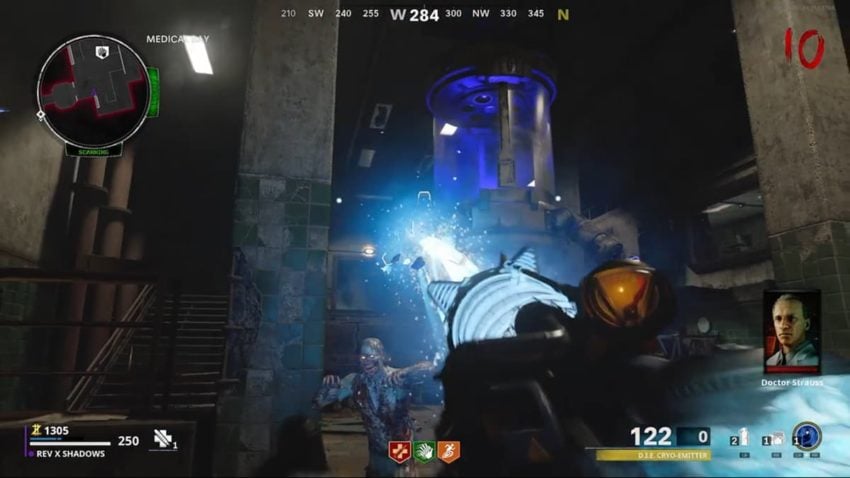
After the three above spirits have been interacted with, you will return to the normal dimension. Return to the room with the computer and interact with it to automatically input the password. The container in front of you will light up. You need to power the container with various elements.
Get the D.I.E. Shockwave
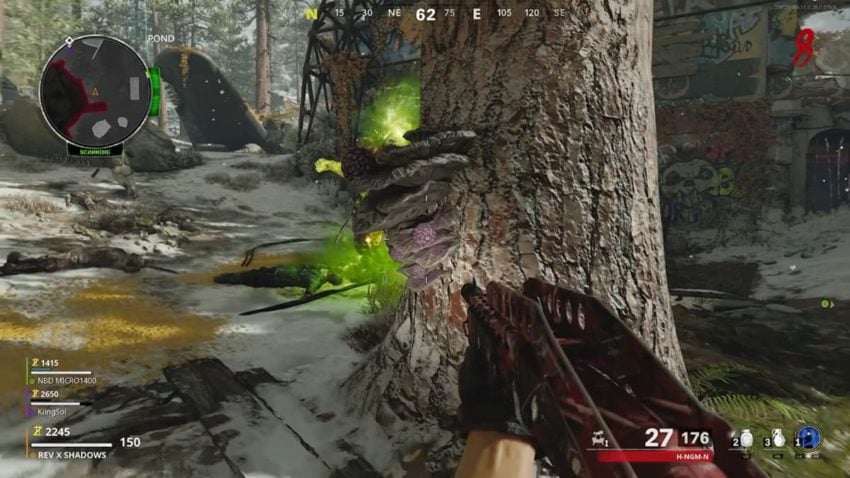
While there is a chance you can acquire Die Maschine’s wonder weapon from the Mystery Box, you will save both time and points by using our guide for obtaining the weapon for free. Before splitting a Megaton Zombie, have it shoot the fungus in Pond with its radioactive attack so you will be ready for that upgrade step without having to advance multiple rounds. You can do this by positioning yourself next to the tree. The fungus will glow purple when you do it correctly.
While one member works at getting the Shockwave, the others should be purchasing their perks or Pack-a-Punching a weapon. If you can get armor or upgrade your weapons at the Arsenal, you will be even better off.
Upgrade the D.I.E Shockwave and power the container
Remember that container in step three? You need to power it up by shooting the four power pedestals hanging from it with the D.I.E Shockwave’s four different elemental upgrades. If you do not know how to upgrade the wonder weapon, check out our upgrade guide. If you used your first encounter with the Megaton Zombie or Mayak to shoot the fungus on the tree at Pond already, you are on a good path to get all four upgrades rather quickly.
When you obtain each upgrade, put it on the Shockwave and go to the Medical Bay container. The four legs of the container have a slight color on them. This is telling you which element should be shot where. You will know you hit the right one when it turns upward. If you are certain you are hitting the right spot but nothing is happening, make sure the container is lit up and check the computer to see if you forgot to input the password earlier.
Restore the decontamination agent
After all four legs on the container are face up, another anomaly will appear in the Medical Bay. Use it and interact with the spirit orb appearing to the left next to the red case on the wall. Two spirits appear, showing you how they stole the decontamination agent used in the container. After they are done talking, you will teleport back to the normal dimension and notice a wrench where those two spirits were talking. Pick it up.
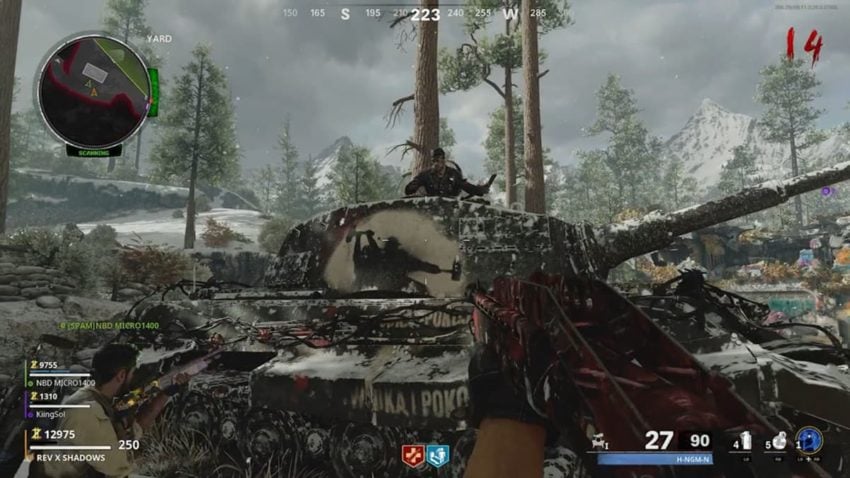
With the wrench in hand, you need to go to Yard (the area you begin the game in). Go to the tank in this area and interact with it a couple of times. A zombie will pop out of the top. Kill that zombie and throw a Semtex or a C4 at the lid he popped out of. If done correctly, the tank will fire off a shot.
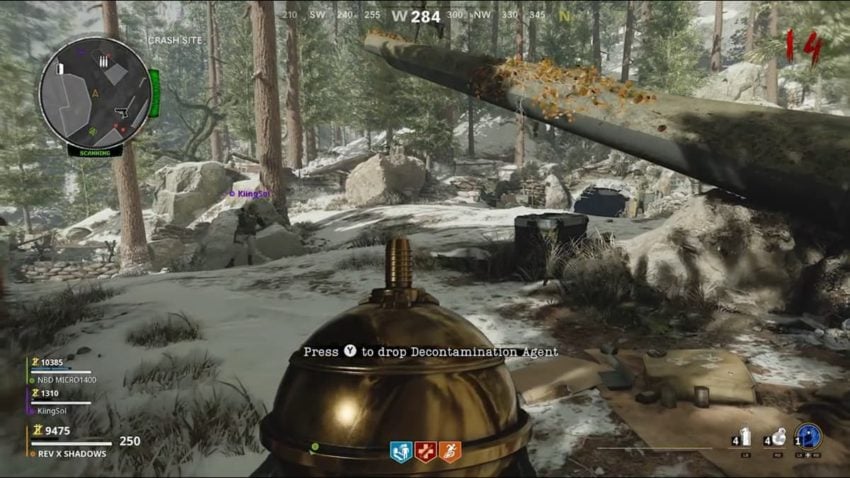
Now go to Crash Site. Right next to the plane’s cockpit is a golden ball. This is the decontamination agent, and you need to deliver it to that red case in Medical Bay. However, once you pick it up, Plaguehounds will spawn, and whoever is carrying the ball cannot switch to a gun. Protect them until they deliver it.
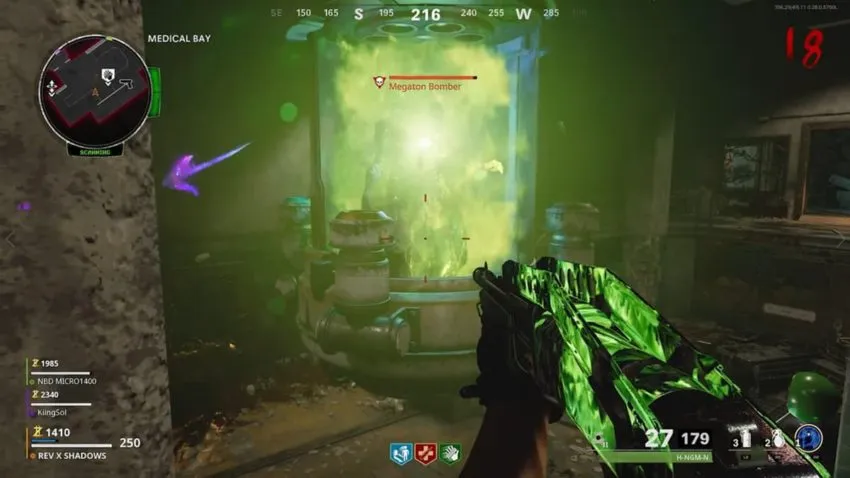
Deliver two Megaton halves
Now that the container is powered up, you need to deliver two halves of a Megaton Zombie. We highly advise someone in the lobby to be running a zombie around somewhere as the Medical Bay is very small, making waiting for the Megatons to move a deathtrap. When either a left or a right side Megaton Zombie steps into the circle under the container, they will be sucked up one by one. If you go to the computer room above, you can see if you have both sides more clearly.
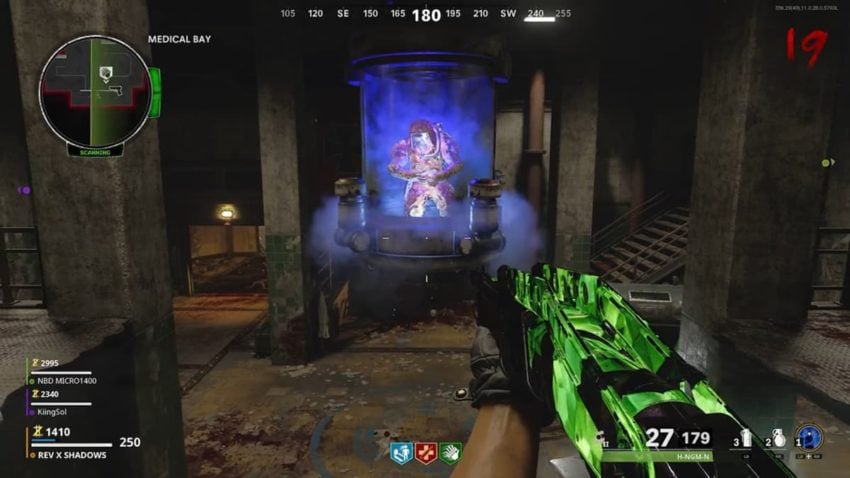
When both sides are in the container, players in the match need to go into the computer room and interact with it. The doors will shut, and you will see a scene where the halves are rejoined, giving life to an old worker at this facility named Orlov. He will freak out at being a monster and run away. When the doors to the computer room open again, you will be bombarded with Plaguehounds and the next round of zombies.
You can hear Orlov in the Particle Accelerator room if you follow him but can’t see him. You need to convince him to work with you with one more trip to the Dark Aether.
Find Orlov’s family photo
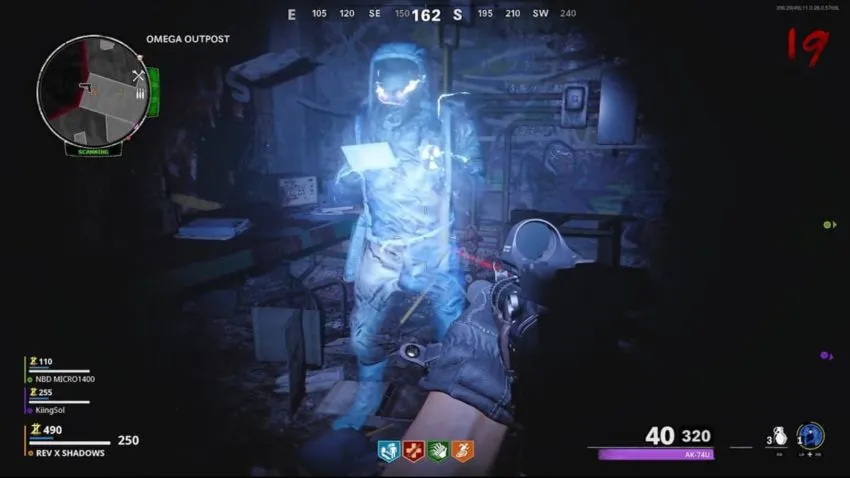
When you get back above ground, there is an anomaly in the Living Room. Enter the Dark Aether and go to Omega Outpost. In the corner will be another spirit orb of Orlov looking at a photo of his family. When the scene is done, he will put the picture on the table, giving you a chance to pick it up. IMPORTANT: If you pick this up, you are teleported to the final fight and cannot leave the room until it is over. Make sure you have all your perks/armor/weapon upgrades!
Shutting down the Particle Accelerator
When you grab the picture, you are teleported to the Particle Accelerator, where Orlov will tell you he will shut down the machine. He will go around the device, working on bringing it down. Zombies will attack him, slowing his progress down, but we recommend focusing on you and your teammate’s health first. Do make sure to relieve him when you get the chance, though.
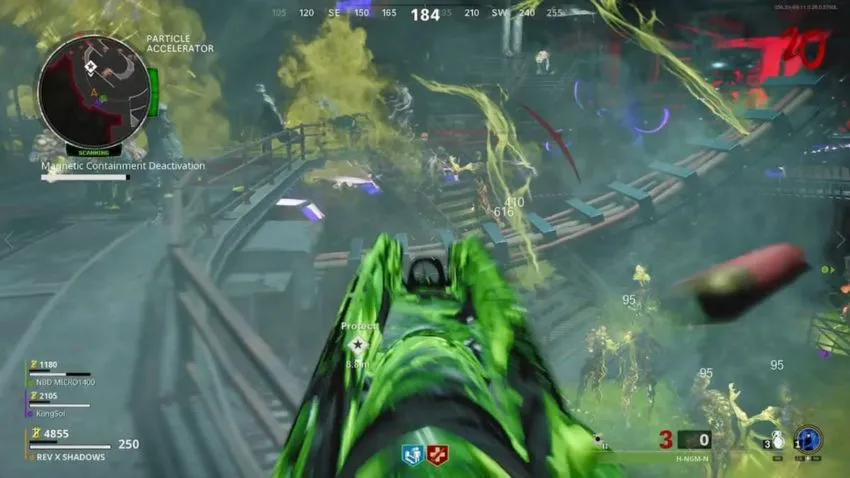
During this time, a massive horde of zombies, Plaguehounds, and Megaton Zombies will invade the area, making things very claustrophobic. If you find yourself low on ammo, killing the Megaton Zombies will provide some, as will Pack-a-Punching and upgrading weapons with an ammo mod if you find the time to do so (although you should have done this beforehand). Make sure you and your teammates survive the onslaught, and Orlov will eventually finish tearing the machine apart.
Extraction
When Orlov finishes his work, the entire facility will be set to explode. You need to exfil within a minute and thirty seconds. You need to make your way to the helicopter in Pond without touching any of the blue lights coming from the ground. If you do, you will instantly die.
The critical thing to remember during this time is to not panic. A minute and a half is a long time to get to where you need to be, and the blue lights do not move or anything. Take out zombies in your way and get to the exit.
Probably the best route to take is first heading to the Weapons Lab. You may need to jump to the area underneath the bomb and sneak out the door out the other way when you get back up. When you get out of Weapons Lab, turn left towards the stairs and turn right at the top of them towards Crash Site. While the path to the left is the straight shot to Pond, it is a deathtrap. When you get outside, maneuver through the beams on the right, and you will have nearly already escaped.
Interact with the helicopter for a brief scene of the characters talking about these events as they fly away, and you have finished the main Easter egg in Die Maschine.
Related: How to complete the main Easter egg quest for Firebase Z in Call of Duty: Black Ops Cold War