Operation Vector Glare added a new feature to Rainbow Six Siege designed to help players optimize their time spent in matches, the Shooting Range. Team Rainbow doesn’t just use the traditional lane setup you might see in real life though, making for a much more complicated experience. This guide explains how to use the Shooting Range to understand and analyze the data you’re given.
How does the Shooting Range work?
The Shooting Range is a new option in the main play menu in Rainbow Six Siege. All you have to do is click on it to launch it. Once you load in, you’ll select the Operator you want to practice with. You can use any Operator in the game, not just the ones you own. This allows you to try out an Operator before purchasing them and see if they fit your play style.
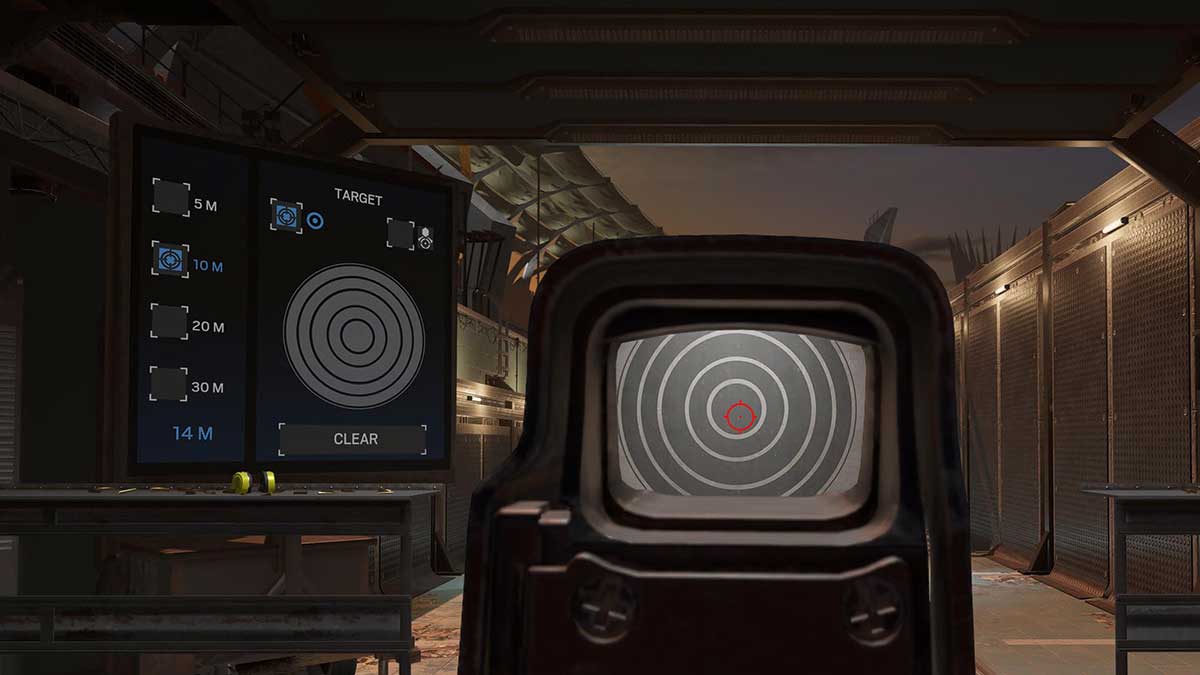
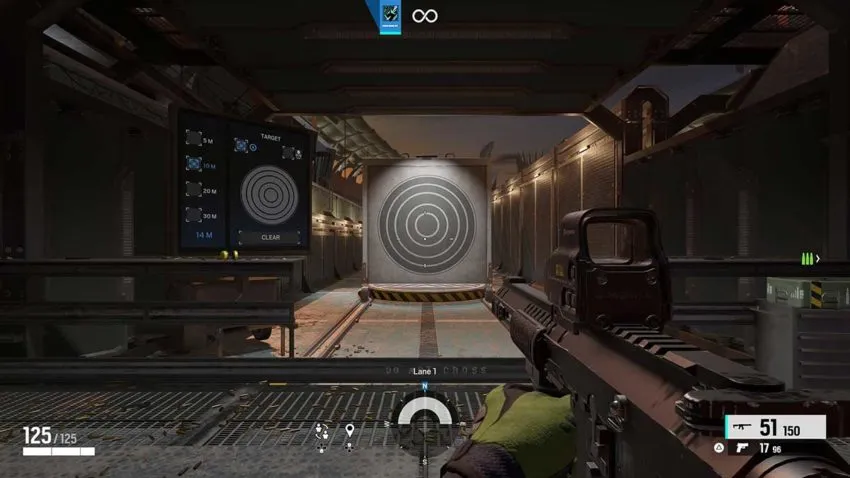
In the Shooting Range, you will find two lanes. One has a circular target, and the other has a human-shaped target. Both work similarly in that the controls for each lane are on a board to the left when you look at the target. You need to shoot the buttons on this board to change things like how far away your target is, refresh your target, or analyze your shots. When you have the target where you want it, you can fire at it and see your results appear on the board.
How to read the Shooting Range’s data
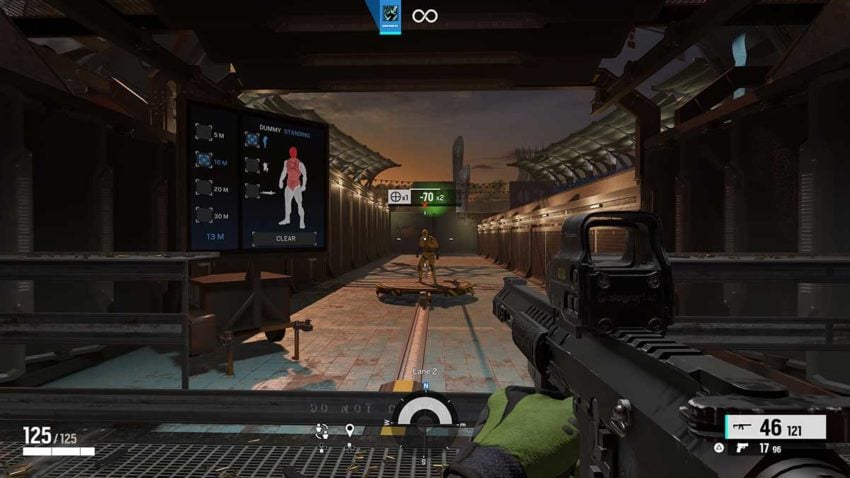
When you fire at a target, use a grenade, or even a gadget, the display board in the Shooting Range will tell you the damage you’ve dealt and where most of it was felt by the target. This shows you the best places to detonate explosives or fire at targets to deal the most damage. The circular target can also give you an accurate representation of how a weapon affects your recoil and how that affects your spray. Controlling this and focusing as many bullets as possible on a target will lead to more kills and wins in the game. You can practice for as long as you like before jumping back into Bomb or Team Deathmatch mode. Using the data from the Shooting Range should help you become a more efficient player in every respect, but if you ignore the data, you’ll likely underperform compared to players using it.