The Quarry has a long list of collectibles to find, divided into multiple categories. The largest group is called Hackett History, and it includes 19 whole clues. They’re spread across the game starting from Chapter 2, and some are a bit tricky to find. Here’s how to get ’em all.
Related: All Freakshow Fire clue locations in The Quarry
Family Photo – Chapter 2
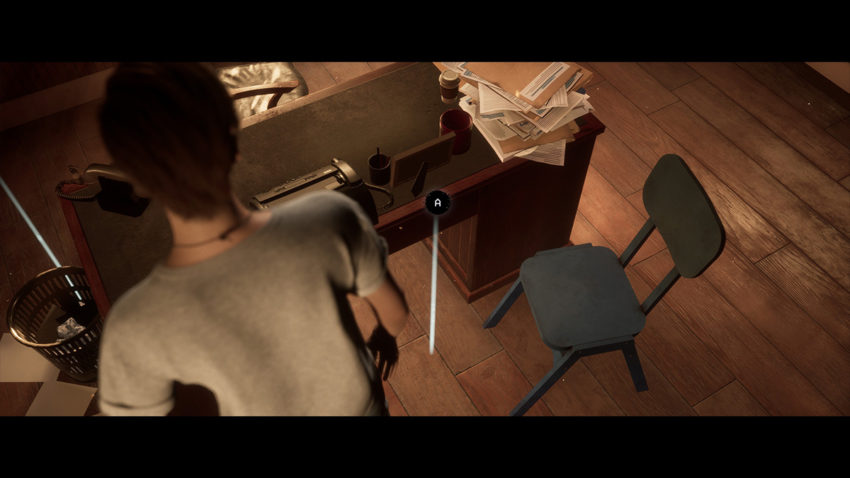
This is sitting atop Mr. Hackett’s desk. You can grab it once you’re in control of Dylan.
Ranger Box – Chapter 2
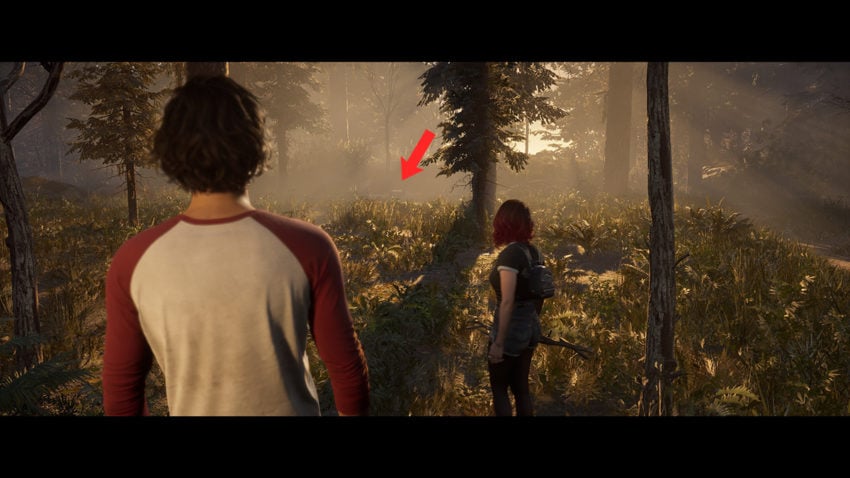
When Nick and Abi are gathering wood, you can choose between taking Shady Glade or Rocky Road. Choose Shady Glade. After sliding down the hill, walk forward and bear left. You’ll spot the box at the edge of the grove.
Trail Camera – Chapter 2
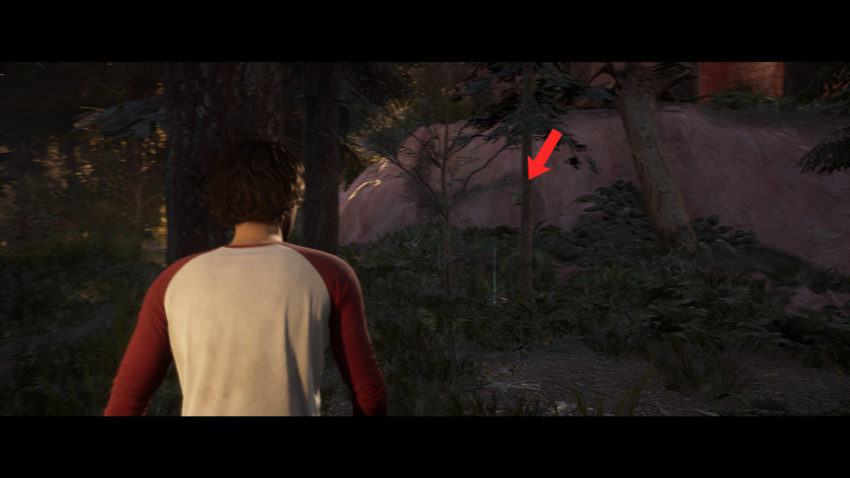
Go back to the bottom of the hill and turn right. Walk in this direction to see the camera attached to a tree.
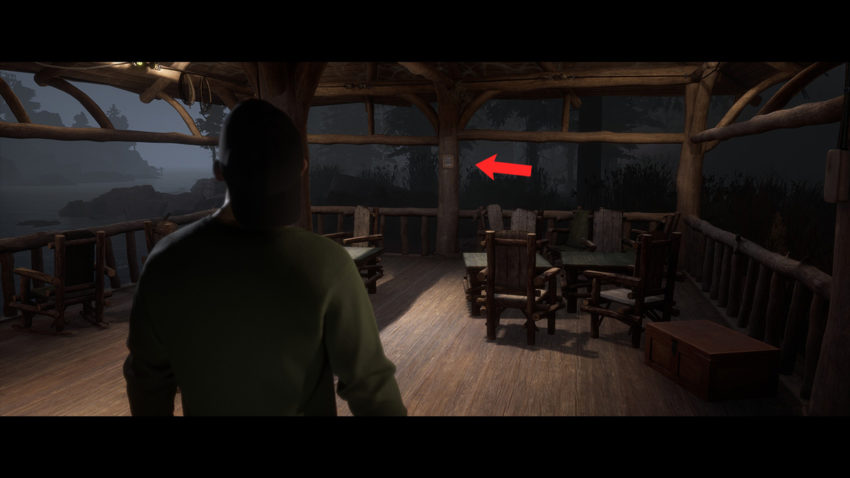
No Swimming Sign – Chapter 3
Found by Jacob at the boathouse. It’s in the water right by where you start, and you can examine it from a spot by the railing.
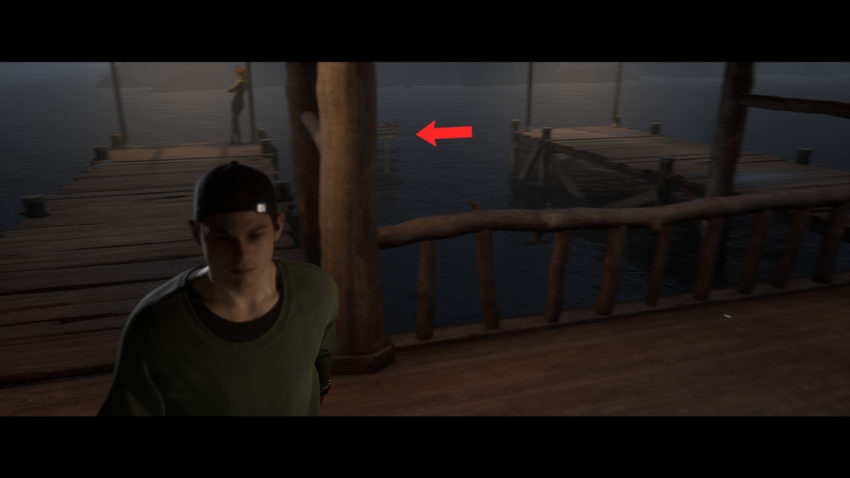
Old Camp Photo – Chapter 3
Also found by Jacob at the boathouse. Make a left from the dock and walk to the end of the pavilion to find it attached to a column.
Box of Matches – Chapter 4
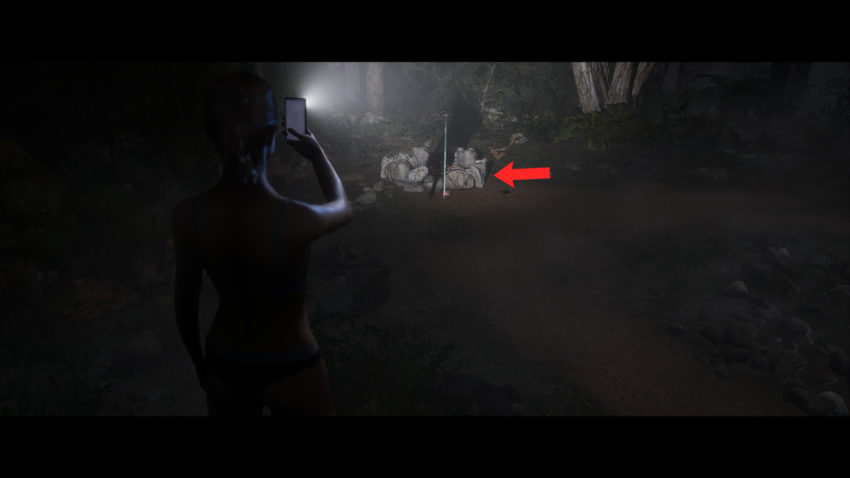
Emma can pick this up on the island. Choose to take “the low road,” and you’ll eventually come to a smoldering campfire. The box is on the ground next to it.
Police Car Keys – Chapter 4
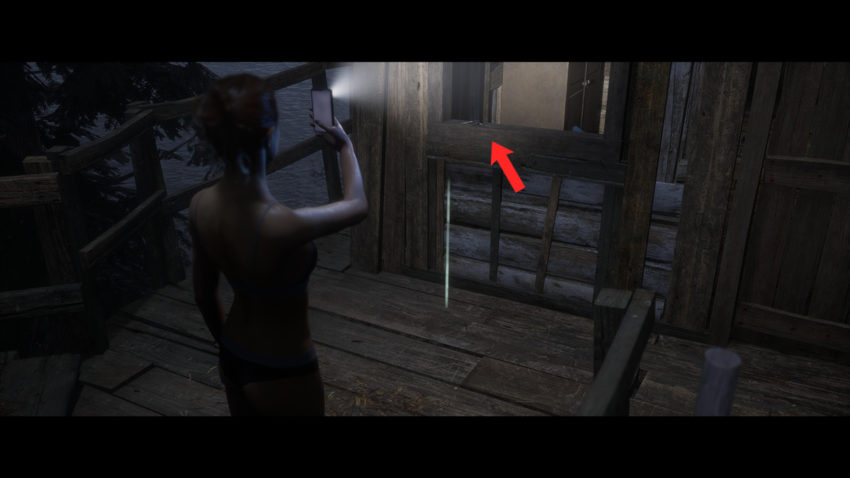
This is found along “the high road” in the same area, but do not take the ladder to get there — that will trigger the next cutscene. Instead, walk back to the fork in the path and take the walkway. When you reach the tree house, you can find these in the window.
Triggered Bear Trap – Chapter 5
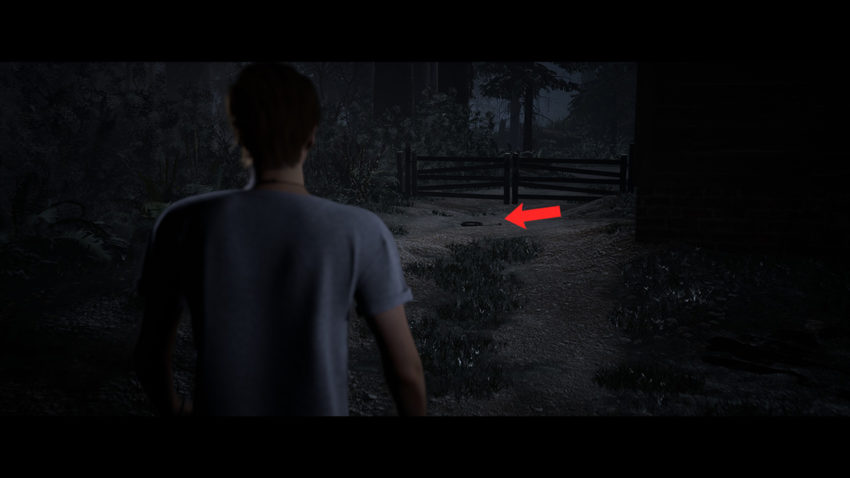
When in control of Dylan at the cabins, walk towards the pool house. The trap is sitting on the ground beside the gate.
Scrawled Limerick – Chapter 7
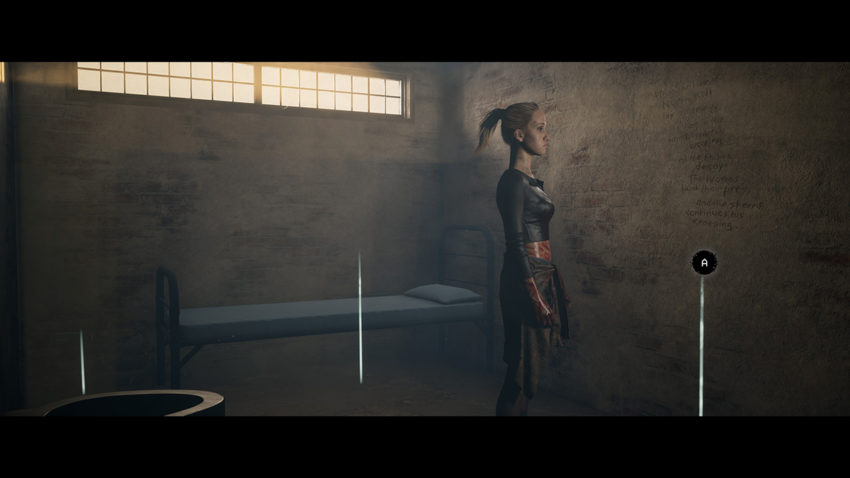
This one’s easy. It’s written on the wall in Laura’s jail cell.
Bizarre Yet Bonafide Podcast – Chapter 7

This one, by contrast, takes a few steps. Once you can freely move about the police station, head to the second floor. Enter the first door and examine the card stuck to the cork board inside. Then enter the last door back on the balcony and make a left. Examine the calendar in the corner of the room here. This gives you enough information to learn the computer password. Back on the first floor, enter Travis’ office in the back corner of the room, up the small set of steps. Examine the computer to enter the password and start listening to the podcast.
Old Quarry Tools – Chapter 8

Found in The Quarry when Laura and Ryan fall in. Check beside the rear set of steps to find them.
Miner’s Lunchbox – Chapter 8

In the same area, walk around the water. This is on the ground on the other side.
Rum Still – Chapter 8

When you take control of Ryan in the cellar of the Hackett house, immediately make a left. Walk into the room you see to spot the still. Examine it for the clue.
Hunting Trophy Wall – Chapter 9

Laura will eventually find herself in a room with a piano. Walk over to the nearby desk to examine the bear skull up on the wall.
Hackett Family Tree – Chapter 9

Now go up the stairs and enter the first room. Make a left, and you’ll spot this hanging on the wall.
Scrapyard Note – Chapter 9

When Dylan enters the body shop, walk up to the second floor. Check the far table up here to find this.
Ancestral Portrait – Chapter 10

Kaitlyn can find this on the second floor of the lodge. Examine it from the walkway that connects the two sides of the lodge. This is how you get the prompt to continue the story, but you should choose to keep exploring for now.
Chalkboard Doodle – Chapter 10

On the same floor, past the portrait is the art room. Enter the side room attached to it to find the chalkboard inside. Examine it for this clue.
Inscribed Jewelry – Chapter 10

Now head up the stairs by the doorway you just walked through. This takes you to a storage area on the third floor. Make a right and check by the couch to find the final clue.